
 Pin
Pin
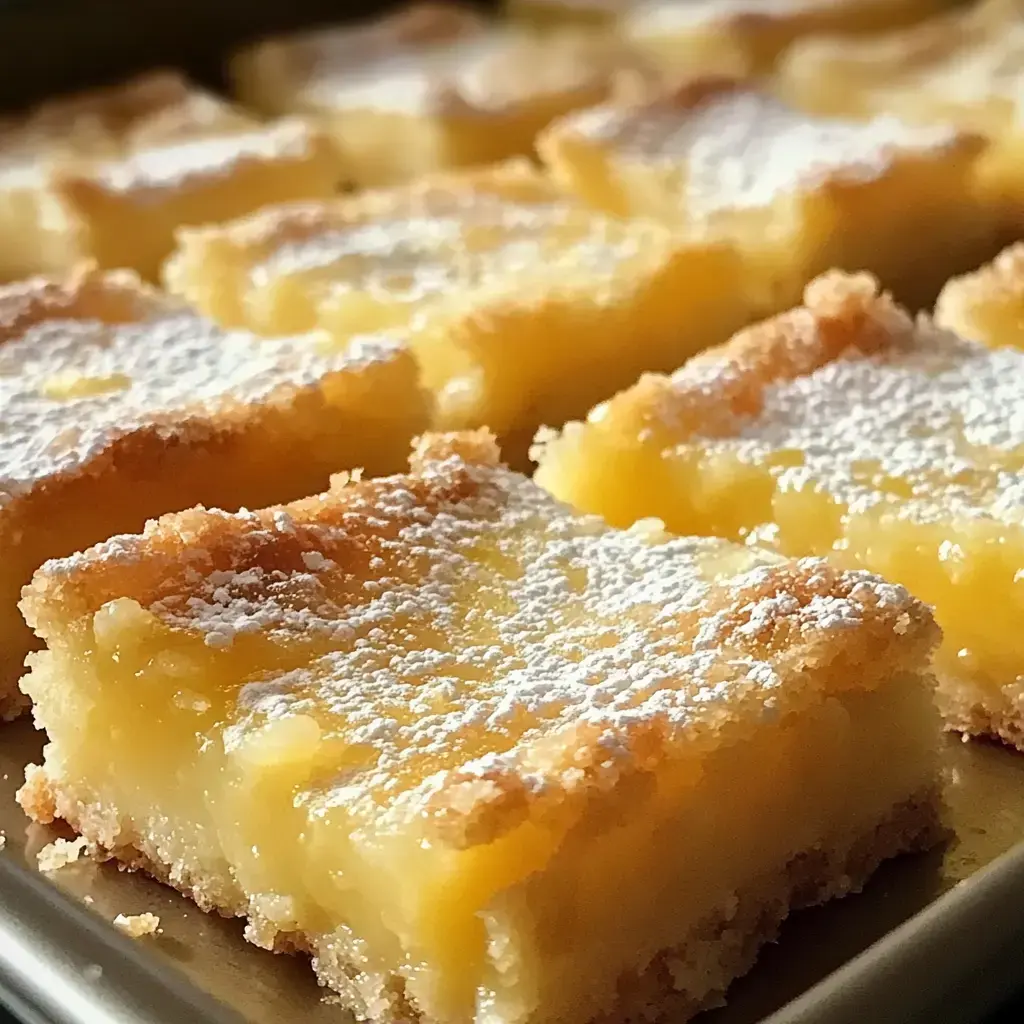
I whipped up these Pineapple Bliss Bars one gloomy day when I was longing for the tropics. While rain tapped against my windows, I mixed sweet chunks of pineapple with a velvety filling and placed it all on a rich, buttery base I made from scratch. Just one taste will transport you straight to sandy shores.
A Delightful Sweet Getaway
These bars bring island vibes to your table no matter the season. They vanish within minutes at my outdoor parties. When I bite into one, the flavors take me back to my dream vacation, turning everyday moments into something magical.
What You'll Need
- Get 1½ cups of top-notch flour for the best results.
- Room temperature sweet cream butter, about ¾ cup.
- White sugar, 1 cup to hit that perfect sweetness level.
- A 20 oz can of crushed pineapple, thoroughly drained.
- For incredible texture, use 1 cup of full fat sour cream.
- Add 1 teaspoon real vanilla extract, skip the fake stuff.
- Don't forget some powdered sugar for the final touch.
Creating the Foundation
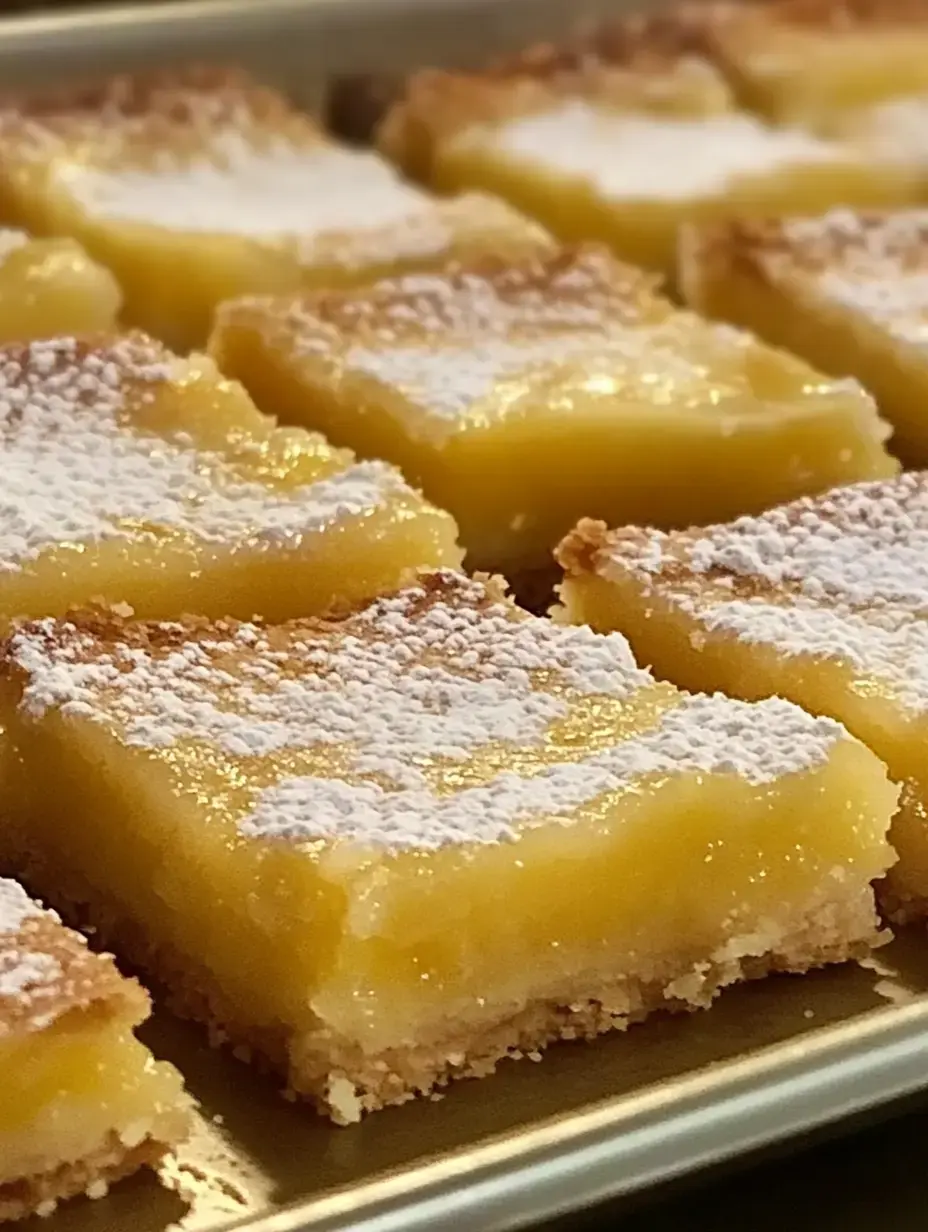
Everything starts with an amazing crust. I combine sugar and flour in my trusty bowl, then work in cold butter until the texture feels just like damp sand. Then I gently push it into the pan. The smell while it bakes always draws my children to the kitchen wondering what's cooking.
Adding Beauty
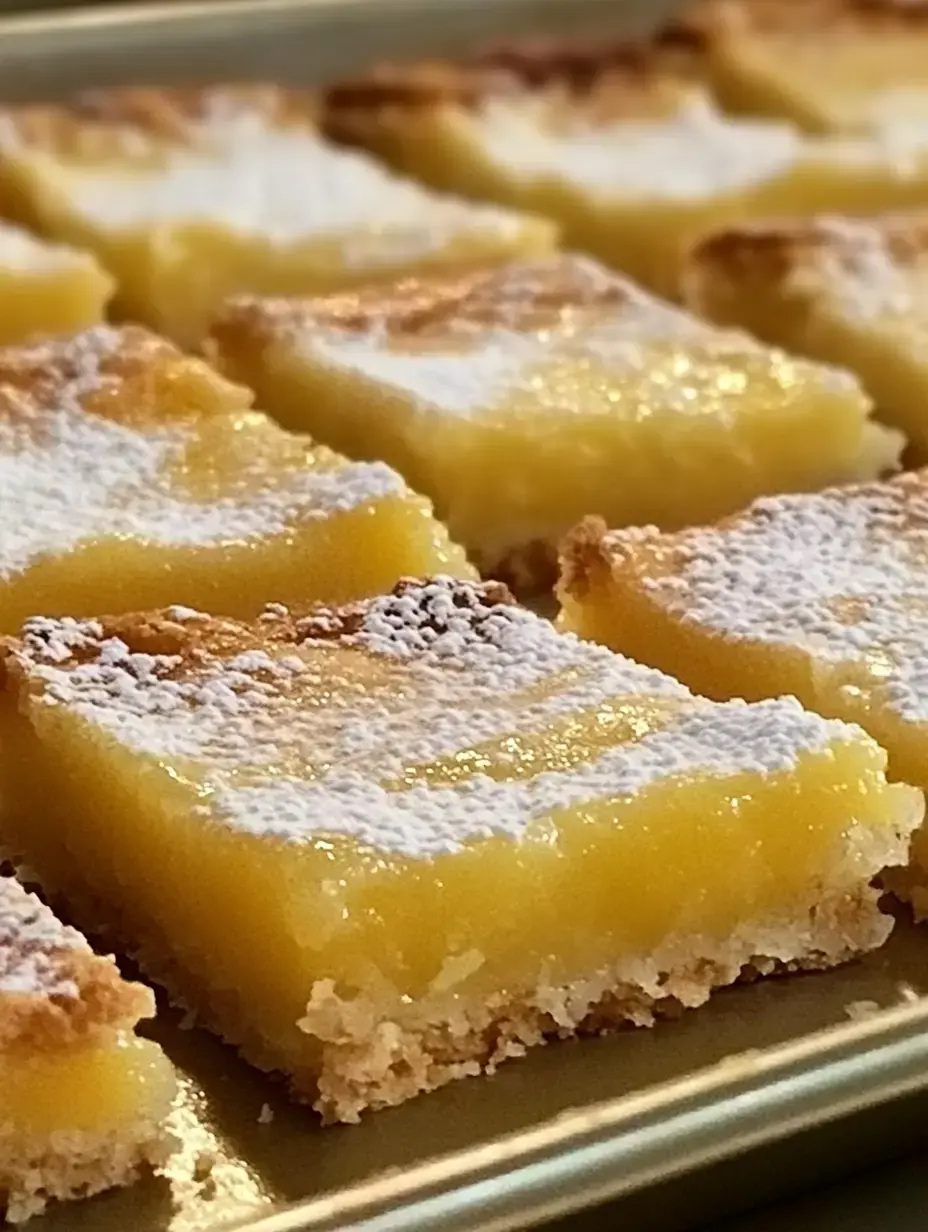
Sprinkling powdered sugar on top gives these bars a bakery-shop look. For guests, I sometimes add fresh mint leaves as garnish. I can't help smiling when I see the white sugar against the golden-colored treats.
 Pin
Pin
Taste of Paradise
These bars always remind me of my first trip to Hawaii. The tangy-sweet pineapple blended with creamy filling is absolutely wonderful. Whenever I bring them to community gatherings, my neighbors always ask me to share how I make them.
Personal Touches
Sometimes I'll throw in coconut flakes or chunks of mango. My daughter prefers when I swap the sour cream for Greek yogurt to add extra zing. Feel free to put your own spin on this treat.
Storage Tips
You'll notice these bars taste even better a day later once the flavors have really soaked together. Store them in the fridge in a sealed container and they'll stay good for up to a week. That's assuming they don't get eaten much faster at your place.
Tips for Perfect Crust
Through many years of baking, I've found that using butter straight from the fridge makes the most delicate crust. Push it down firmly but carefully into your baking dish. I often use a drinking glass with a flat bottom to smooth it evenly. These small steps really count.
Benefits of Canned Pineapple
While fresh pineapple tastes great, the canned crushed kind gives you reliable results each time. Just don't forget to drain it thoroughly. I usually let mine sit in a strainer while I work on the crust.
 Pin
Pin
No-Gluten Option
I came up with a special version for my closest friend who can't handle gluten by using a gluten-free flour mix. They turn out just as tasty. Now everyone can enjoy these sunny treats.
Good for Freezing
You can freeze these bars with great results. I like to wrap single pieces for quick snacks later on. They're great for unexpected visitors or when you need something sweet late at night.
No-Dairy Versions
My vegan niece got me to try making these with coconut cream instead of sour cream. The tropical flavor matches perfectly, and now our whole family can enjoy them together.
Try Different Combos
I'll often add diced mangoes or sprinkle some toasted coconut on top. Each new twist brings fresh excitement to the recipe. You can create endless tropical variations in your own kitchen.
Smart Baking Advice
Look for a slight wobble in the middle when they're baking. You want golden edges, not brown ones. Let them cool fully in the pan. Your patience will pay off with perfectly set bars every time.
 Pin
Pin
Ways to Serve
These bars are fantastic on their own but try adding vanilla ice cream for an amazing treat. They pair wonderfully with coffee or a tropical iced tea. They'll make your weekend breakfast gatherings feel extra fancy.
Fun with Kids
My grandchildren love helping me cook. They take turns stirring the mix and sneaking bites of pineapple when they think I'm not looking. These sweet times together make each batch special.
Amazing Mouthfeel
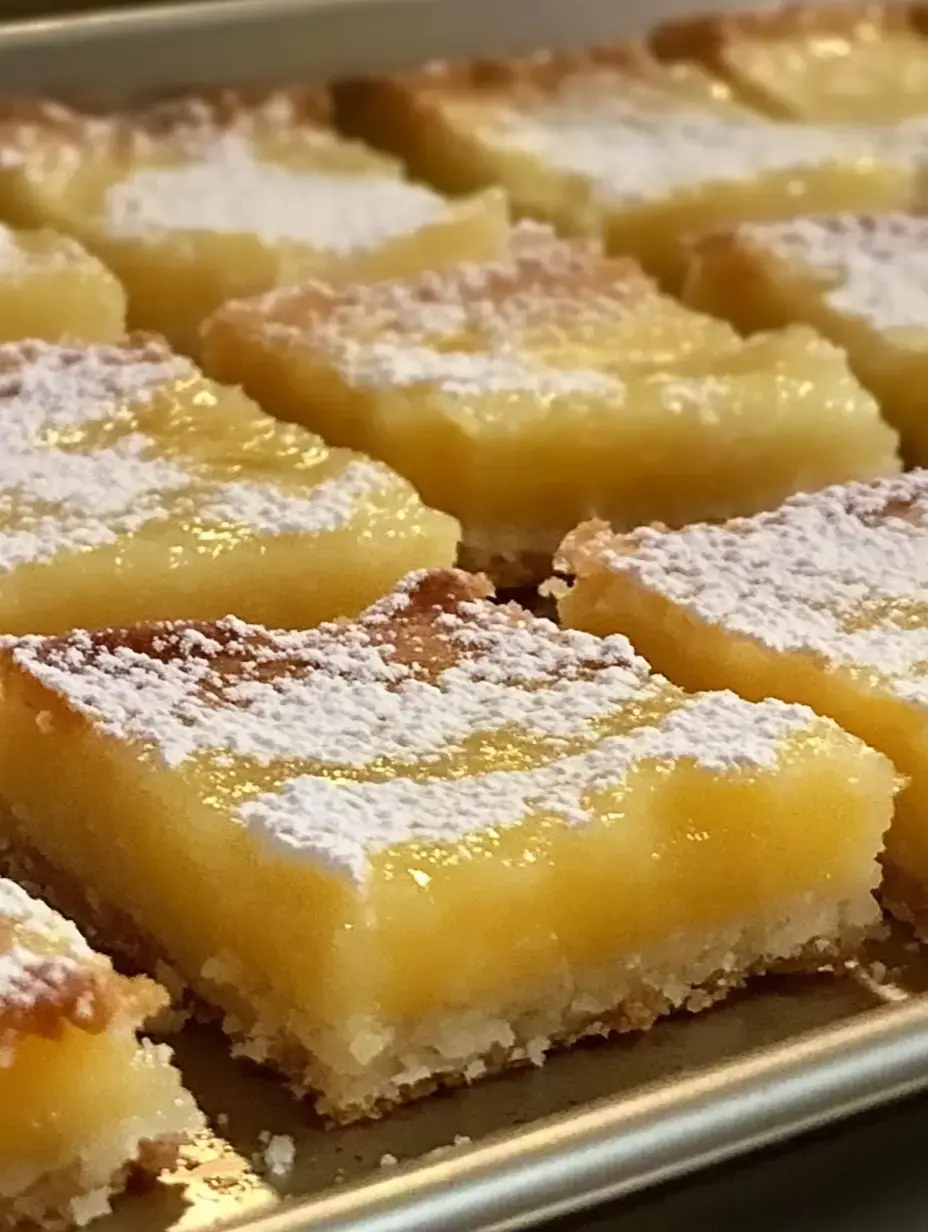
Every mouthful offers layers of sensation and flavor. The crispy bottom perfectly supports the smooth filling while the pineapple bits add bright pops of sunshine.
Answers to Your Questions
Fresh pineapple works well too if you chop it finely and drain it completely. You can make these a day before your gathering and they'll hold up great. The flavor actually gets better overnight.
Tropical Joy Anytime
These Tropical Pineapple Bliss Bars can bring sunshine to your home regardless of the season. They're what I turn to when we need a quick vacation for our taste buds. Make them for your loved ones and watch their faces light up with happiness.
Common Recipe Questions
- → Why do I need to drain pineapple?
- Excess liquid can make the crust soggy and ruin the texture of the filling, so draining's key.
- → Can I swap the flour for gluten-free?
- You sure can! Just use your favorite gluten-free flour mix for the crust.
- → How do I tell if they're baked fully?
- The center should feel set and not wiggle. This happens after 25–30 minutes in the oven.
- → What's the best way to store them?
- Pop them in the fridge in a sealed container since they're made with dairy.
- → Is fresh pineapple okay to use?
- Canned crushed pineapple is better—it’s more reliable for texture and moisture.