
 Pin
Pin
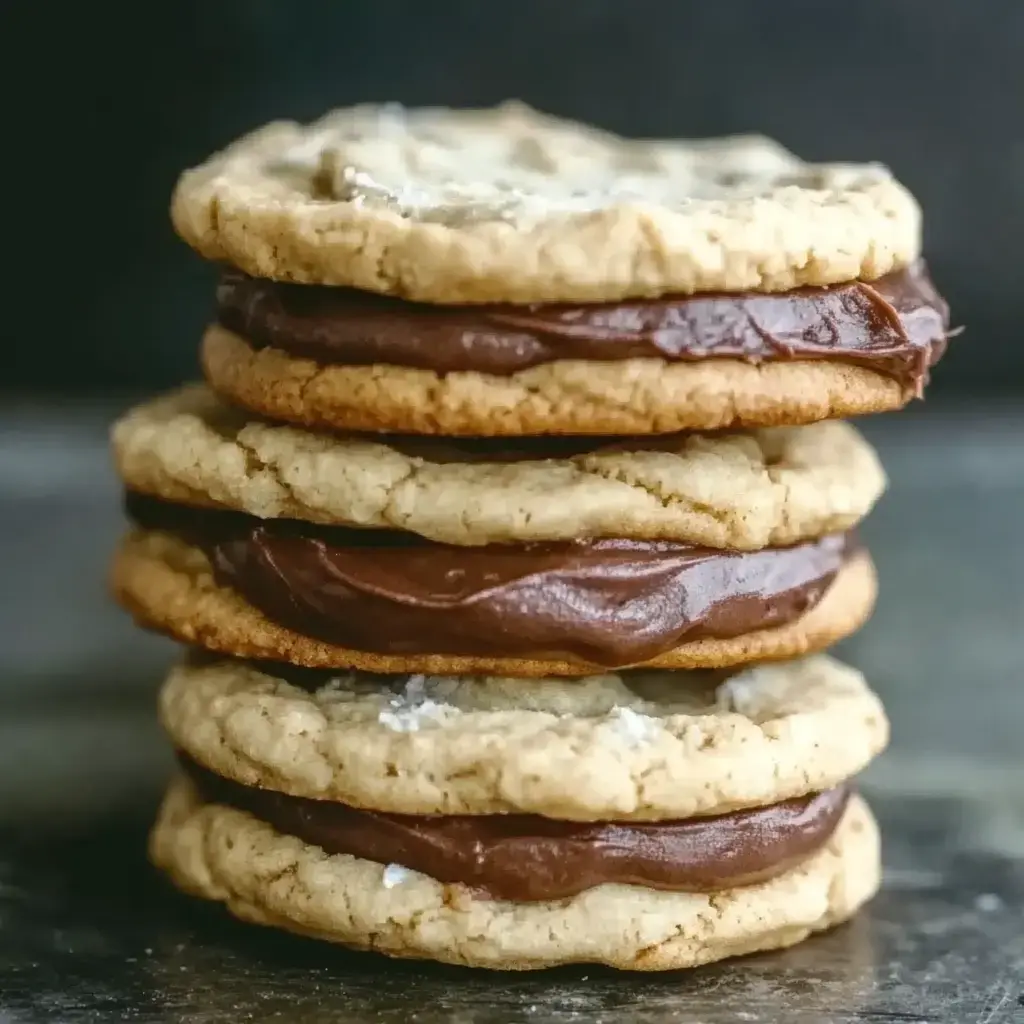
The whole family just can't stop eating these chewy peanut butter sandwich treats stuffed with decadent chocolate fudge filling. I stumbled on this idea one wet weekend afternoon when the kids wanted a treat. When smooth peanut butter meets chocolatey goodness, each bite turns into something truly wonderful. These will quickly become the cookies everyone asks for again and again.
Why These Treats Stand Out
Through my baking journey I've found that nailing the right cookie softness is key. These gems stay delightfully tender yet sturdy enough to hold a thick layer of fudge without crumbling. Nothing beats peanut butter and chocolate for hitting all those sweet spots. They're my go-to when kids rush in from school or when unexpected visitors show up at the door.
Your Ingredient List
- Peanut Butter: 1 cup (creamy type works better, grab a fresh jar)
- Brown Sugar: ¾ cup (press it down firmly for extra chewiness)
- All-Purpose Flour: 1¼ cups (run it through a sifter for smoother cookies)
- Egg: 1 large (room temperature works best)
- Butter (Cookies): ¼ cup (should be soft to touch)
- Butter (Frosting): 3 tablespoons (melted and slightly cooled)
- Cocoa Powder: ¼ cup (unsweetened for deeper flavor)
- Powdered Sugar: 1½ cups (sift to keep the frosting smooth)
- Vanilla Extract: 1 teaspoon (real vanilla really shines here)
 Pin
Pin
Baking Instructions
- Cookie Dough Prep
- Warm your oven to 350°F. Beat butter with brown sugar until it's light and fluffy. Stir in the peanut butter and egg till smooth. Fold the flour in gently just until everything comes together.
- Shape and Bake
- Drop tablespoon-sized portions onto your cookie sheet with liner. Press down with fork tines to create the signature pattern. Bake for 10 to 12 minutes until you see the edges turning golden.
- Let Them Rest
- Keep cookies on the hot sheet for about two minutes before moving to a rack. This step helps them hold their shape without breaking.
- Create The Filling
- Combine your melted butter, cocoa, powdered sugar, and vanilla in a bowl. If it's too thick, add a tiny bit of warm water until it spreads easily.
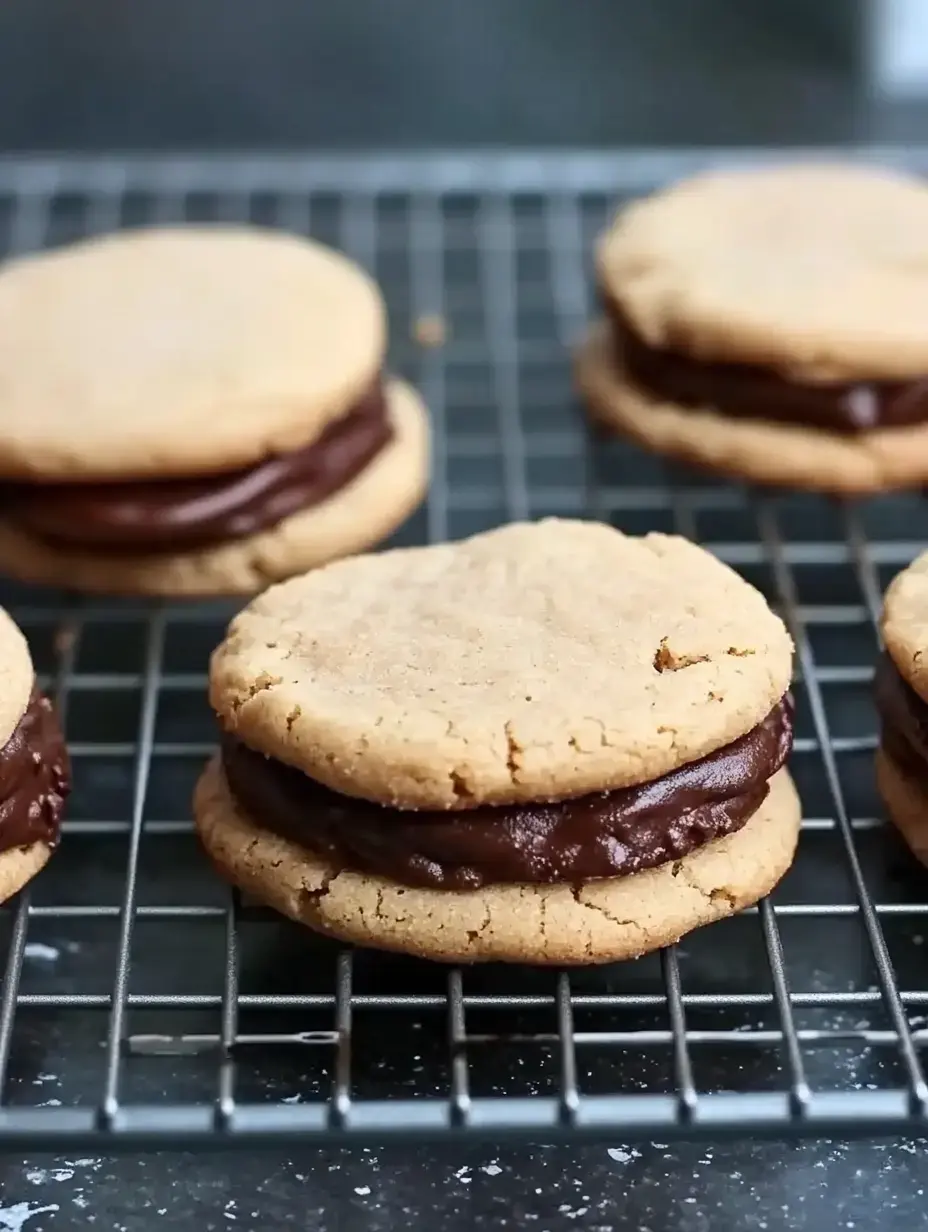
- Assemble Your Sandwiches
- After cookies cool completely, spread filling on the flat bottom of one cookie and press another cookie against it. Let them sit until the filling firms up.
A Tasty Combination
The smell that fills my home when these are in the oven is absolutely amazing. There's something so wonderful about how the nutty peanut butter works with the rich chocolate middle. What starts as simple cookie-making turns into a moment worth slowing down for.
Great For Every Gathering
I found this in my grandma's recipe box but added my own spin with the chocolate filling. They're always the first to go at school fundraisers. My children always want them for movie nights and I love giving them as gifts to neighbors and teachers during holidays.
Customize Your Batch
Keep your sandwich cookies in an airtight box and they'll stay good for three days at room temp or seven days in the fridge. I sometimes throw in chopped peanuts for extra crunch. My daughter loves them with dried cranberries mixed in while my son thinks a tiny pinch of sea salt on the frosting makes them even tastier.
 Pin
Pin
Common Recipe Questions
- → What happens if I bake them too long?
Keep the cookies soft for the best sandwiches. Leaving them in too long makes them hard, losing their delicious texture.
- → Is it okay to prepare frosting early?
The fudge is easiest to use while warm. Once it cools down, it gets firm and tougher to spread between the cookies.
- → What's the best way to store them?
Stick them in an airtight container at room temperature. They'll be good for a few days, though the softness might increase slightly over time.
- → Can I freeze these cookies?
You can freeze the cookies without the filling for up to 3 months. Fresh frosting is best, so make that when you're ready to assemble.
- → Why roll the cookies in sugar?
Sugar on the outside gives them a little crunch while leaving the center soft. Plus, it makes them sparkly and a bit sweeter.