
 Pin
Pin
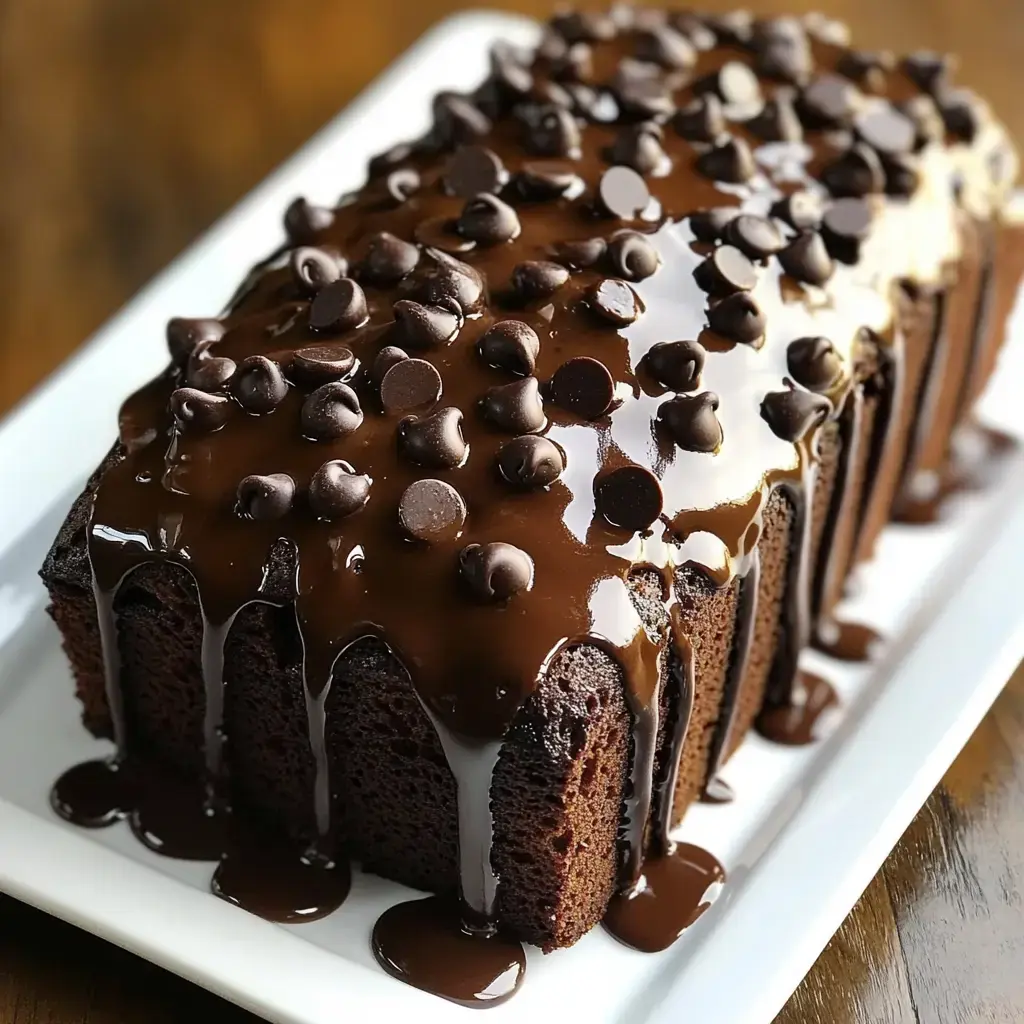
The aroma of chocolate filling my kitchen on lazy Sunday afternoons is pure bliss. I created this Hot Fudge Brownie Bread during an experimental baking session when I couldn't pick between brownies or chocolate bread. What came out of my oven? A divine chocolate creation that perfectly captures what we adore about both treats.
How This Treat Came To Be
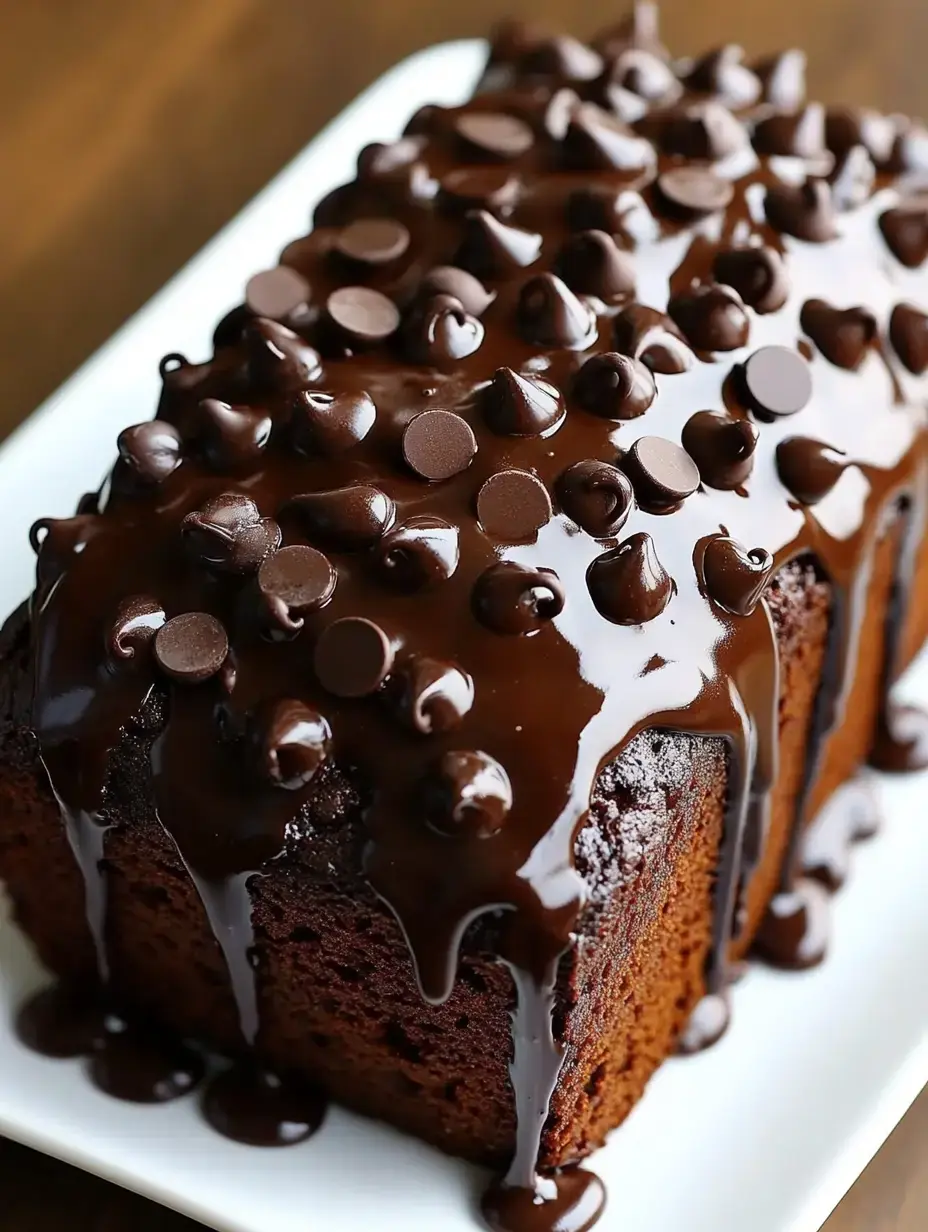
I came up with this idea last winter while developing recipes for my cookbook. The real magic started when I mixed rich hot fudge sauce with soft chocolate bread batter, making something totally unique. My whole family kept sneaking extra slices, and I knew right then I had to get this recipe out there.
Ingredients You'll Want
Through my many years in the kitchen, I've found that good stuff makes good food. Grab your go-to all purpose flour, top-notch cocoa powder, fancy hot fudge sauce, fresh buttermilk from the farm, and if you're feeling fancy, throw in some chocolate chips or crunchy toasted nuts. These small touches really do matter.
Tricks From My Kitchen
After trying batch after batch, I've found some real game-changers. Everything should be room temp for the best texture. I always go for Dutch process cocoa—nothing beats its rich flavor. And don't mix too long or you won't get that soft, tender bite we're going for.
Prep Work
First, heat your oven to 350°F. My grandma's old loaf pan works wonders for this recipe. Just rub it with butter and dust it with cocoa instead of flour to keep the dark color looking good. The warming oven smell always brings my kids running into the kitchen.
 Pin
Pin
First Steps
Mixing dry stuff might look easy but it's super important for spreading chocolate evenly. I use my mom's old red ceramic bowl—it's become my lucky charm for perfect bread. The cocoa and flour need to get friendly before everything else joins in.
Butter And Sugar Magic
This is where we build our bread's foundation. My trusty stand mixer (I call her Betty) has helped me through so many recipes. The butter and sugar turn into this gorgeous light mix like fluffy clouds. When I see those soft peaks forming, I know we're on the right track.
Eggs And Flavor
Your eggs should feel slightly warm in your hand. Add them one by one and watch how silky the batter gets. The vanilla goes in last—I splurge on Madagascar bourbon vanilla because it makes everything taste like home and comfort.
Mixing Wet And Dry
This part's my favorite—watching everything change before my eyes. The buttermilk and dry stuff take turns going into the bowl. I learned this trick from my aunt Sarah who always said taking your time makes perfect bread. Three rounds of each works best.
Creating Chocolate Rivers
When warm fudge sauce meets the batter, it's like kitchen poetry. I love making gentle swirls and watching chocolate streams form. Sometimes I get lost in the beautiful patterns—each one different like edible art.
 Pin
Pin
Custom Additions
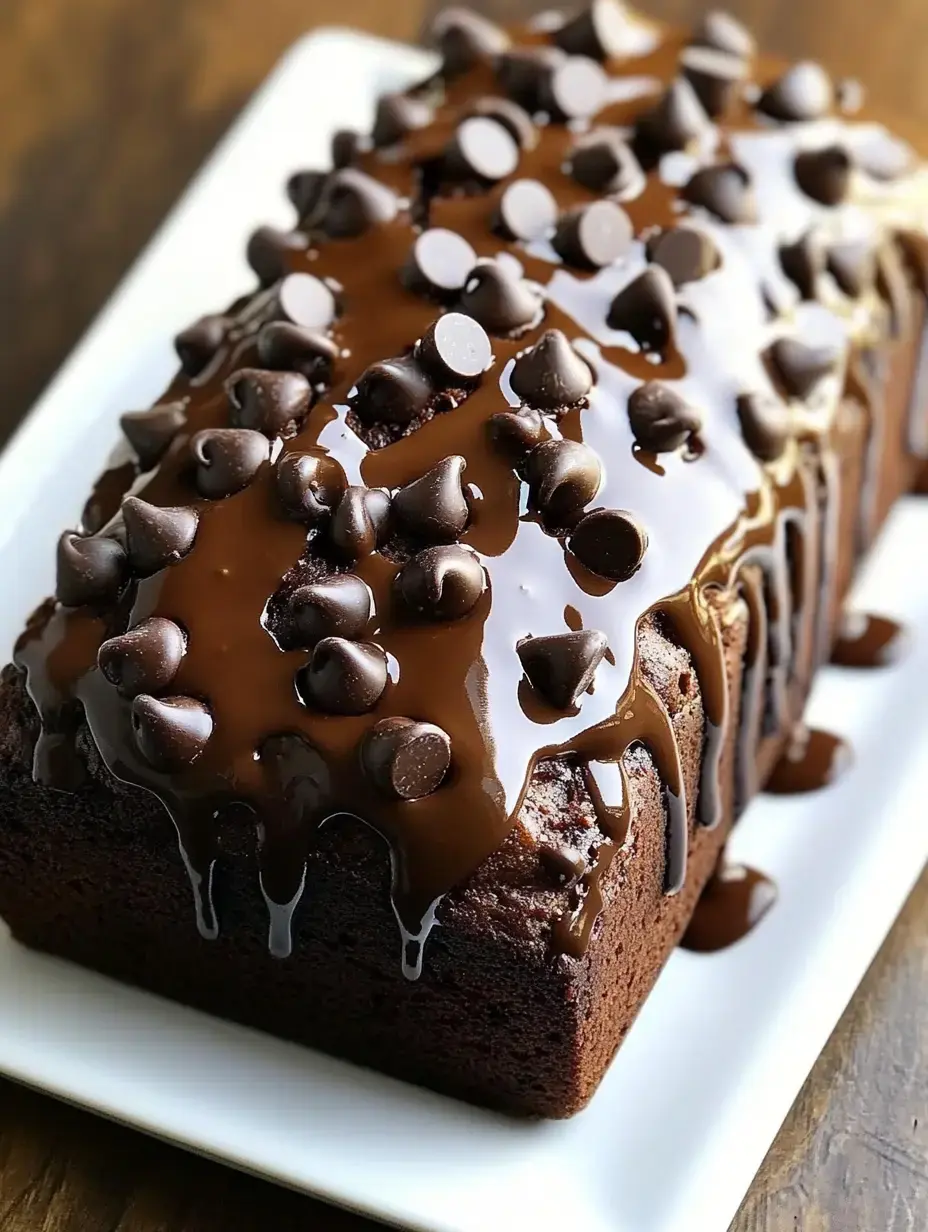
My kitchen tests taught me that add-ins come down to what you like. Dark chocolate chunks from my hidden stash or toasted pecans from last autumn's gathering both taste amazing. Sometimes I toss in both because why choose when you can have it all?
Filling The Pan
The batter pours like silk into the ready pan. My mother-in-law taught me to tap the pan lightly on the counter a few times. It helps everything settle and brings hidden air bubbles up. A quick smooth-over with my favorite spatula and we're good to go.
Baking Time
Every oven's got its own personality. Mine runs a bit cool so I give it the full hour. The toothpick test never lies, but I also trust my nose. When my kitchen smells like chocolate heaven and the top bounces back when touched lightly, it's done.
Let It Rest
Those ten minutes feel like forever with that smell filling your kitchen. I usually make coffee while I wait. The bread needs this time to set up properly. My cooling rack has seen many wins and a few flops too.
Final Touches
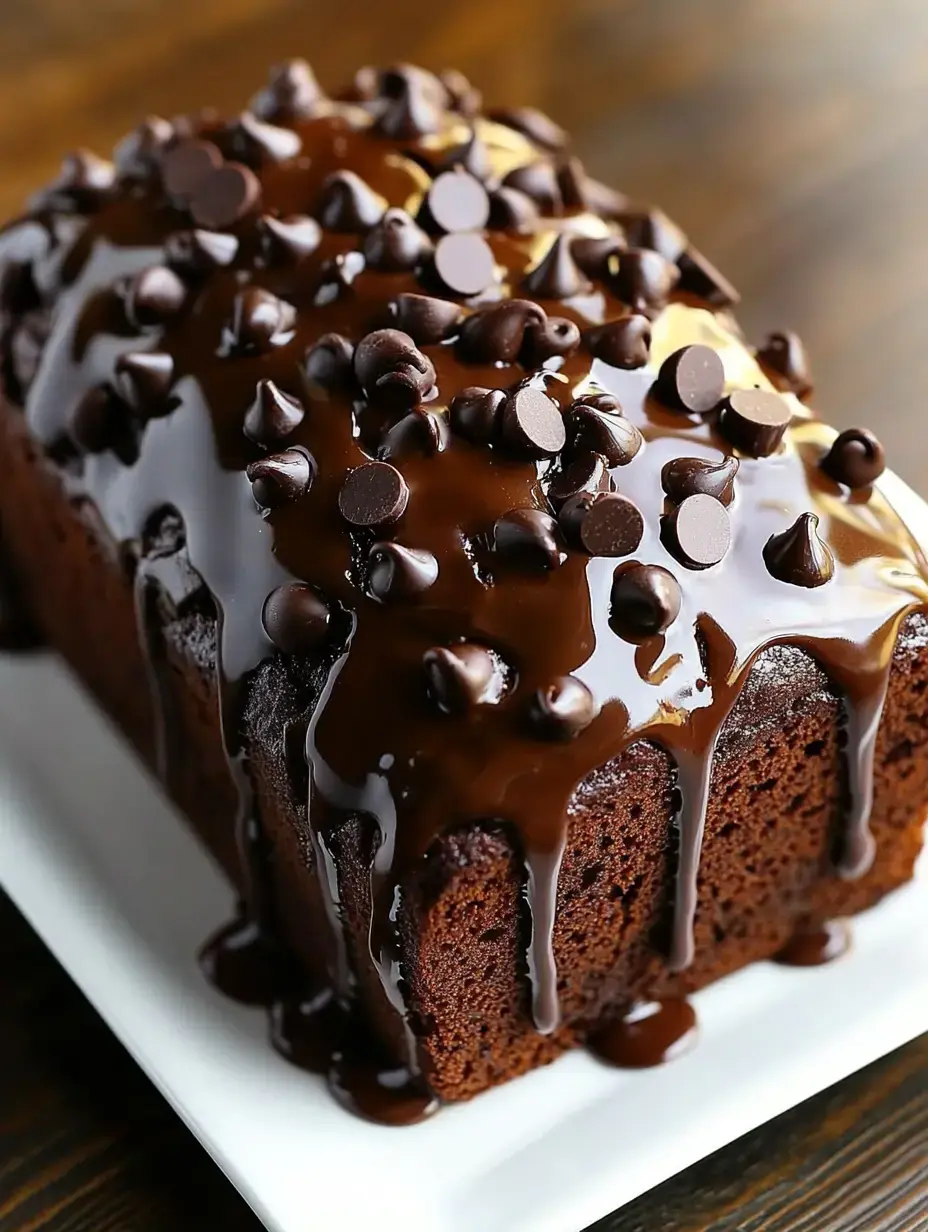
That last drizzle of warm fudge sauce is pure luxury. I warm it just enough so it flows down the sides making gorgeous drips. My daughter always calls dibs on licking the spoon—a family tradition I happily carried on from when I was little.
 Pin
Pin
Ready To Eat
The first slice is always so hard to wait for. On cozy nights we love it with vanilla bean ice cream. For Sunday brunch, just a light dusting of powdered sugar works great. There's really no wrong way to enjoy this bread—I've tried pretty much everything.
Storage Tips
If your family's anything like mine, this bread won't stick around long. But when it does, I keep it on my old cake stand with a dome cover. The fridge works too, but let it warm up before eating to wake up all those yummy chocolate flavors.
Freezing For Later
Living by myself taught me how to freeze baked goods. Single slices wrapped in parchment paper then tucked into freezer bags keep really well. A quick trip to the microwave brings them back to life—perfect for those moments when you need chocolate ASAP.
Fun Variations
My kitchen adventures led to some tasty discoveries. A swirl of natural peanut butter works wonders. Fresh mint from my garden inspired a chocolate-mint version. And during my late-night baking, I found out that a shot of espresso really brings out the chocolate flavors.
From My Heart
This bread shows everything I love about baking—making something that brings smiles to others. Every time I bake it, I think about the happy faces around my table. It's way more than just chocolate and flour—it's making memories that last.
Common Recipe Questions
- → Can I make this without buttermilk?
If you're out of buttermilk, mix 1 tablespoon of vinegar or lemon juice into a cup of regular milk. Give it 5 minutes to sit before using it.
- → How do I store this fudge loaf?
Keep it in a sealed container on the counter for up to 4 days. If needed, tightly wrap and freeze it for up to 3 months.
- → Why did my loaf turn out dry?
The main issue is likely overbaking. Start checking it a few minutes before the recommended time ends. Also, spoon flour into your measuring cup instead of scooping to avoid adding too much.
- → Can I add extras to this loaf?
Feel free to toss in extras like chocolate chips, nuts, or dried fruit. Stick to about half a cup total so the texture stays just right.
- → Why alternate wet and dry ingredients?
Switching between wet and dry ensures ingredients combine smoothly without overmixing. This makes the loaf tender and evenly textured.