
 Pin
Pin
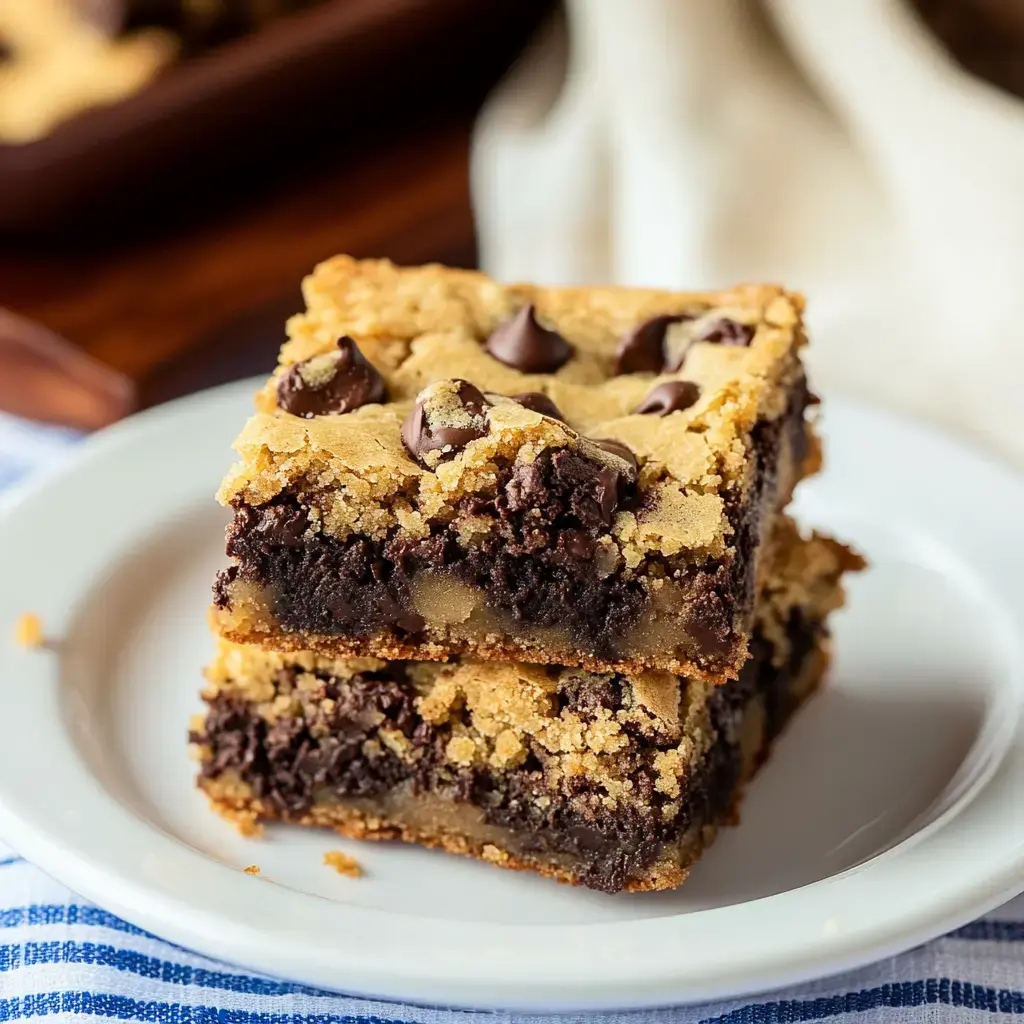
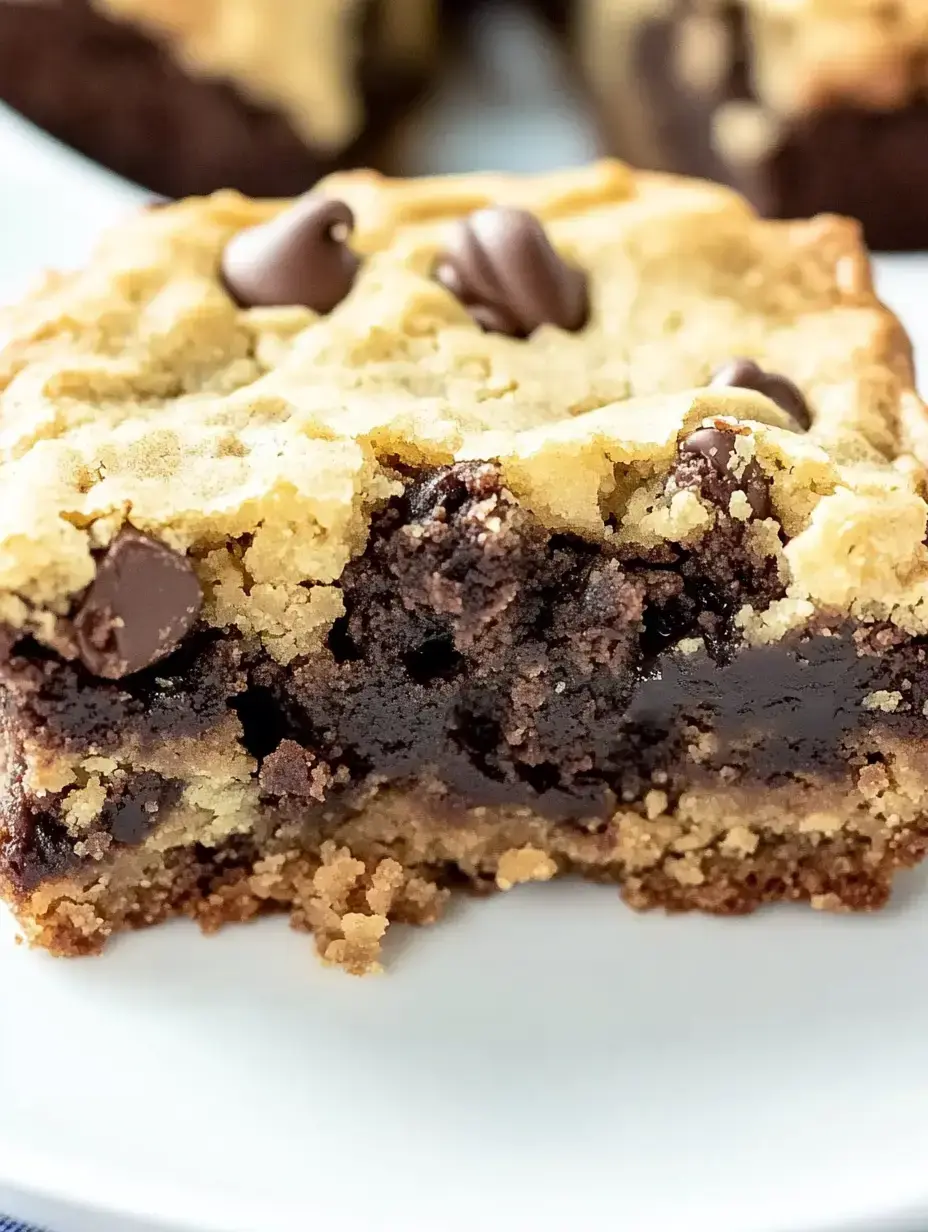
I've gotta tell you about my kitchen masterpiece these incredible Cookie Brownie Mashups! I whipped these up when I couldn't pick between cookies or brownies one day, and now my kids won't stop asking for them. Take a bite and you'll get the perfect combo of tender, buttery cookie blended with deep, gooey brownie in one amazing square. Fair warning - plain brownies just won't cut it after you try these!
The Secret Behind These Irresistible Treats
You know when you make something and everyone just lights up? That's what happens with these. I tweaked the mix between the soft cookie top and rich brownie bottom many times until I got it just right (my family didn't mind sampling each batch!). They're great for taking places too - I always get roped into bringing them to community gatherings and school functions. What I love most? They work perfectly whether you keep them basic or fancy them up.
Everything You'll Need
Here's what you'll want to grab for these amazing bars:
- Kitchen staples:
- All-purpose flour which works as the base for both parts
- Regular and brown sugars together they create that perfect chewiness
- The usual suspects: baking powder and soda for just enough lift
- A touch of salt to brighten all the flavors
- From the refrigerator:
- Eggs you'll need them for cookie and brownie sections
- Unsalted butter (salted works too just cut back on added salt)
- The main attractions:
- Milk chocolate chips but honestly any variety works wonderfully
- Quality bittersweet chocolate for that amazing brownie foundation
- Cocoa powder for extra chocolate punch
- Real vanilla extract it really does make everything tastier
Baking Time Fun
I can't wait to guide you through making these! Start by warming your oven to 350°F. Here's my foolproof pan trick: give your 9x13 dish a spray, put down parchment paper with extra hanging over the sides, then spray once more. You'll thank me when they slide right out!
For our cookie magic, mix dry stuff in one bowl. Now for the important part - in your big bowl, beat those butters and sugars until they're super fluffy. Don't skimp on this step! Add your egg and vanilla, then slowly mix in your dry ingredients. When you toss in chocolate chips, try to save some (I always snack on too many!).
For the brownie section - my favorite bit - I combine chocolate and butter in a makeshift double boiler. No fancy equipment needed, just float a heat-safe bowl in simmering water! Once everything's smoothly melted, we'll stir in the rest until we've got this beautiful, shiny mixture.
 Pin
Pin
Assembly Magic
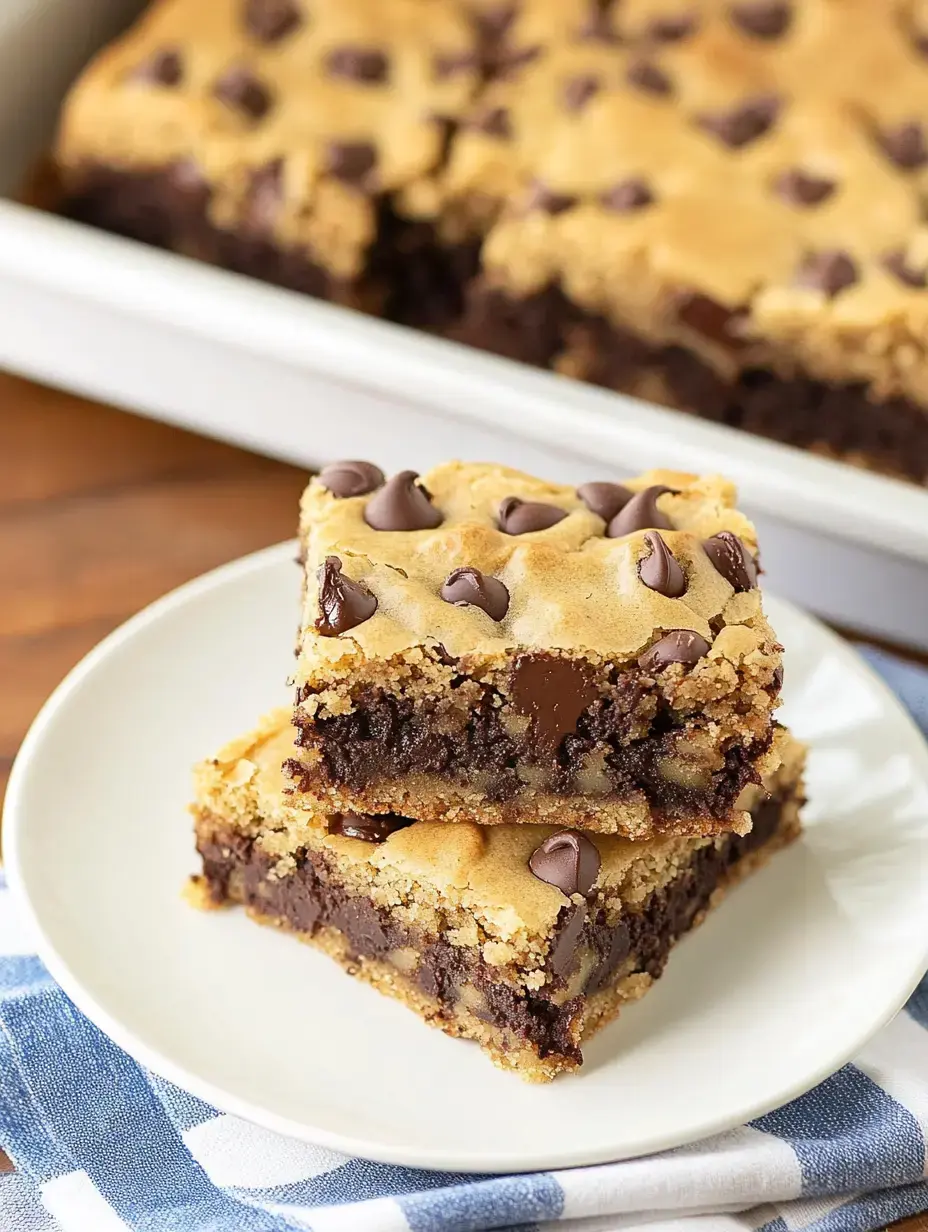
Now comes the fun part! Spread that amazing brownie mix into your pan first get it nice and level. Then use my favorite trick sprinkle chunks of cookie dough all across the top. Don't stress about making it perfect, those random clumps make the texture amazing!
Cover it loosely with foil for the first 20 minutes while baking that's my trick for getting both layers just right. Then let it finish uncovered until done. It'll be so tempting to dig in right away, but waiting until they're completely cool makes such a difference!
Custom Touches
I've played around with so many tasty twists on these bars over the years! Here are some winners from my kitchen tests:
- Fan of crunch? Throw some chopped walnuts or pecans into either section they add great texture.
- During Christmas, I mix in smashed candy canes with a hint of peppermint extract the kids go wild!
- Try sandwiching peanut butter cups between the layers it's unbelievably good.
- Want a campfire feel? Mix graham cracker pieces into the cookie part and scatter mini marshmallows on the brownie before adding cookie chunks.
- My go-to variation? Use white chocolate chips in the cookie mix, then drizzle melted white chocolate over the finished bars. For total indulgence, serve warm with a scoop of vanilla ice cream and hot fudge. Absolutely divine!
Common Questions Solved
After sharing this recipe tons of times, here's what people typically ask:
- Need to skip gluten? Any good measure-for-measure flour blend works great I've tried it myself!
- Go ahead and switch up your chocolate chips white, dark, or milk all taste wonderful.
- They'll stay fresh about 3 days in a sealed container on your counter, or 5 days if refrigerated (though they never last that long at my house!).
- You can definitely freeze them! Wrap them well and they'll keep up to 3 months. Great for unexpected visitors or midnight snack attacks.
- Want to get ahead? Make both mixtures a day early, keep in the fridge, then let them warm up before putting together.
Great for Any Gathering
These bars have become my standard for everything from school fundraisers to family gatherings. They're fancy enough for celebrations but simple enough for random weeknight treats. And talk about making your home smell amazing while they bake!
 Pin
Pin
Delightful Ways to Enjoy
My favorite way to eat these? Just barely warm with cold vanilla ice cream on top. For parties, I cut them into tiny squares so folks can grab easily. And always put out napkins these tasty treats can get wonderfully messy!
The Perfect Contrast
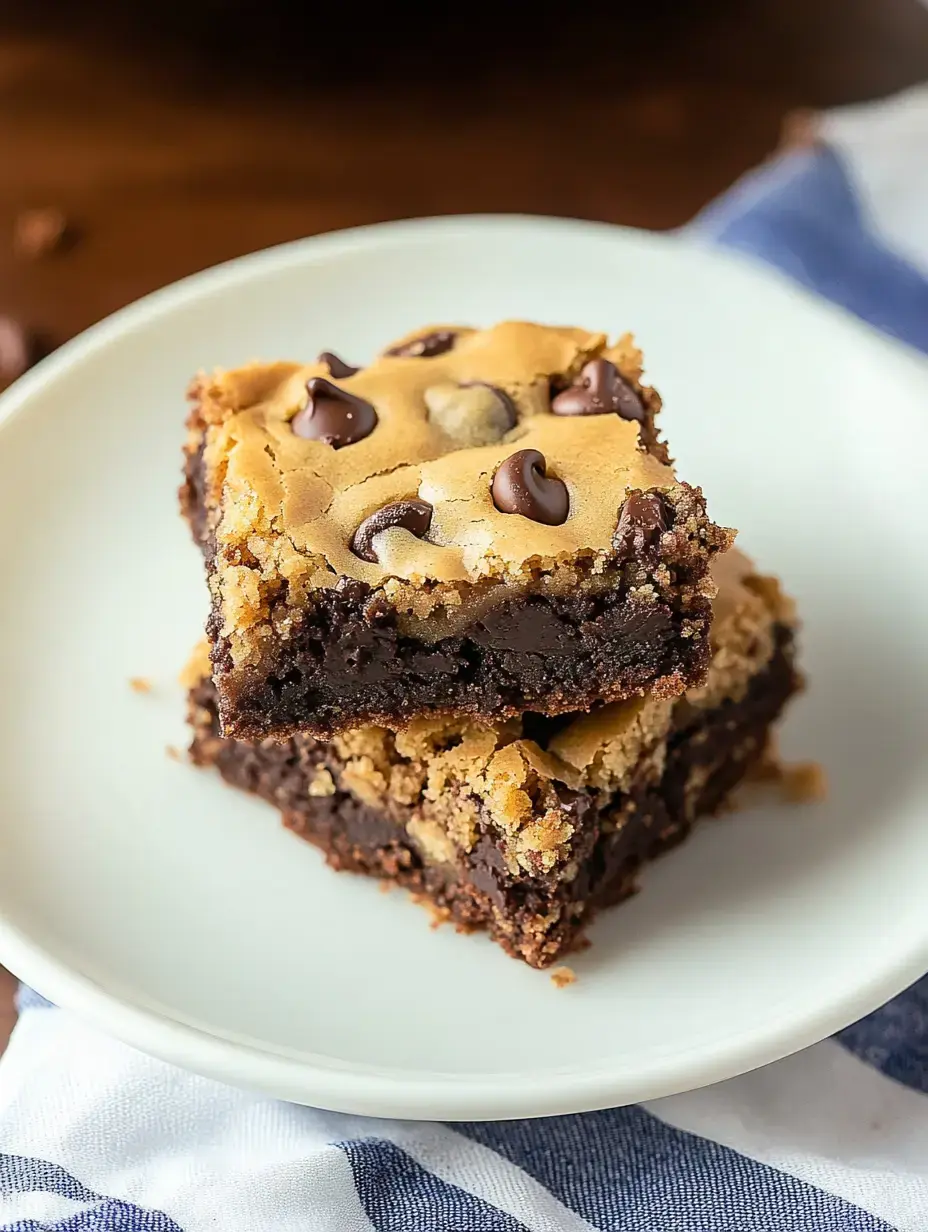
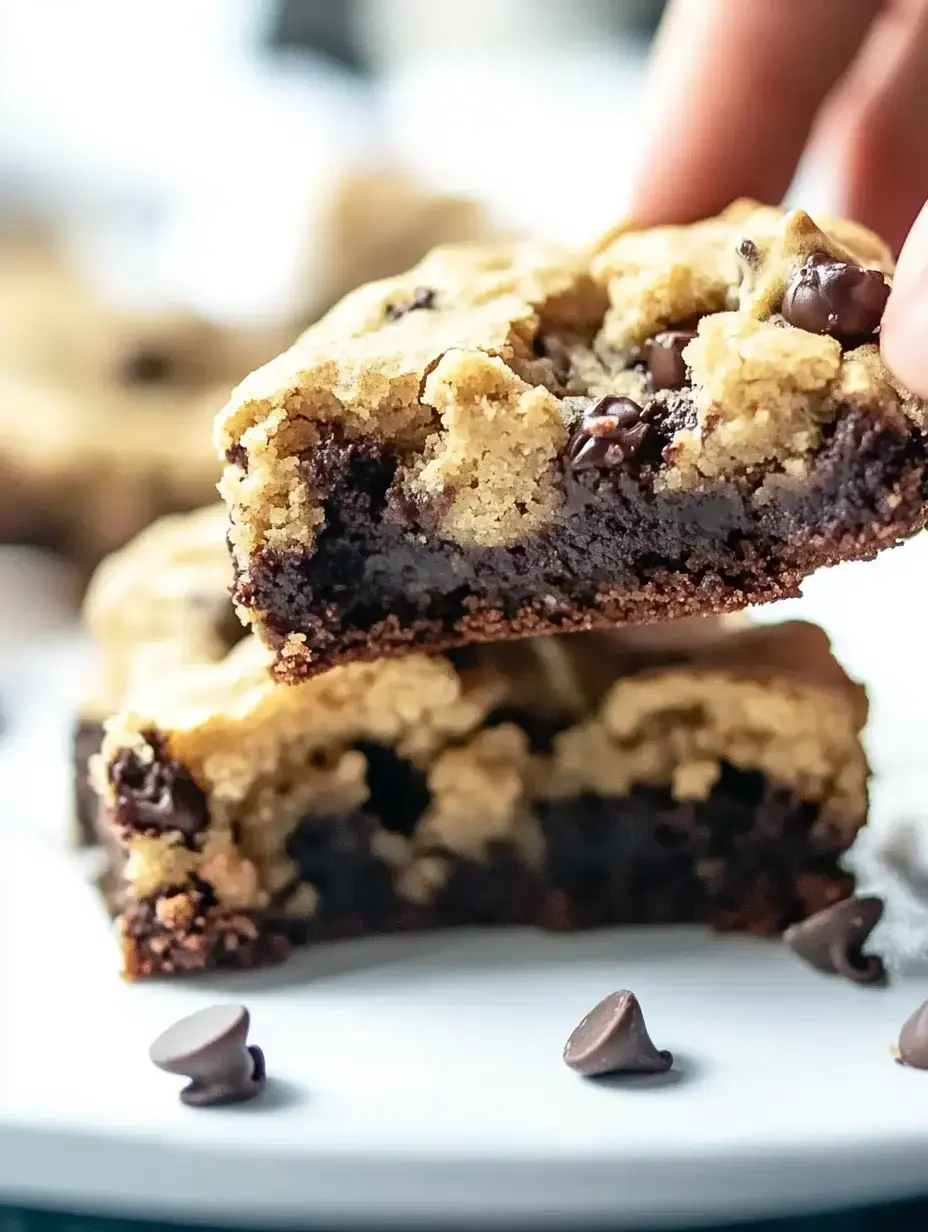
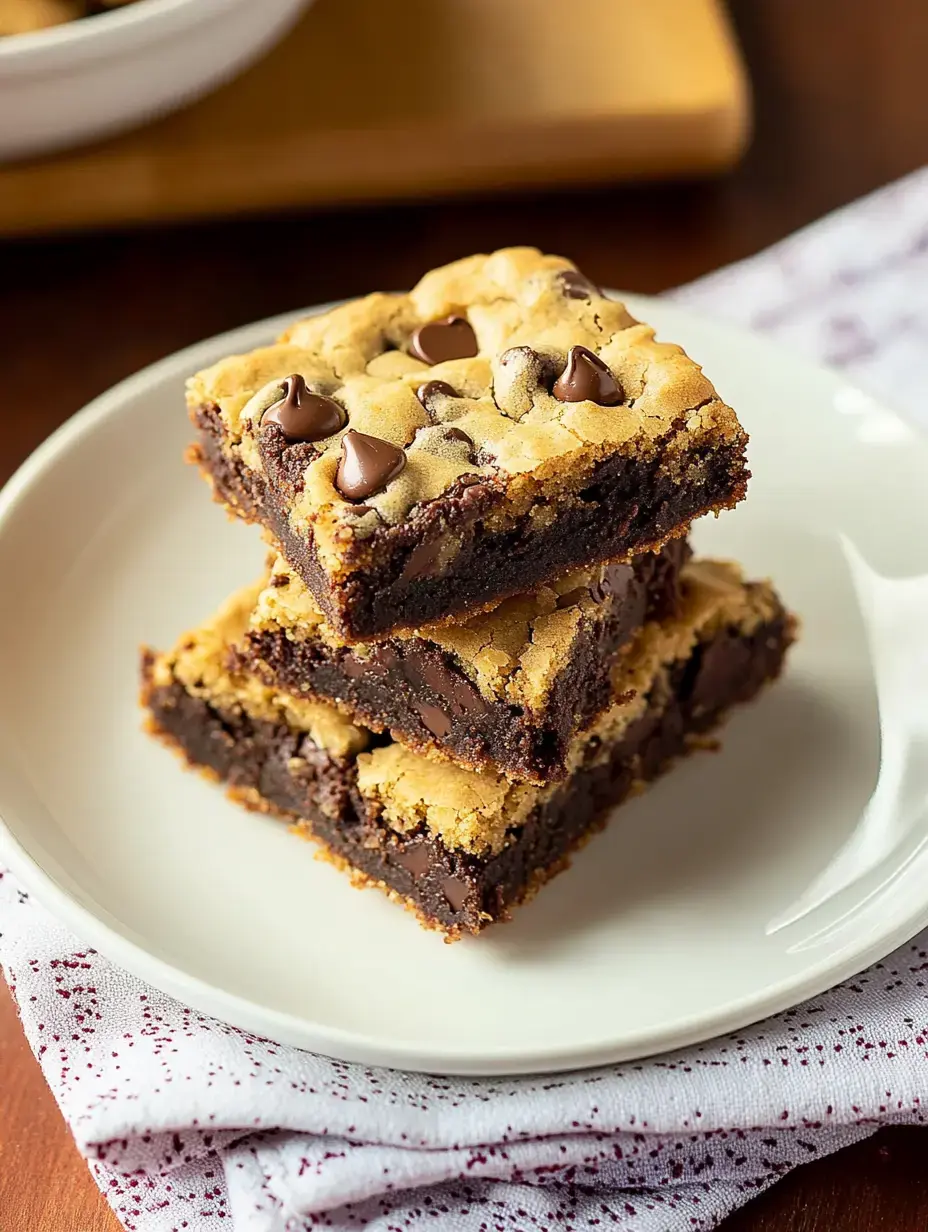
What makes these bars so amazing is all about the different textures that dense, fudgy brownie bottom with the soft, buttery cookie on top creates the most wonderful combination in every single bite. It's like getting your two favorite desserts at once, and somehow they taste even better together!
Storage Tips
Here's how I keep them fresh: pop them in an airtight container with wax paper between layers if you're stacking them. They'll stay yummy at room temp for three days, or put them in the fridge for up to five. Though honestly, having leftovers isn't something we deal with much at my house!
Freezer Tips
One of my best mom shortcuts is keeping these tucked away in the freezer! Just wrap each one in plastic, then store in a freezer box. They'll stay good for three months, though they never hang around that long. Simply pull them out the evening before you want them.
 Pin
Pin
Crowd-Pleasing Sweets
From summer cookouts to kid parties, these bars always get all the attention. I love watching people's reactions when they take their first bite. They're always the dessert that vanishes first from any table!
Playful Variations
What's awesome about this recipe is how flexible it is. Sometimes I toss in crushed nuts, other times I add swirls of caramel, and during holidays, I might add colorful sprinkles. Every single version has turned out great just follow what sounds good!
Two Classics Combined
There's something truly wonderful about merging two beloved treats into one. These bars take me back to childhood baking memories, combining everything wonderful about cookies and brownies. They're basically comfort food in dessert shape!
Finishing Flourishes
Let's chat about extras! A stream of caramel, a spoonful of whipped cream, or even a ribbon of peanut butter can really upgrade these bars. My little ones love helping choose what to add on top it's become our special baking tradition!
 Pin
Pin
Beginner-Friendly Baking
Don't worry about the two-layer approach scaring you off! I've broken everything down into easy steps that even my teenage son can handle. It's actually a fantastic recipe for building kitchen confidence.
Homemade Presents
Searching for a heartfelt handmade gift? These bars are perfect! I pack them in cute containers or jars for teachers, friends and neighbors. They always get big grins and folks asking how to make them!
Flavor Soulmates
You know how some things just belong together? That's these bars! The thick, decadent brownie perfectly balances the soft, chewy cookie top. They were basically made for each other!
Chocolate Bliss Squared
These cookie brownies have brought so much happiness to my kitchen and I bet they'll do the same for yours. Every batch reminds me why I got into baking creating something yummy that brings folks together. Whether you're whipping these up for something special or just because it's an ordinary day, I guarantee they'll become a staple in your baking lineup!
 Pin
Pin
Common Recipe Questions
- → Why use foil for part of baking?
Foil helps protect the cookie top from browning too fast while giving the brownie layer time to cook evenly. It makes sure both parts finish perfectly.
- → Can I try different chocolate chips?
Absolutely, pick from milk, dark, or semi-sweet chocolate chips. Each choice brings a slightly different twist to the flavor.
- → What's the reason for lining with parchment?
Parchment paper makes it easy to pull the bars out in one piece, keeps them from sticking, and simplifies cleanup afterward.
- → Are these freezer-friendly?
Yes, wrap them tightly and they can last up to 3 months in the freezer. Let them thaw in the fridge overnight before eating.
- → How do I know when they're cooked enough?
Look for a golden brown cookie top and check with a toothpick—it should come out with just a few wet crumbs. Don’t overbake or they might dry out.