 Pin
Pin
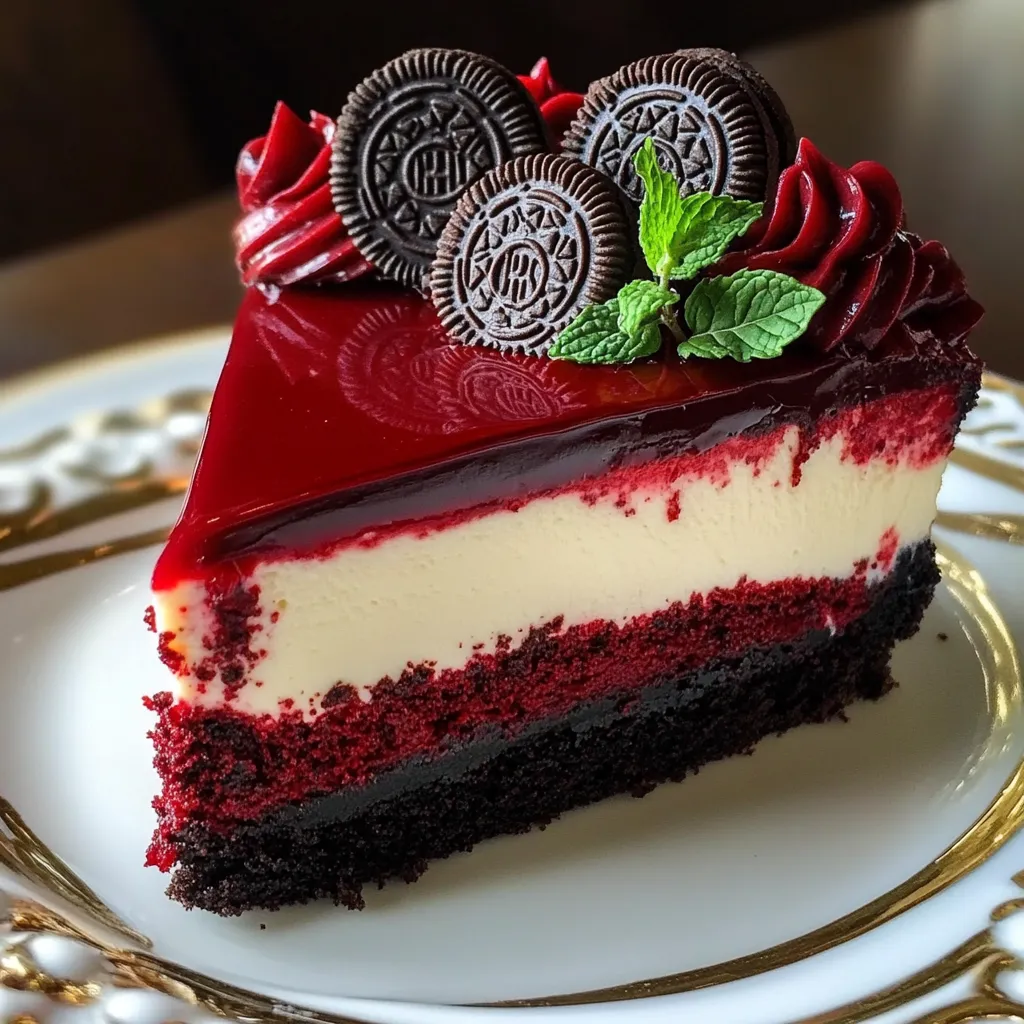
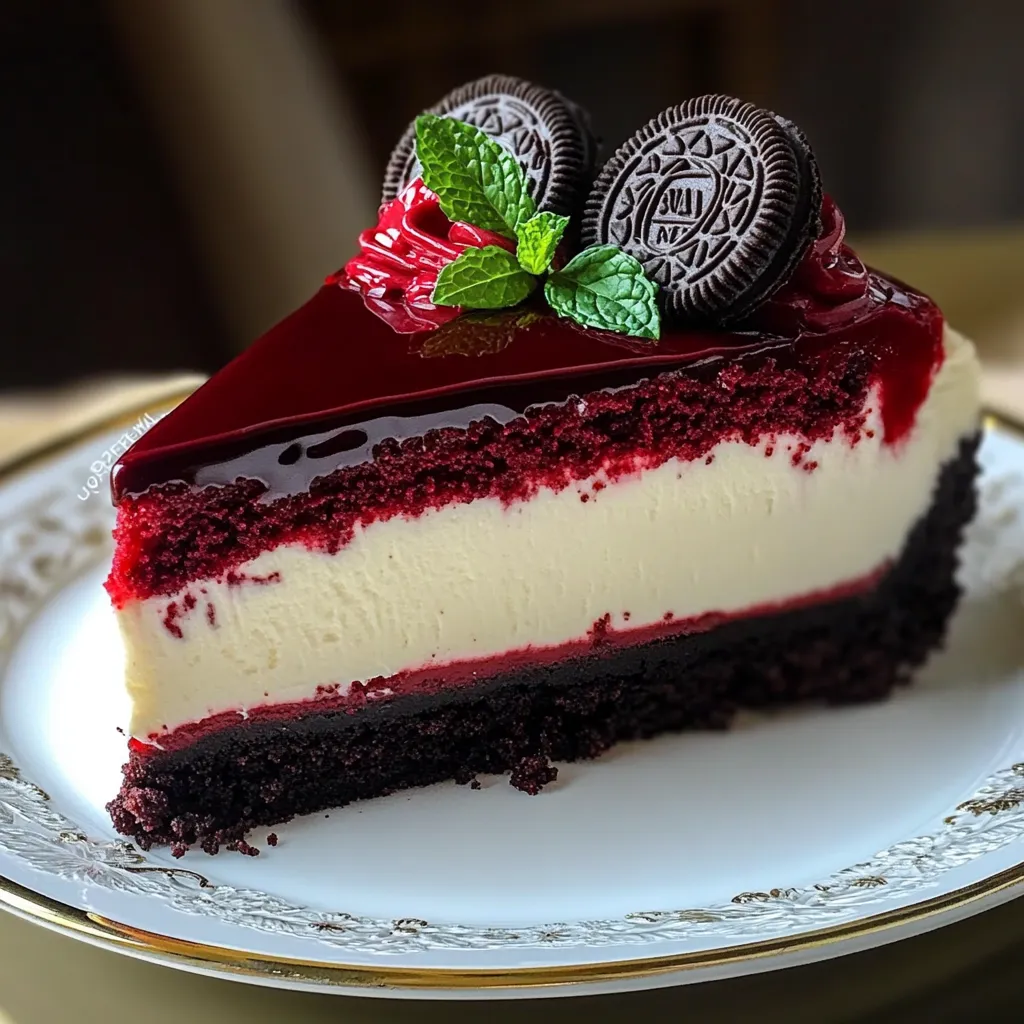
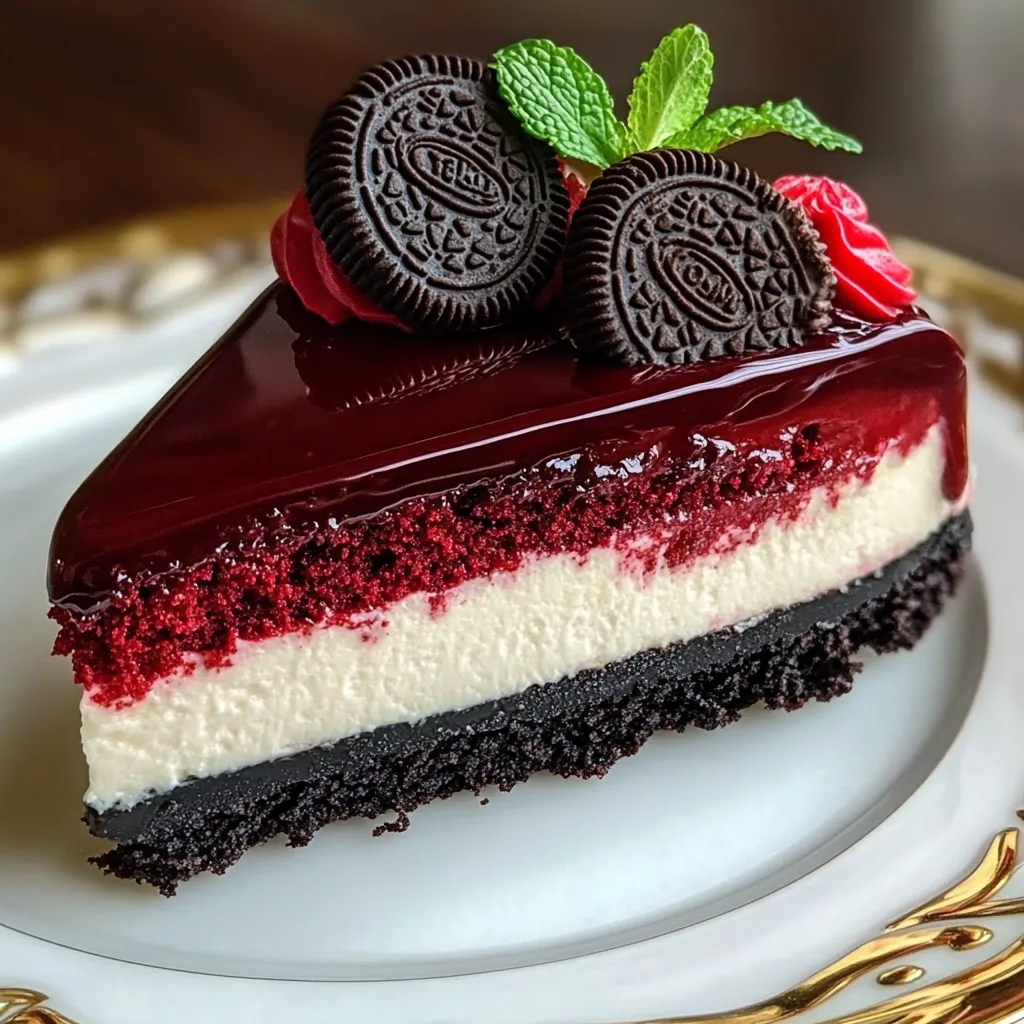
This dreamy red velvet oreo cheesecake blends two fan favorites into one knockout treat worth celebrating. The bottom layer features soft, cocoa-infused red cake topped with a velvety oreo-packed cheesecake and finished with smooth chocolate ganache. Every bite gives you multiple taste sensations—from the hint of cocoa in the red velvet to the crunchy cookie bits scattered throughout the creamy cheesecake. The eye-catching look grabs attention right away with its bright red base against the speckled white filling.
I came up with this recipe during last year's holiday baking when my regular cheesecake felt too boring. My teenage nephews, who never like anything, wolfed down their pieces super fast and begged me to make it our new family tradition. The mix of rich cheesecake with that slightly chocolatey red velvet hit everyone's sweet spot just right.
Top-notch Ingredients
- All-purpose flour: (1½ cups) for the red velvet base - Has just the right protein to hold up the heavy cheesecake on top
- Unsweetened cocoa powder: (2 teaspoons) - Adds that subtle chocolate hint that makes true red velvet special
- Unsalted butter: (½ cup) room temperature - Makes air bubbles when mixed with sugar for proper lift
- Granulated sugar: (1 cup for cake, 1 cup for cheesecake) - Cuts the cocoa's bitterness while keeping everything sweet enough
- Sour cream: (½ cup for cake, 1 cup for cheesecake) - Brings moisture and tang to balance the sweetness
- Vegetable oil: (¼ cup) - Keeps the cake moist longer than butter could alone
- Vanilla extract: (2 teaspoons for cake, 1 tablespoon for cheesecake) - Adds richness that works with the chocolate flavors
- Eggs: (2 for cake, 3 plus yolk for cheesecake) - Build structure and richness needed for the right texture
- Red food coloring: (4 teaspoons) - Creates that eye-catching bright color that stands out against the filling
- Buttermilk: (⅔ cup) - Wakes up the rising agents and makes the cake extra tender
- Baking soda: (1 teaspoon) and vinegar: (1 teaspoon) - Work together to make the cake rise properly
- Oreos: (10 crushed wafers for crust, 15 chopped for filling) - Bring that cookies and cream magic throughout
- Full-fat cream cheese: (24 ounces) - Gives the right texture that low-fat kinds just can't match
- Cornstarch: (1 tablespoon) - Helps the filling stay crack-free during baking
- Dark chocolate chips: (1 cup) and heavy cream: (½ cup) - Create that fancy smooth topping
Making Magic
- Cake Base:
- Heat oven to 350°F. Line springform and cake pans with parchment and spray. Mix flour, cocoa powder and salt in a bowl. Beat butter with sugar until light and fluffy. Stir sour cream, oil, vanilla, eggs and food coloring into the butter mix. Switch between adding dry stuff and buttermilk for a smooth mix. Stir baking soda with vinegar in a small cup then quickly mix into batter. Split between pans and bake until the middle bounces back when touched. Let cool fully before moving on.
- Cheesecake Layer:
- Lower oven to 300°F. Crush oreo wafers into fine crumbs. Beat cream cheese until smooth then add cookie filling, sugar and cornstarch. Mix in sour cream and vanilla until fully blended. Add eggs and yolk one at a time, mixing just enough. Fold in crushed cookies and chopped oreos. Pour over the cooled cake base in the springform. Put wrapped springform in a bigger pan with hot water. Bake until middle jiggles slightly when moved. Turn oven off, crack the door, and let cool slowly. Put in fridge overnight to set completely.
- Final Touches:
- Mix chocolate chips with hot heavy cream and let sit briefly before stirring into smooth ganache. Pour over the cold cheesecake and spread evenly. Crumble extra red velvet cake and press gently around the sides for decoration. Pipe cream cheese frosting around the edge with chopped oreos between. Chill until all toppings are set before serving.
 Pin
Pin
My grandma showed me why you can't rush layered desserts like this. My first try years back was a disaster because I didn't let it cool right and the middle sank. Now I know that getting the temperature right between steps makes it stand tall and pretty. When you take your time with this recipe, you get amazing looks and taste.
Perfect Pairings
Make this awesome dessert even better with smart sidekicks that bring out its flavors. Fresh berries, especially strawberries, give a nice tangy kick that cuts through the richness. Strong coffee or espresso brings a bitter note that works great with all the sweetness. Vanilla ice cream adds a cool temperature twist while making the creamy parts taste even better.
Switch It Up
Change this classic to match your taste or dietary needs with these easy tweaks. Try a white chocolate version by swapping in white chocolate chips for both the cake and topping. Make a holiday treat by mixing in crushed candy canes instead of some oreos. For gluten concerns, use gluten-free oreos and the right flour substitute in the cake part.
Keeping It Fresh
Keep your cheesecake tasting great by storing it covered in the fridge for up to five days. Wrap single slices tight and freeze them for quick treats that last three months. Thaw frozen pieces in the fridge overnight, never on the counter, to protect the texture. Let cold slices sit out for twenty minutes before eating to bring back their best flavor.
This show-stopping red velvet oreo cheesecake has become my go-to dinner party finale after years of dessert testing. I love watching friends take their first bite and go quiet with that eyes-closed moment of pure enjoyment. The looks alone get people excited, but the flavor mix truly delivers beyond what they expect. Though it seems fancy, breaking the steps into stages makes it totally doable. When you need a dessert that makes memories and wows a crowd, this one always comes through with both looks and taste.
 Pin
Pin
Common Recipe Questions
- → Can I skip the water bath?
- Yes, but cracks may appear. Bake at 325°F if skipping the water bath and expect some cracking, which ganache can cover.
- → How early can I prep this cheesecake?
- It stays fresh for 3 days in the fridge if wrapped well. Freeze undecorated for up to 2 months, then thaw in the fridge overnight to decorate.
- → Why warm all ingredients to room temp?
- Warm ingredients mix smoothly and avoid lumps, giving you a creamy texture. Cold ones can make the batter curdle or clump.
- → Can I swap out the pan size?
- A 9-inch pan works best, but a 10-inch one is fine—just reduce the bake time by about 10 minutes. Avoid smaller pans, as they may overflow.
- → How do I check if the cheesecake is done?
- Look for edges that are firm but a middle that still jiggles slightly. It'll firm up more as it cools. Overbaking can cause cracks or dryness.
