
 Pin
Pin
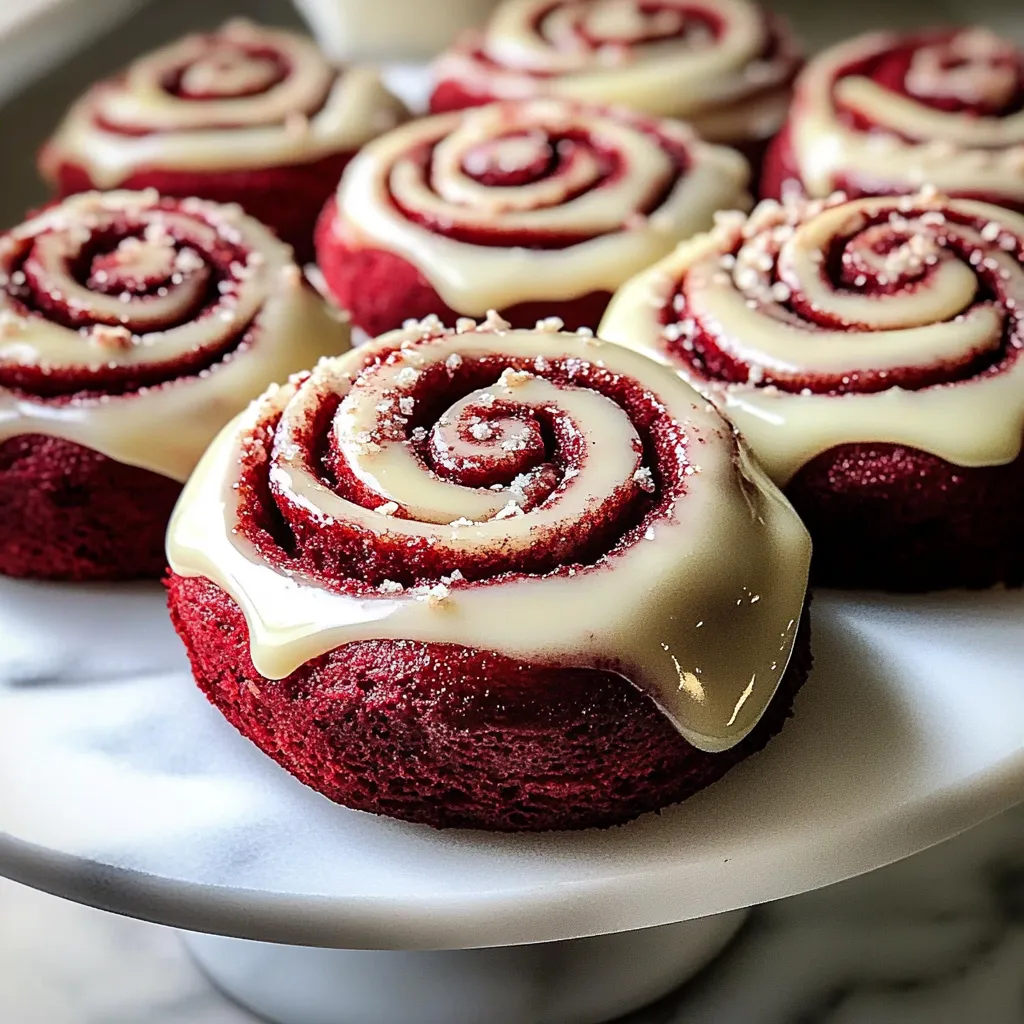
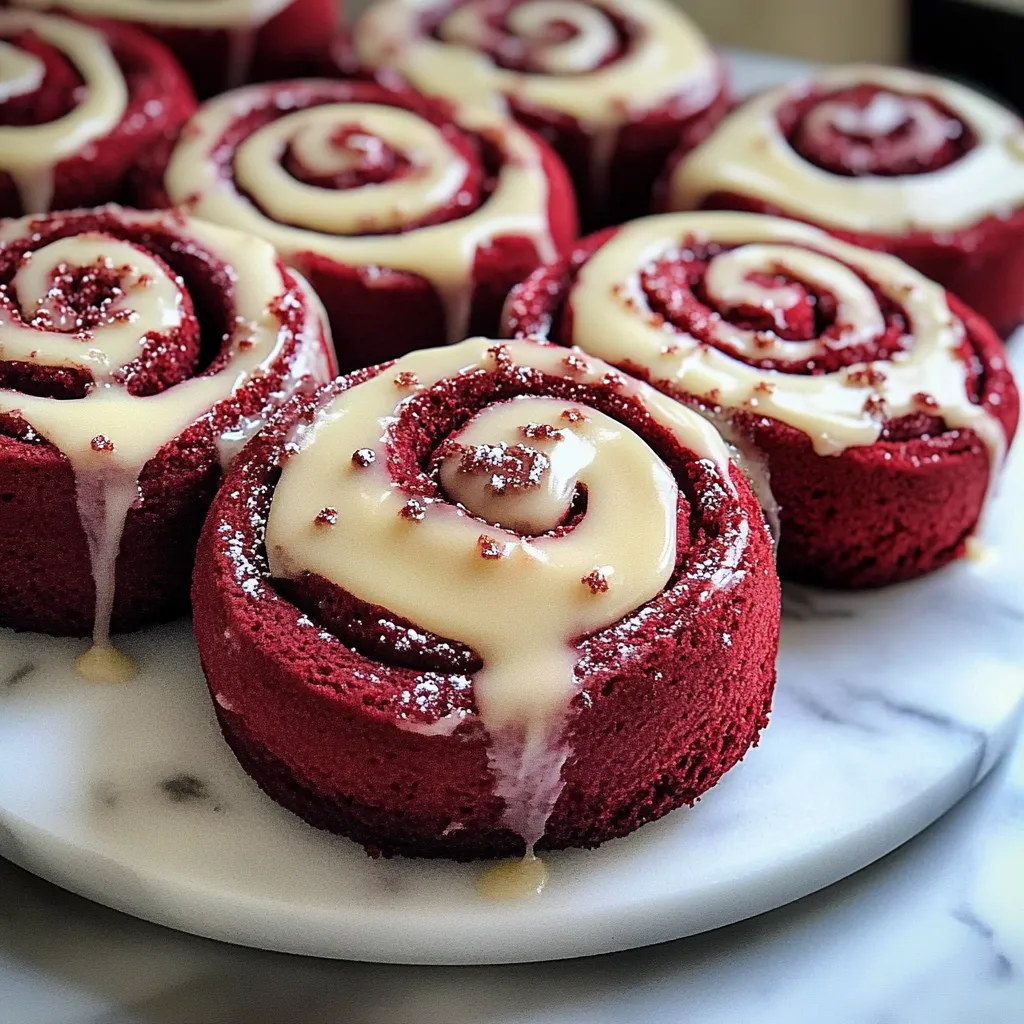
Deep ruby dough twists with sweet cinnamon-sugar mix, blending the magic of traditional cinnamon buns and classic red velvet cake into one eye-catching morning delight. Every fluffy coil offers just the right mix of gentle cocoa, toasty spice, and smooth texture, all topped with rich cream cheese icing that sinks into all the nooks.
These swirls became our go-to holiday treat after I first made them as a Christmas morning gift. My grandma, who usually stays cool about most things, couldn't help but let out a wow when I pulled the cover off the pan of scarlet spirals at our breakfast gathering.
Key Components
- Red Food Coloring: Gives that bold color pop that makes folks instantly know what they're looking at
- Cocoa Powder: Brings those light chocolate hints that real red velvet should always have
- Cream Cheese: Makes up the foundation of the tangy-sweet topping that's a must for the full red velvet vibe
- Active Dry Yeast: Gets you those fully risen, cloud-soft buns with just the right feel
- Ground Cinnamon: Adds those cozy, spicy bits that let you know you're eating cinnamon buns
Making Flawless Red Velvet Swirls
- Getting The Dough Right:
- Start by waking up your yeast in warm milk until it's bubbly and smells good. This first part can't be skipped if you want dough that puffs up nicely for that tender, soft feel.
- Adding The Color:
- Mix red food coloring right into your wet stuff before putting in the dry mix. This way the color spreads all through the dough without working it too much.
- Taking Time To Rise:
- Let the dough sit in a warm spot with no air blowing on it until it gets twice as big. This slow first rise builds taste and makes your buns super soft.
- Putting In The Filling:
- Layer a thick coat of cinnamon-sugar-butter mix evenly on your rolled-out dough, going all the way to the edges except for a tiny strip. Being careful here means every bite will have just enough filling.
- Cutting Them Right:
- Use plain dental floss or a really sharp bread knife to cut the rolled dough into same-size pieces without squishing the pretty swirl pattern you've made.
 Pin
Pin
I came up with these buns during a holiday baking session when I accidentally knocked over red food coloring into my cinnamon roll dough. Instead of starting fresh, I went with it and threw in some cocoa powder too. Those buns got more praise than any sweet treat I'd ever baked.
Tasty Companions
Enjoy these rich buns with a bold cup of coffee or smooth hot chocolate to cut through their sweetness. For a fancy brunch, add some fresh fruit and a tasty egg dish to get that perfect mix of sweet and savory.
Tasty Twists
Switch things up by tossing tiny chocolate chips into the filling for extra richness. Make a holiday version with crushed candy canes mixed into the frosting. For some crunch, scatter toasted pecans over the filling before you roll it up.
Keeping Them Fresh
Keep fully cooled buns in a sealed container on your counter for up to two days. To keep them longer, put them in the fridge for up to five days, but warm them up before eating. These buns also freeze really well for up to three months.
After countless batches of these stunning buns, I've noticed they bring a party vibe to any table. Their bright color turns just another morning into something worth celebrating, while that familiar cinnamon smell fills the room with coziness and warmth. Whether it's for holidays, birthdays, or just making a weekend breakfast extra nice, these red velvet cinnamon buns create lasting memories every time you bake them.
 Pin
Pin
Common Recipe Questions
- → Can I make these ahead?
- Totally! Shape and pan them, then refrigerate overnight. Let them rest for 30-45 minutes at room temperature before baking.
- → Why are these called 'red velvet'?
- The red coloring and the mix of cocoa hints with vanilla mimic the famous red velvet cake flavors.
- → Are these freezer-friendly?
- Yep! Keep the unfrosted rolls in a container in the freezer for up to three months. Defrost overnight in the fridge and heat up before frosting.
- → How do I know if my dough is ready?
- It should double in size. Test it by gently poking with your finger—if the dent stays, it’s good to go!
- → What if I don’t have red food dye?
- No problem! You can leave it out for a regular version, or use something like beet powder for a softer red color.