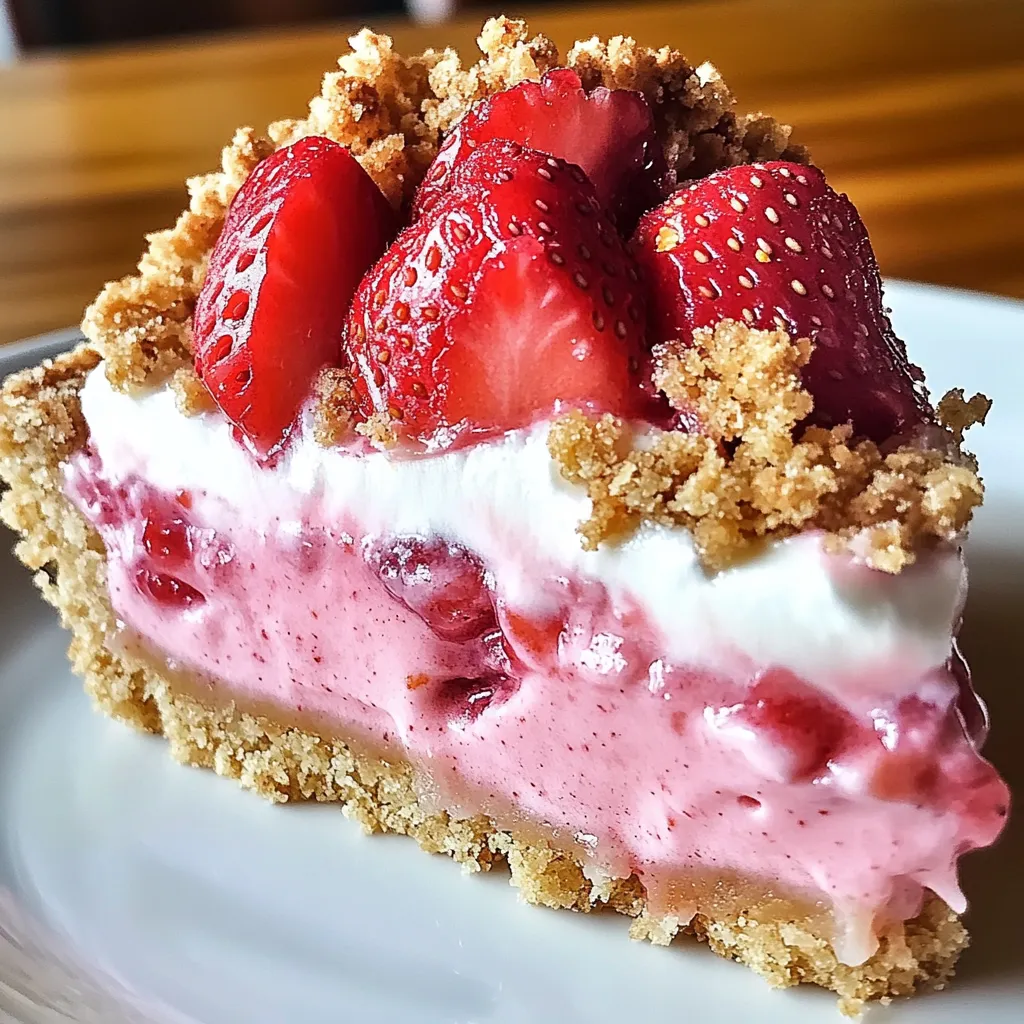
The classic New York-style cheesecake gets a playful makeover with this strawberry crunch version. It's a delightful mix of textures and tastes that combines creamy cheesecake with bright strawberry notes, topped with a crunchy mixture that'll remind you of those favorite childhood ice cream bars.
I tried making this at least twenty times before I figured out the secret - letting the cream cheese sit out for exactly 60 minutes makes the filling incredibly smooth. Now my kid asks for this instead of cake every birthday and swears the crunchy topping is 'way better than sprinkles.'
Key Ingredients Breakdown
* Cream cheese: Pick the full-fat kind and let it warm up completely for the creamiest results
* Golden Oreos: They're the secret to that buttery, delicious crunchy layer
* Freeze-dried strawberries: Nothing else gives you that intense berry flavor and natural crunch
* Fresh strawberries: Look for ones that smell sweet and have bright color
* Heavy whipping cream: Go for the highest fat percentage you can find to help your cheesecake set right
Making Your Sweet Creation
Base Building
Mix your graham cracker bits with melted butter until everything looks damp, then push it down firmly in your springform pan.
Whipping The Filling
Mix the room-temp cream cheese until it's super smooth - don't leave any lumps or your texture won't be right.
Berry Mixing
Gentle fold your strawberry mix into half the cheesecake batter to keep the layers separate and pretty.
Stacking Layers
Start with the plain cheesecake on the bottom, smooth it out, then add your pink strawberry layer on top.
Adding The Crunch
Scatter your crumb mix all over the top, making sure to cover everything for that signature crunch.
Cooling Time
Let it chill until it's completely set, giving all those amazing flavors time to come together.
PinStrawberry Crunch Cheesecake Mix | chefmiarecipes.com
My grandma always told me to push the crust a bit up the sides to hold the filling better. She'd say you can't rush a good cheesecake, and after making this countless times, I totally get what she meant.
Tasty Companions
Make your dessert extra special with some sidekicks. Try serving with a fresh strawberry sauce for more berry goodness. A little dark chocolate drizzled on top looks fancy and tastes amazing. For parties, grab some bubbly wine - the fizz goes really well with the creamy cheesecake.
Fun Twists
Put your own spin on this treat with some simple swaps. Try using freeze-dried raspberries in the topping instead. For chocolate fans, mix some cocoa into the plain layer. During summer, throw some fresh peaches into the fruit section. Or go with a cookies and cream version by using chocolate cookie crumbs.
Staying Fresh
Keep your cheesecake in the fridge with a cover for up to five days. For the best crunch, add that topping right before you serve it. If you want to freeze some, wrap single slices tightly without the topping, then add fresh crunch after they thaw.
This strawberry crunch cheesecake has become the dessert everyone expects me to bring to family get-togethers. There's something so fun about watching people take their first bite and discover that amazing contrast between smooth cheesecake and crunchy topping. It manages to be both fancy and nostalgic all at once.
Smart Techniques
Get to know where your oven heats unevenly for better baking results. Try using a water bath as extra protection against cracks. Be gentle when taking off the springform sides to keep those pretty layers intact.
Year-Round Options
Try different fruits depending on the time of year. Summer gives you the tastiest strawberries, but in winter, you might want to try a cranberry version instead.
Smart Storage
For the crunchiest experience, keep the topping in a separate container and sprinkle it on just before eating. This stops it from getting soggy from the moisture in the cheesecake.
I've tweaked this recipe so many times, and I've learned it's more than just something sweet to eat - it brings folks together. The pretty pink and white colors and that amazing crunch make any occasion feel more special, whether it's a birthday party or holiday dinner.
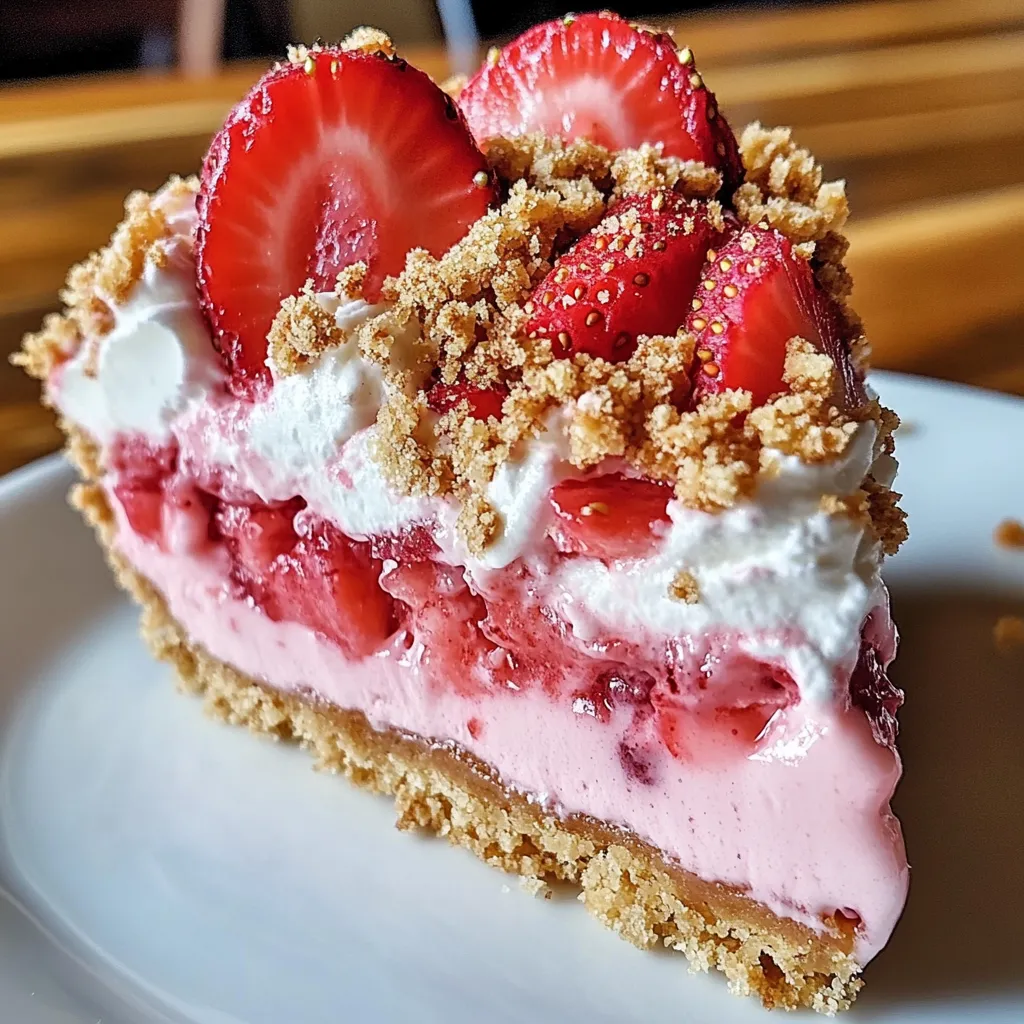
PinDelicious Strawberry Crunch Cheesecake | chefmiarecipes.com
Common Recipe Questions
→ Do I have to bake it?
Not at all! Pop it in the fridge for at least 4 hours to get it set perfectly.
→ Is it okay to prep this early?
Of course! You can make it up to 5 days before. Just wait to add the topping so it stays crispy.
→ What if the filling feels too soft?
Double-check that the cream was whipped to stiff peaks. Chill it a full 4 hours for it to firm up just right.
→ Can I keep it in the freezer?
Sure can! Store it for up to 3 months without the topping. Add the crunch after thawing it overnight in the fridge.
→ What’s a good swap for golden cookies?
Vanilla sandwich cookies work well too. Any crispy cookie will do the trick for that crunch!
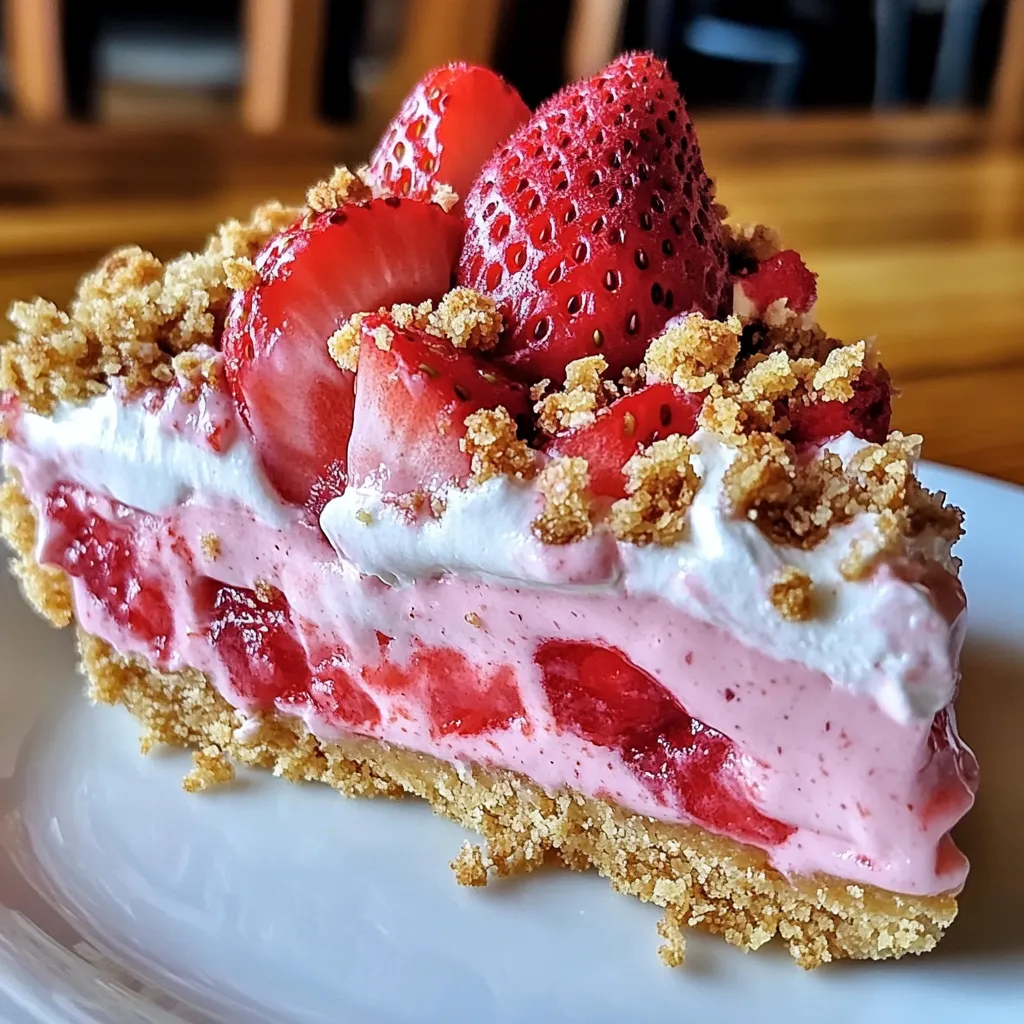
Strawberry Crunch Cheesecake
Light, no-bake dessert with a graham crust and crispy strawberry cookie layer. No oven needed!
Recipe Yield:
10 Number of Servings (One 9-inch cheesecake)
Dietary Categories:
Vegetarian-Friendly
Ingredients You’ll Need
→ Crust Base
011/4 cup white sugar
021/2 cup melted unsalted butter
032 cups of crushed graham crackers
→ Cheesecake Layer
041 cup cold heavy cream
0516 ounces softened cream cheese
061 teaspoon vanilla flavoring
071 cup powdered sugar
081/2 cup sour cream
→ Strawberry Crunch Crumbs
093 tablespoons melted butter
101/4 cup strawberry-flavored gelatin mix
111/4 cup crushed freeze-dried strawberries
1220 crushed golden sandwich cookies
→ Optional Toppings
13Whipped cream
14Fresh strawberries
Steps to Make It
Step 01
Combine graham cracker crumbs, white sugar, and melted butter until evenly mixed. Firmly press this into the bottom of a 9-inch pan with removable sides, then chill it in the fridge.
Step 02
Beat softened cream cheese and powdered sugar in one bowl until smooth. Add the sour cream and vanilla, mixing well. Separately, whip heavy cream until stiff peaks form, then gently fold it into the cream cheese mix.
Step 03
Spread the filling evenly over the crust, smoothing the surface. Refrigerate for a minimum of 4 hours to let it firm up completely.
Step 04
Stir together crushed cookies, melted butter, freeze-dried strawberries, and gelatin mix until crumbly in texture.
Step 05
Once the cheesecake is firm, release it from the pan and coat the top and sides with the crunchy topping. Finish with whipped cream and strawberries if you'd like.
Extra Information
No need to use the oven for this—great for keeping cool during hot weather.
Make sure your cream cheese is truly soft so the filling blends seamlessly.
It needs at least 4 hours to set, though letting it rest overnight works even better.
Essential Tools
Springform pan (9 inches)
Hand mixer or stand mixer
Mixing bowls (large size)
Something to crush cookies, like a rolling pin or food processor
Allergen Details
Review every item for allergen risks. Reach out to a healthcare expert for any concerns.

 Pin
Pin
 Pin
Pin
 Pin
Pin