 Pin
Pin
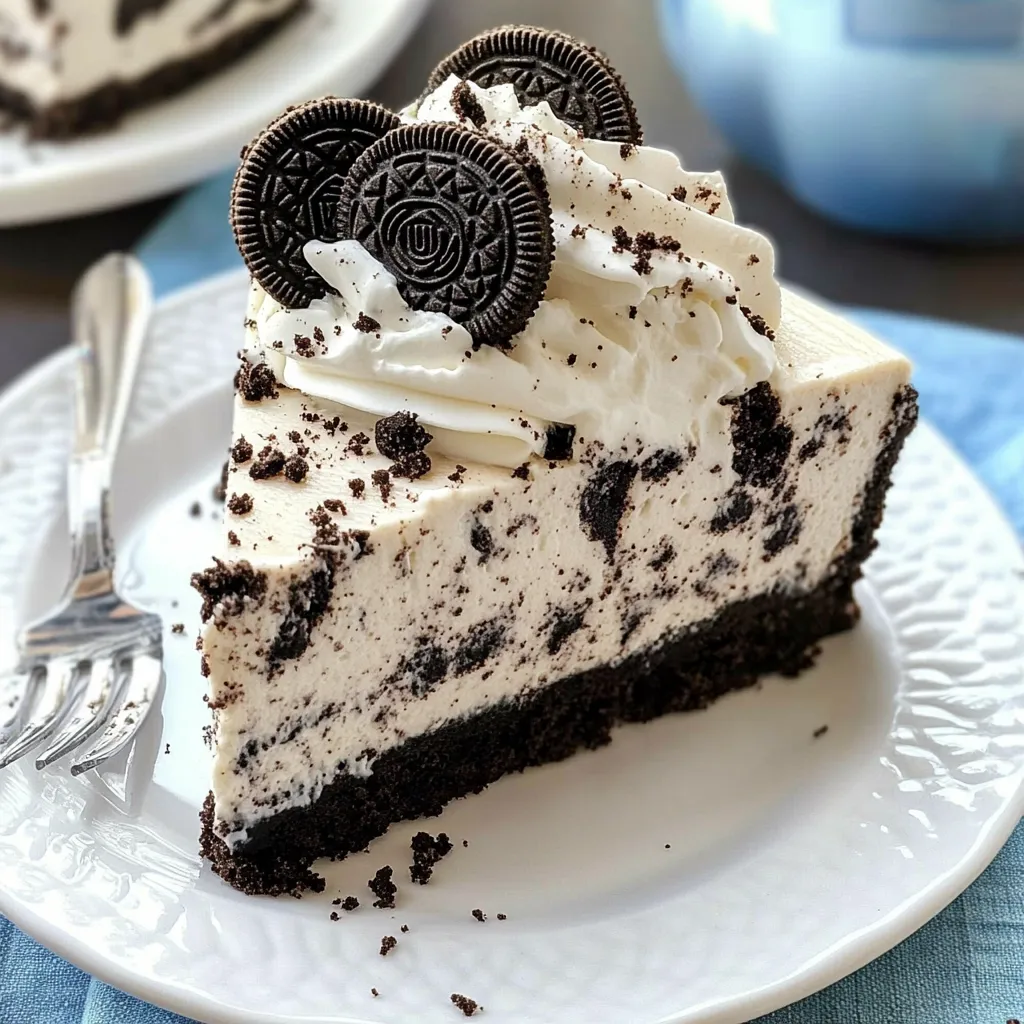
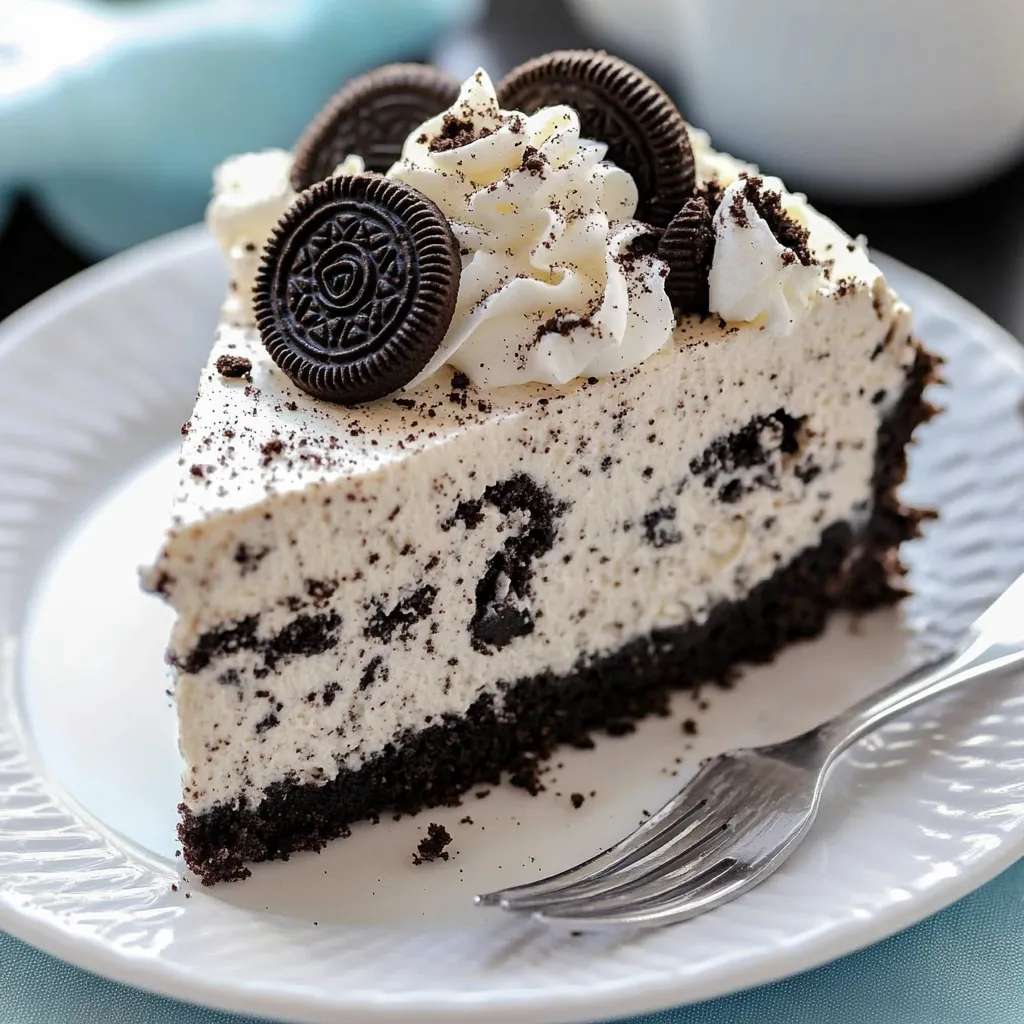
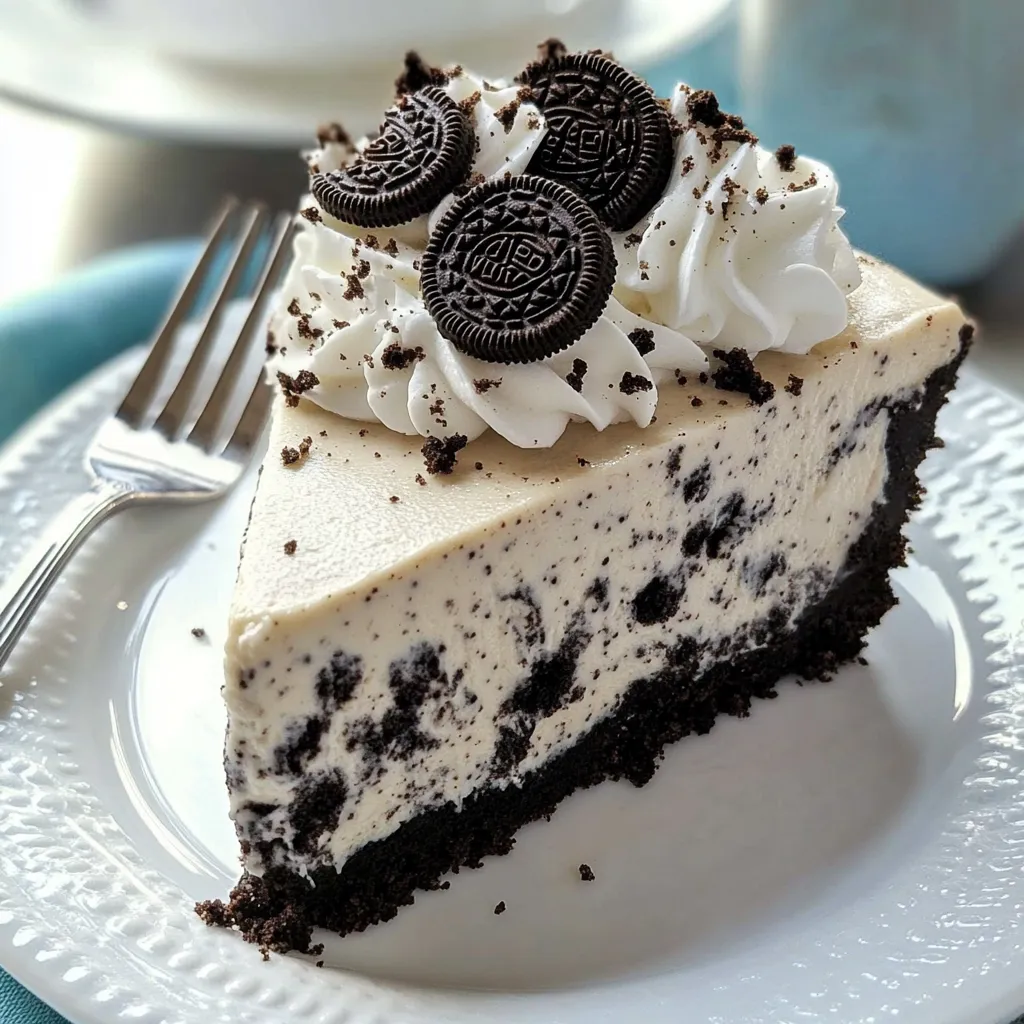
This Oreo cheesecake blends smooth cream cheese with crunchy chocolate cookies for a knockout treat that won't heat up your kitchen. You'll end up with a jaw-dropping dessert featuring a rich cookie base topped with velvety cheesecake packed with cookie chunks and topped with fluffy cream swirls and cookie pieces. Every bite gives you that perfect mix of creamy filling and crunchy bits.
I whipped this cheesecake up for my sister's birthday last summer. We didn't have to crank up the oven during that awful heatwave, and everyone went back for seconds. Watching their faces light up when they saw those cookie pieces throughout each slice made all the prep totally worth it.
Key Ingredients
- 24 standard Oreo cookies: for the base - Regular ones work way better than double-stuffed since they give you the right balance of cookie to cream
- 8 more Oreos: for the filling mix-ins - They add that awesome crunch and look pretty cool when you cut into it
- 6 Oreo halves: for topping - Pick the nicest looking ones to make it look fancy
- 16 ounces cream cheese: (full-fat kind) - Don't go low-fat here, you need the richness to make it set up right
- 1/2 cup granulated sugar: - Just enough to make it sweet without drowning out the chocolate flavor
- 1 teaspoon vanilla extract: - The real stuff makes everything taste better and works with the chocolate notes
- 1 1/2 cups heavy whipping cream: for the filling - Don't skimp on fat content or your cheesecake won't turn out right
- 1/3 cup powdered sugar: for the whipped topping - It blends in smoothly so you won't get any sugar grains
- 4 tablespoons melted butter: - This glues all those cookie crumbs together into a proper crust
Preparation Steps
- Making Your Base:
- Crush whole Oreos (cream and all) in your food processor until they're fine crumbs. Mix in the melted butter until all crumbs look wet. Push this mixture firmly into your springform pan bottom and about an inch up the sides to make a solid base. Stick it in the fridge while you work on the rest.
- Creating The Filling:
- Whip your cold heavy cream until it starts to thicken, then add powdered sugar and keep beating until it forms stiff peaks. Set this fluffy mixture aside. In another bowl, beat your softened cream cheese with sugar and vanilla until it's smooth and a bit fluffy. Then gently fold your whipped cream into the cream cheese mix with light, careful movements until it's all combined.
- Adding The Cookies:
- Carefully fold crushed Oreos into your creamy mixture using a light touch instead of stirring hard. Add the chopped cookie chunks last, making sure they're spread evenly throughout. Pour everything into your chilled crust and smooth the top. Refrigerate for at least five hours but overnight works best so it can set up properly.
- Adding Final Touches:
- Make your decoration cream by whipping the remaining heavy cream with powdered sugar and vanilla until it holds its shape. Carefully take off the springform ring after sliding a knife around the edges. Move your cheesecake to a serving plate. Pipe pretty cream swirls around the edge and place Oreo halves between them. Sprinkle some extra cookie crumbs in the middle to make it look fancy.
 Pin
Pin
When I was little, my grandma always told me to be patient with chilled desserts. She'd say 'the fridge works its magic overnight' and she wasn't kidding. All those flavors really do come together and everything sets up just right. This cheesecake tastes so much better after it's had a good night's rest in the refrigerator.
Tasty Companions
This rich cheesecake tastes even better with sides that cut through the creaminess. Fresh berries like raspberries or strawberries bring a nice tang. A hot cup of coffee or espresso goes amazingly well with the chocolate cookie flavor. For fancy occasions, try drizzling some chocolate sauce over each slice to make it look extra special while boosting that chocolate taste.
Fun Variations
Switch things up with these easy tweaks to match different tastes. Try adding peppermint extract to the filling for a cool Mint Chocolate twist. If you love peanut butter, swirl some melted peanut butter through the filling before chilling. Want something different? Use Golden Oreos instead of chocolate ones for a pretty color contrast that still gives you that familiar texture everyone loves.
Storage Solutions
Keep any leftover cheesecake in the fridge covered up for about four days while it's still at its best. You can freeze single slices for up to three months if you want to save some for later. When you're ready to eat frozen pieces, let them thaw in the fridge overnight instead of on the counter. Don't use the microwave to warm it up because that'll make the filling separate and the crust get soggy.
This no-bake Oreo cheesecake hits that sweet spot between easy and impressive. I've made it for everything from casual Sunday dinners to fancy birthday parties, and it always gets rave reviews. Those visible cookie chunks make everyone excited to dig in, and the taste never disappoints. When it's too hot to turn on the oven or you're short on time, this recipe proves you can still make something amazing without sacrificing quality.
 Pin
Pin
Common Recipe Questions
- → Can low-fat cream cheese or Cool Whip replace heavy cream?
- Low-fat cream cheese works but won’t be as rich. Cool Whip can replace the whipped cream (use 8 oz), but fresh whipped cream gives a better taste.
- → Why didn’t my cheesecake firm up correctly?
- Make sure you whip the cream until it’s stiff, using very cold heavy cream. Also, let it chill long enough—6 hours is the minimum, but overnight is better.
- → Can I freeze this cheesecake?
- Absolutely! Wrap it securely in plastic and foil, or store slices in airtight containers. Freeze up to 3 months and thaw in the fridge overnight.
- → Should I remove the cream from the Oreos?
- Nope, leave the cream filling in! It adds sweetness and helps hold the crust together, as well as enhancing the filling texture.
- → Can I use a pie dish instead of a springform pan?
- Sure! A 9-inch pie plate works, though you can’t remove slices as cleanly. Serve straight from the dish—it’ll still taste great!
