
 Pin
Pin
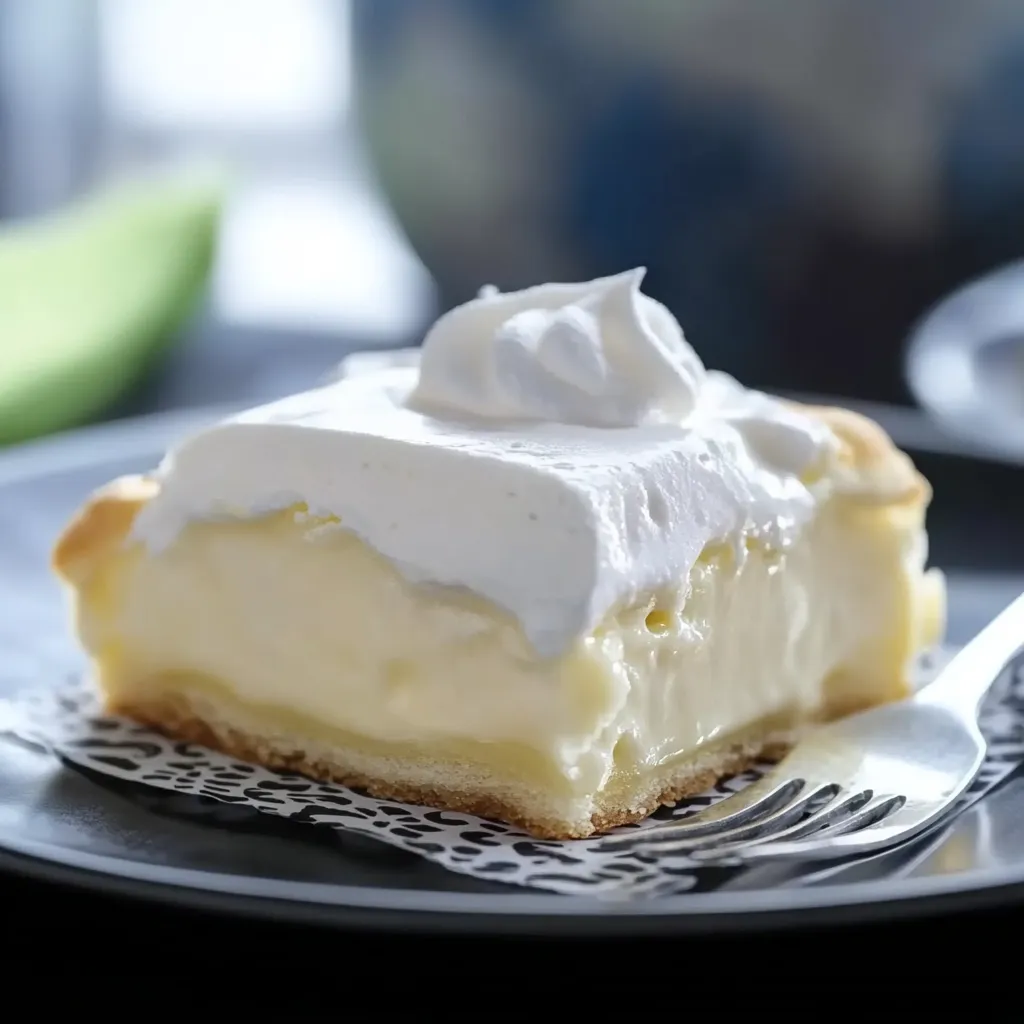
Picture a cream puff transformed into a sliceable treat you can share. This Cloud Cake has a soft, puffy crust that rises beautifully as it bakes, creating the perfect base for a melt-in-your-mouth creamy middle. It's a simple yet impressive treat that manages to be both fancy and comforting—just right for special events or when you want something truly amazing.
I first tasted this amazing dessert at a tiny coffee shop where I waited tables almost twenty years ago. People would come in just for a piece of this cake, and when I made it at home recently, I was instantly taken back with the very first taste. My folks weren't sure about a "cream puff cake" at first, but they changed their minds quick when the whole thing vanished so fast at our family dinner.
Main Elements
Crust Foundation
- Water: Makes up the base of the choux dough, creating steam as it bakes that helps the crust get nice and puffy with that special texture
- Unsalted Butter: Adds flavor and richness to the crust while helping it turn that pretty golden color in the oven
- All-Purpose Flour: Gives the pastry its shape but still keeps it tender when you mix it right with the wet stuff
Basic Framework
- Salt: Brings out all the tastes in the crust without making it salty, adding depth that works with the sweet filling
- Eggs: The secret to choux pastry, they provide the structure that catches steam and makes the dough rise dramatically while adding richness
- Baking Spray: Not really an ingredient, but so important to keep things from sticking and make serving easier while keeping your creation looking nice
 Pin
Pin
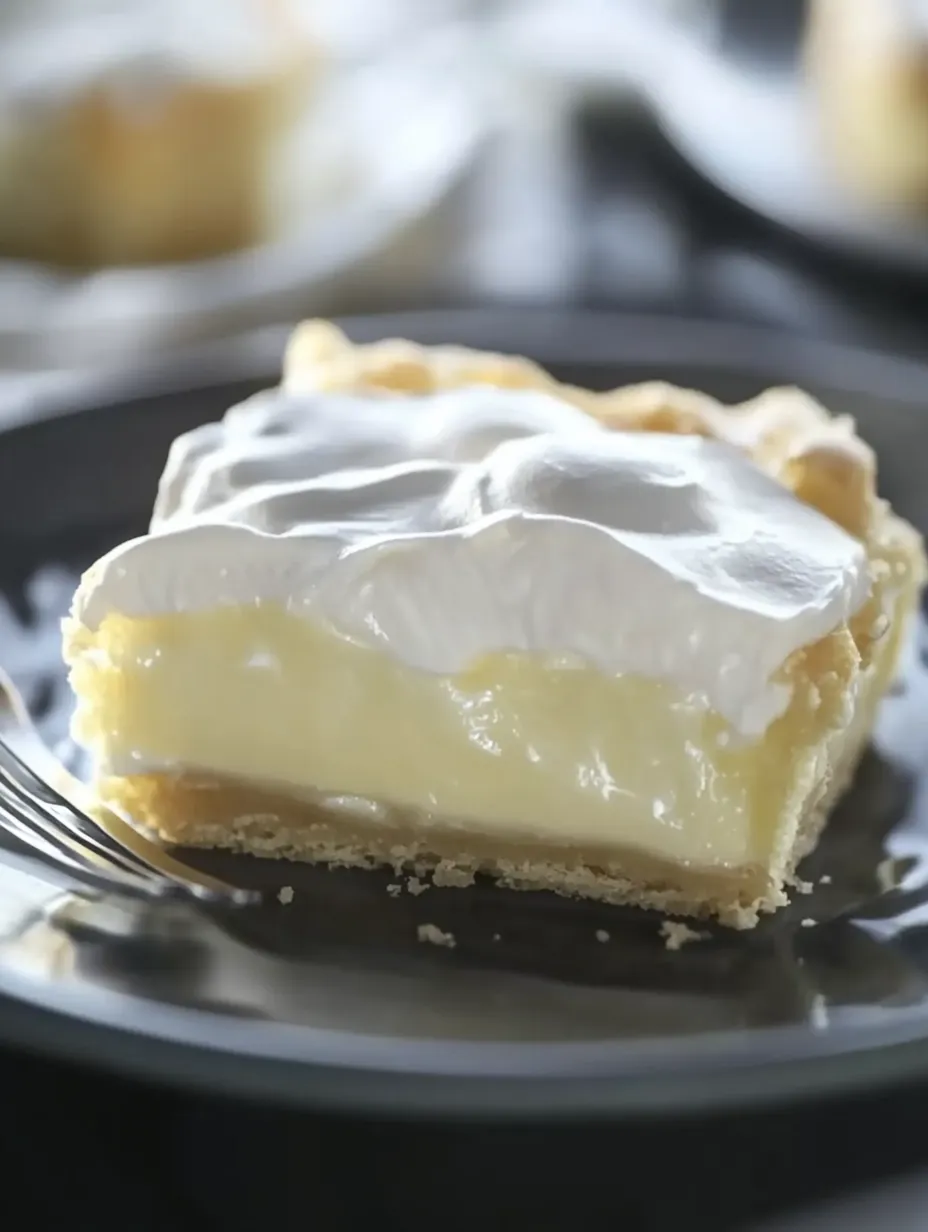
Velvety Center
- Cream Cheese: Gives a slight tang and body to the filling, keeping it from being too sweet while making it feel silky in your mouth
- Instant Vanilla Pudding: Adds that classic vanilla taste and helps the filling hold its shape so you can slice it, plus gives that familiar comfort flavor
- Milk: Wakes up the pudding mix and makes everything just the right thickness when mixed with cream cheese
Final Layer
- Whipped Topping: Gives a fluffy finish that makes the whole dessert seem lighter both to look at and to eat, so each bite feels like floating
Cooking Instructions
Getting Ready
Start your baking journey by heating your oven to 350 degrees Fahrenheit, and make sure it hits the right temperature before putting anything in. Grab a 9×13-inch baking dish and coat it well with baking spray, getting the sides too so nothing sticks later on.
Making The Pastry
Put water in a medium pot and let it come to a full boil over medium-high heat. Drop the butter into the boiling water and wait until it boils again, watching the butter melt completely into the water. Take it off the heat right away once it starts boiling again so it doesn't burn or separate.
 Pin
Pin
Creating The Dough
Put all the flour and salt into your hot liquid at once, mixing hard with a wooden spoon until everything comes together in a ball that pulls away from the pot sides. This quick change is the first bit of magic in making your cream puff base.
Adding The Eggs
Move your warm dough ball to a stand mixer bowl with the paddle attached. Add the eggs one at a time, letting each egg mix in completely before adding another. This careful approach makes sure your pastry dough stays smooth without any egg streaks or bits.
Working The Texture
After all eggs are in, turn the mixer up to high and let it run for a full 4-5 minutes. This long mixing builds gluten and puts air in the dough, both needed for it to rise properly while baking. The dough should change from thick and sticky to smooth and a bit shiny.
Spreading The Dough
Scoop your finished dough into your prepared pan, noticing how thick it is, almost like pudding. Spray your fingertips lightly with baking spray so they won't stick, then gently push the dough into an even layer across the bottom of your pan, making sure to get into the corners.
Baking It Up
Put your pan in the hot oven and bake for 20-25 minutes, and don't open the oven door during this time. Look through the window and watch the magic—the dough will puff up a lot, especially around the edges, making a nice bowl shape for your filling.
Letting It Cool
Take your baked crust out of the oven and check out its golden color and cool shape. Let it cool all the way to room temperature, during which it'll sink a little but keep its raised edges and slightly sunken middle—just perfect for holding your filling.
The first time I made this cake, I freaked out when I saw how much it puffed up in the oven, thinking I'd messed up badly. My kid looked through the oven window and yelled that the cake was trying to escape! We had a good laugh when it settled perfectly as it cooled, making that ideal hollow center. Now we actually look forward to watching that big rise each time we make it.
Making The Filling
Turn basic ingredients into something special by mixing instant vanilla pudding with cold milk until it starts to thicken. This quick-setting mix is the base of your cream layer, giving both structure and that classic vanilla flavor that goes so well with the pastry.
While the pudding sets up, beat the cream cheese in your stand mixer until it's totally smooth with no lumps at all. This first beating really matters for a silky final texture, so give it the full 3-4 minutes to get nice and light and get rid of any graininess that might spoil the luxurious feel.
Mix your ready pudding with the whipped cream cheese, beating for another 3-4 minutes until they're completely blended. The filling should be smooth, rich, and form soft peaks when you lift the beater. This extra mixing puts air into the mix, creating a lighter texture that balances how rich the ingredients are.
Putting It Together
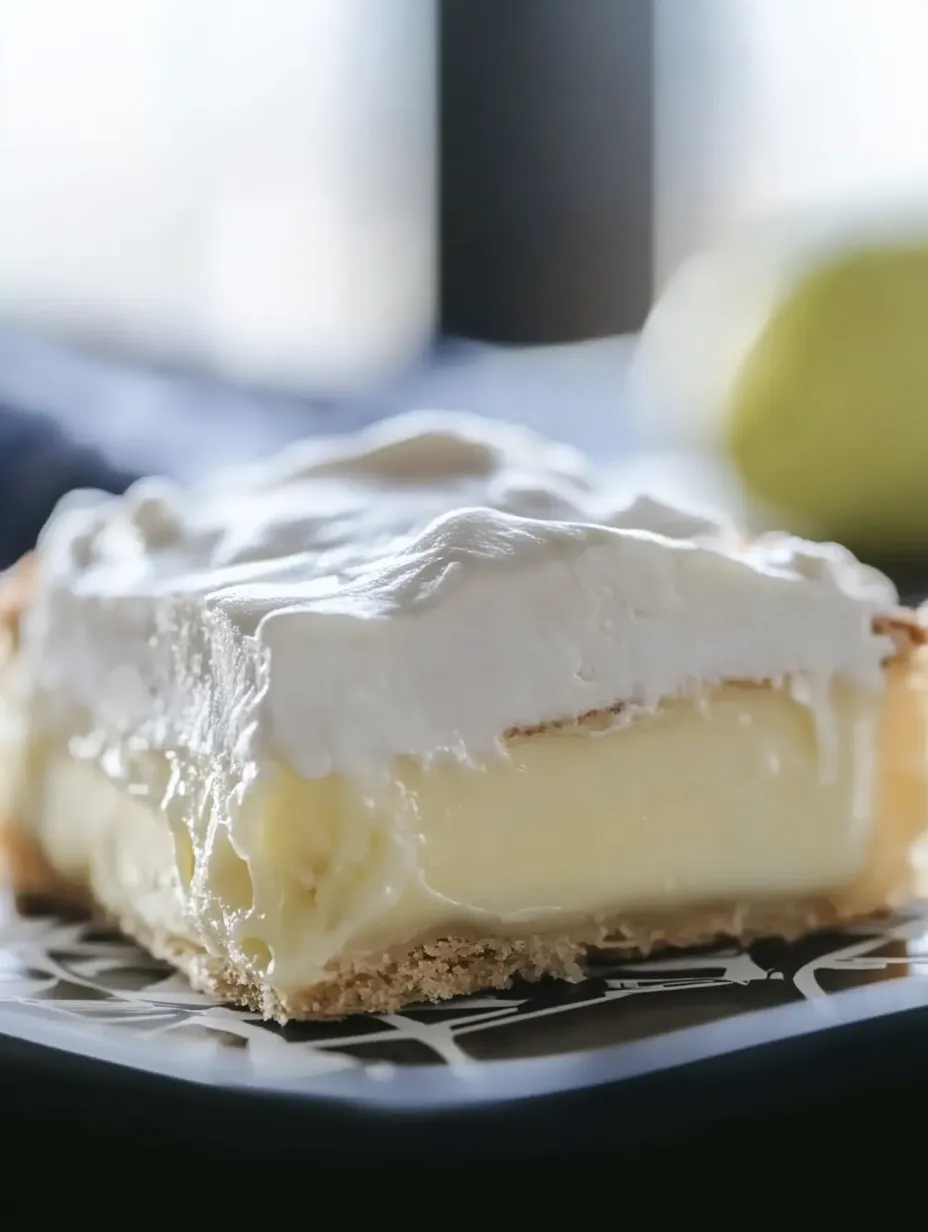
Spread your cream filling carefully over the cooled crust, starting from the middle and working outward so you don't tear the delicate pastry. The filling should completely fill the natural dip in your crust, making a level surface across the whole dessert. Use a flat spatula for the smoothest look and most professional finish.
Cover your filled cake with a thick layer of whipped topping, spreading it all the way to the edges to seal in the cream filling. This top layer keeps everything fresh while making it look pretty and giving each bite a different texture. Make some fancy swirls with your spatula for an extra touch of style.
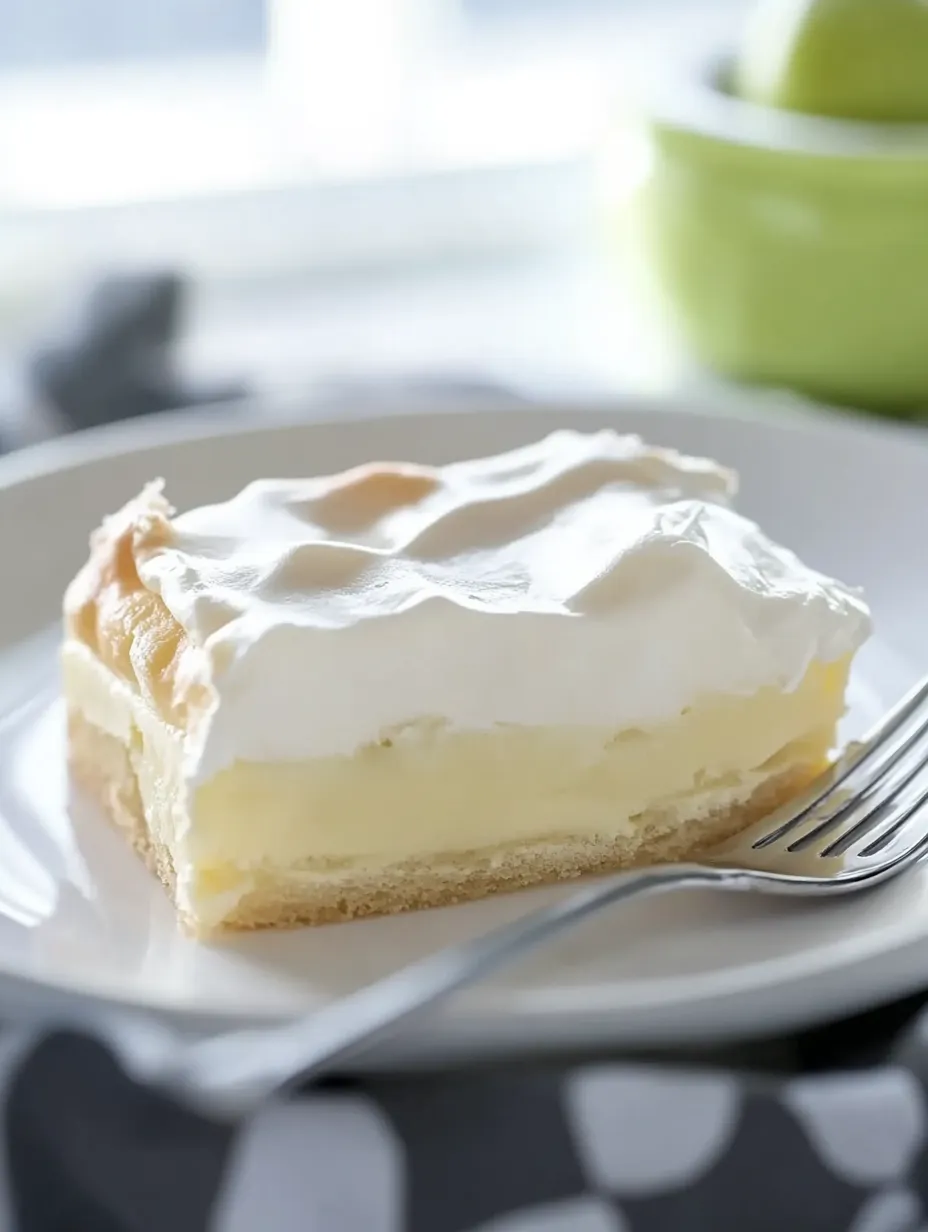
Chill your finished cake for at least 2-3 hours before cutting it, though leaving it overnight works even better. This waiting time lets flavors blend while the filling gets firm enough to slice cleanly. The patience needed here really pays off in how the final texture and flavors come together.
Great Companions
Make a gorgeous dessert table by putting this cake next to fresh berries in season. The bright tanginess of strawberries, blueberries, or raspberries cuts through the rich cream filling, making a beautiful flavor balance. A small bowl of extra berries lets guests top their own slice with fruit.
Think about offering warm chocolate sauce to drizzle over each piece. The contrast between the cool, creamy cake and warm, rich chocolate makes an amazing sensory experience that takes this already special dessert to restaurant quality. The chocolate also looks stunning when drizzled across the white topping.
For coffee fans, serve slices with small cups of espresso or cappuccino. The bitter notes in the coffee play well with the sweet, vanilla-flavored cake, cleaning your palate between bites and making each serving last longer. This combo creates a particularly grown-up end to dinner parties.
Flavor Changes
Try different pudding flavors to completely change this flexible dessert. Chocolate pudding makes a rich, chocolatey filling that chocolate lovers go crazy for, while lemon pudding gives a bright, citrusy twist that's perfect for summer get-togethers. The pastry base works great with almost any flavor you can think of.
Make a coffee version by mixing 1 tablespoon of instant espresso powder with 1 tablespoon of hot water, then cooling it and adding it to the filling. Top with chocolate shavings for a coffee-shop style dessert that makes a fancy finish to dinner parties. The slight bitterness of coffee actually makes the sweet cream taste even better.
For special events, add 1/4 cup of your favorite liqueur to the filling mix. Amaretto, Grand Marnier, or Kahlúa each add grown-up flavor notes that turn this homey dessert into something celebration-worthy. Just remember that the alcohol flavor gets stronger as the cake chills, so start with a light touch.
Keeping It Fresh
Keep your cake tasting great by storing it in the fridge, wrapped tightly with plastic wrap. The cake will stay good for 3-4 days, though the crust gets softer as time passes. Many people actually prefer this softer texture that develops on the second or third day.
Make easy portions for later by cutting the cold cake into squares and freezing them on a baking sheet until hard. Then put the frozen pieces in a container with parchment paper between layers, where they'll stay good for up to a month. Just thaw them in the fridge overnight before eating.
Give slightly older cake new life by adding fresh fruit on top just before serving. Sliced strawberries, peaches, or kiwi not only add healthy stuff but also bring new zip to the dessert with their bright flavors and colors. A light sprinkle of powdered sugar over the fruit makes it look like it came from a fancy bakery.
 Pin
Pin
I still think about the first time I made this cake for a family party after finding the recipe again. My aunt, who hardly ever says anything about desserts, took one bite and right away asked how to make it. What makes this cake so wonderful isn't just how good it tastes but how it brings people together through shared enjoyment. When I make it now, I think about that little coffee shop where I first found it, all the customers who loved it back then, and how it keeps making new memories around my own table. Some recipes are more than just food—they're like time machines that connect us across years through something tasty we all love.
Common Recipe Questions
- → Why isn’t my crust puffing evenly?
- That’s totally fine! Choux pastry usually puffs more on the edges. Once your filling goes in, it’ll look just right.
- → Can I prep this dessert in advance?
- Definitely. It actually tastes better if made the day before, giving the layers time to blend and settle.
- → How should I store leftovers?
- Pop it in the fridge with a lid or cover. It’ll stay good for about 3 days, though the bottom may soften slightly.
- → Can I switch Cool Whip for homemade whipped cream?
- Of course, but add some sugar and 1/2 teaspoon of gelatin while whipping to keep it nice and firm.
- → Can I try other flavors for this dessert?
- Sure! Use chocolate or lemon pudding, or mix in a few drops of extract with the cream cheese for a fun variation.