 Pin
Pin
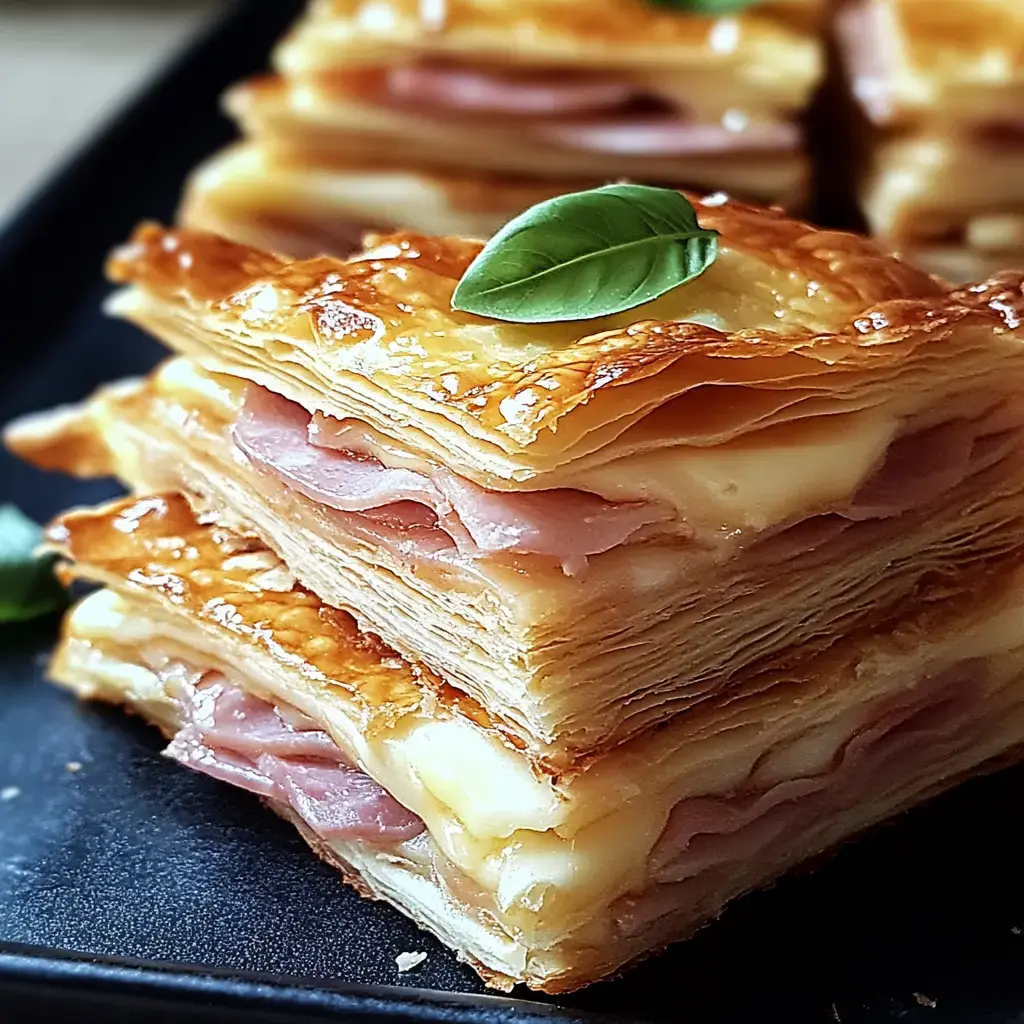
Can't wait to let you know about my Italian Sub Squares! Whenever I bring these to parties, they vanish in minutes. They're what everyone asks me to make. Think of your go-to Italian sandwich flavors all packed between puffy, golden layers with gooey cheese and tasty herbs. It's like having the best sandwich shop treats turned into a shareable dish that nobody can resist!
What Makes This So Good
These squares are the simplest crowd-pleaser I've ever thrown together. They come together so fast and you can swap in whatever fillings you prefer. I bring them to everything from football watch parties to regular weeknight meals and they always get eaten up. And guess what? They taste just as yummy straight from the oven as they do when packed for an outdoor lunch!
Round Up These Items
- Cold Cuts: Combine pepperoni, salami, and ham (delivers that real Italian sandwich taste)
- Cheese: Both provolone slices and shredded mozzarella (for that stretchy, melty texture)
- Pillsbury Crescent Roll Dough: 2 tubes (makes prep super fast)
- Banana Peppers: Adds zip and tang (swap with roasted red peppers if you want)
- Italian Seasoning: Sprinkle for that classic Mediterranean flavor hit
- Melted Butter: Painted on top for a crispy, golden crust
Let's Put It Together
- Warm That Oven
- Set it to 375°F and coat your baking dish with some grease to prevent sticking.
- Create Your Foundation
- Open your first tube of crescent dough and flatten it into the dish. Don't forget to pinch those perforations closed for a solid bottom.
- Stack Your Fillings
- This is where the magic happens! Add a layer of provolone then pile on your Italian meats sprinkle loads of mozzarella and scatter those tangy banana peppers.
- Cap It All
- Unroll the second dough tube over everything and press the edges down to trap all those tasty ingredients.
- Give It Color
- Brush the surface with melted butter and dust with Italian seasoning. Stick it in the oven for around 25-30 minutes until it turns beautifully golden.
- Cut and Enjoy
- Let it sit briefly then slice into squares. You'll get perfectly melted cheese with a wonderfully crisp outside!
 Pin
Pin
More Tips and Tricks
Any extras? Tuck them in a sealed container and they'll stay fresh in your fridge for several days. Need to prep ahead? These freeze amazingly well—just wrap each square in foil. Try switching things up with some grilled veggies for a vegetarian option or toss in some jalapeños if you enjoy spicy food. I usually pair these with a green salad or a steaming bowl of soup!
Common Recipe Questions
- → Is this dish okay to prep early?
Yup! Put it together a day before, cover it, and keep it in the fridge. Add the egg wash and seasonings right before baking. Let it sit at room temp for 15 minutes pre-bake.
- → How do I store leftovers properly?
Pop leftovers into an airtight container and refrigerate for up to 3 days. To make the crust crispy again, heat in the oven at 325°F for around 10 minutes.
- → Can I change up the fillings?
Absolutely! Mix it up with turkey, capicola, or even mortadella. Swap in cheeses like Swiss or fontina. Just keep the filling amounts balanced to avoid overstuffing the dough.
- → Why does my filling spill out?
Be sure to seal all the edges tightly and press the seams closed. Don’t overfill, and let it cool a bit before slicing to avoid leaks.
- → Can I freeze this dish?
Yes, freeze it after it’s baked and fully cooled. Wrap it well and freeze for up to 2 months. Thaw overnight in the fridge, then reheat in the oven until warmed through.
