
 Pin
Pin
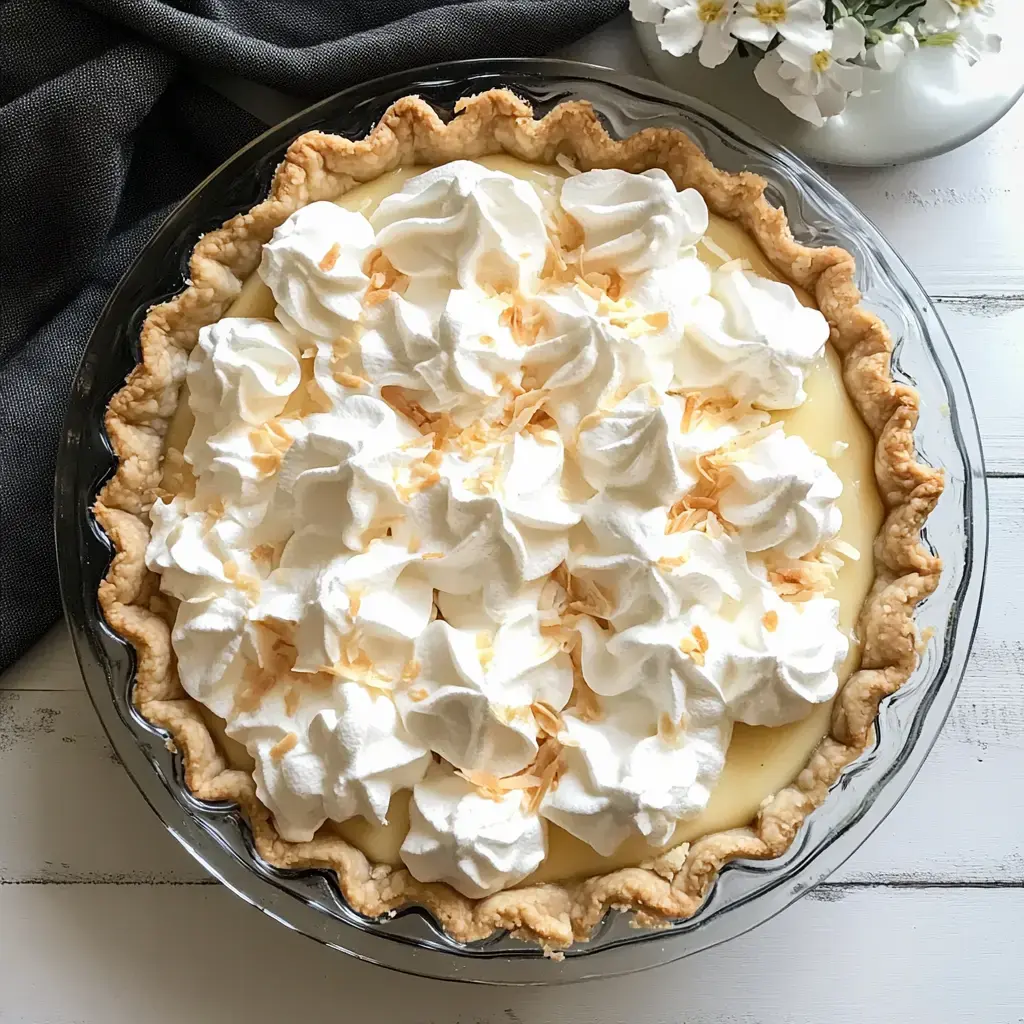
I've spent ages tweaking my go-to coconut cream pie until it's just right. The filling's incredibly smooth with perfect coconut taste, and the crust stays nice and crisp. Whenever I bake this pie, it takes me back to warm beach days and island vibes. Nothing beats that first mouthful of velvety coconut filling topped with fluffy whipped cream.
What Makes This Method Special
After trying so many different coconut cream pie versions, this one really knocks it out of the park. Using actual coconut milk and doing everything by hand is the key. My folks can always spot when I've made this instead of grabbing one from a bakery. You just can't match that homemade taste, and I love watching people's faces light up when they try their first bite.
Ingredients List
- Pie crust: One completely blind baked 9-inch shell that gives you a crunchy, layered bottom.
- Canned coconut milk: Rich and tasty, forming the core of your filling.
- Half-and-half: Creates just the right creaminess without going overboard.
- Egg yolks: Add luxury and help thicken everything up.
- Cornstarch: Makes sure your filling stays firm and doesn't run.
- Sugar: 2/3 cup to add sweetness.
- Sweetened shredded coconut: Brings both taste and interesting texture.
- Butter: 2 tablespoons to make everything silky.
- Vanilla and coconut extracts: Boost the overall coconut experience.
- Heavy cream: Used to create the fluffy topping.
- Coconut flakes: Toasted or plain, for sprinkling on top.
Step-By-Step Instructions
- Get Your Crust Ready
- Spread out cold pie dough in a 9-inch pan. Pinch the edges and cool for 30 minutes. Cover with parchment, put pie weights in, and bake at 375°F (190°C) for 15 minutes. Take out weights, poke bottom with fork, and cook until it's golden. Let it cool all the way.
- Cook Up The Coconut Mixture
- Put 1 can coconut milk, 1 cup half-and-half, 2/3 cup sugar, and a tiny bit of salt in a pot and heat until bubbling. Mix 5 egg yolks with 3 tablespoons cornstarch, slowly add some hot liquid while stirring, then pour it all back in the pot. Cook until it gets thick, then mix in 1 cup shredded coconut, 2 tablespoons butter, and your flavor extracts. Pour into your cooled crust and chill for 3 hours.
- Create The Topping
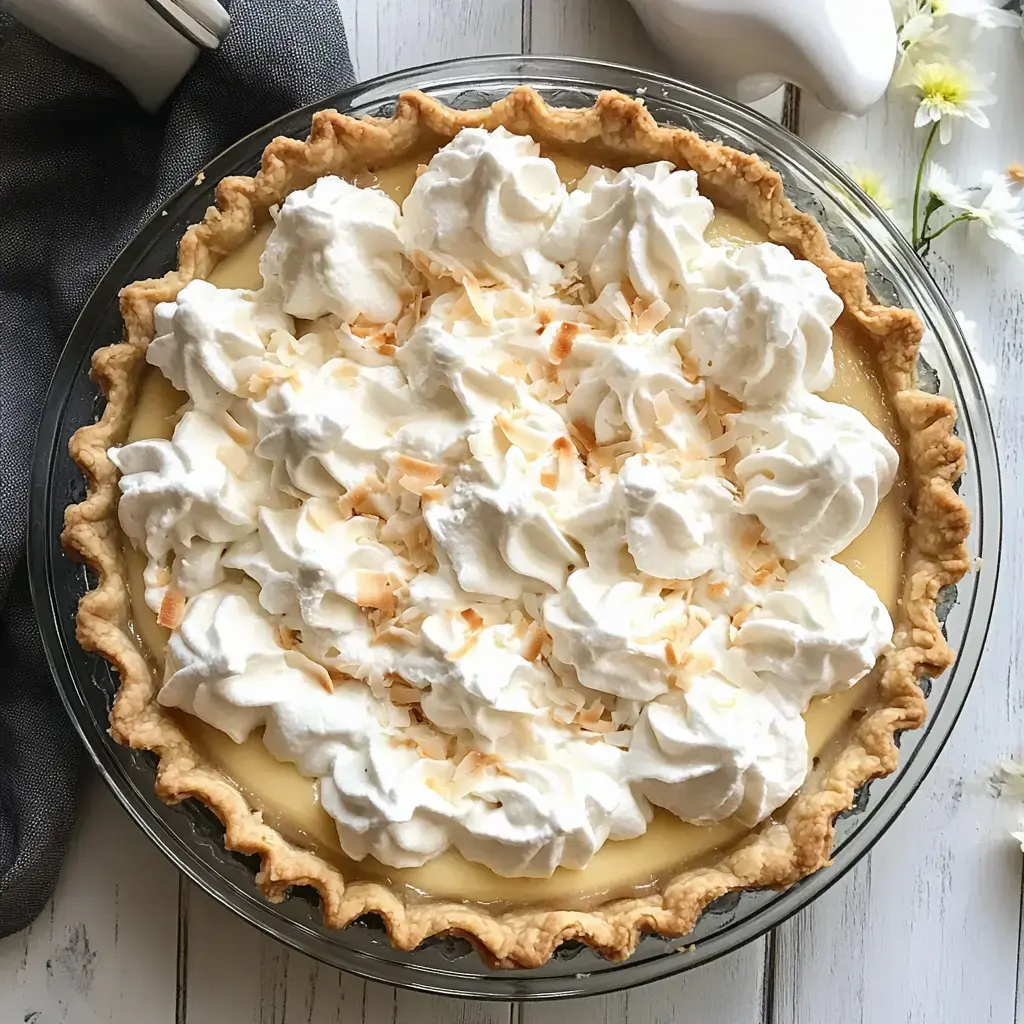
- Whip 1 cup heavy cream with 2 tablespoons sugar and 1 teaspoon vanilla until it forms soft peaks. Spread or pipe on your chilled pie.
- Add Final Touches
- Sprinkle toasted coconut flakes on top for crunch and looks. Serve cold.
 Pin
Pin
My Personal Tips
I can't stress enough how important real canned coconut milk is for this dessert. I found out the hard way that the light stuff just won't give you that dreamy texture. Don't rush when mixing the hot liquid into your eggs. I always pour super slowly while constantly whisking to get that silky smooth result. And don't skip chilling your crust beforehand - it makes such a difference in flakiness.
Storage Advice
You can keep this beauty in the fridge for around 3 days, though at my place it's usually gone way before that. If you want to prep ahead, you can stick it in the freezer without the cream on top. Just wrap it up good and it'll stay tasty for up to 2 months. When you're ready to eat, let it thaw in the fridge overnight and add fresh whipped cream just before you bring it to the table.
Closing Thoughts
A rich dessert with a buttery crust, creamy coconut filling, and velvety whipped topping. Great for parties or family meals.Common Recipe Questions
- → Can I prepare elements in advance?
- Sure! Make the crust 5 days prior, the filling a day early, or freeze the entire pie (minus whipped cream) for up to 3 months. Add whipped cream later.
- → What's the best type of coconut milk?
- Choose full-fat canned coconut milk, not the drink-type versions. Shake the can first to mix everything together.
- → How do I avoid lumps in the pudding?
- To avoid clumps or bits in the pudding, gently add the hot liquid into the yolks while whisking. Keep stirring actively as the mixture thickens.
- → Why is plastic wrap added to the filling?
- Cover the warm pudding's surface with plastic wrap to stop a tough layer from forming. This keeps the filling extra smooth.
- → Can this pie be frozen?
- Absolutely! Freeze it without whipped cream for up to 3 months. Thaw it in the fridge and add whipped cream just before enjoying.