
 Pin
Pin
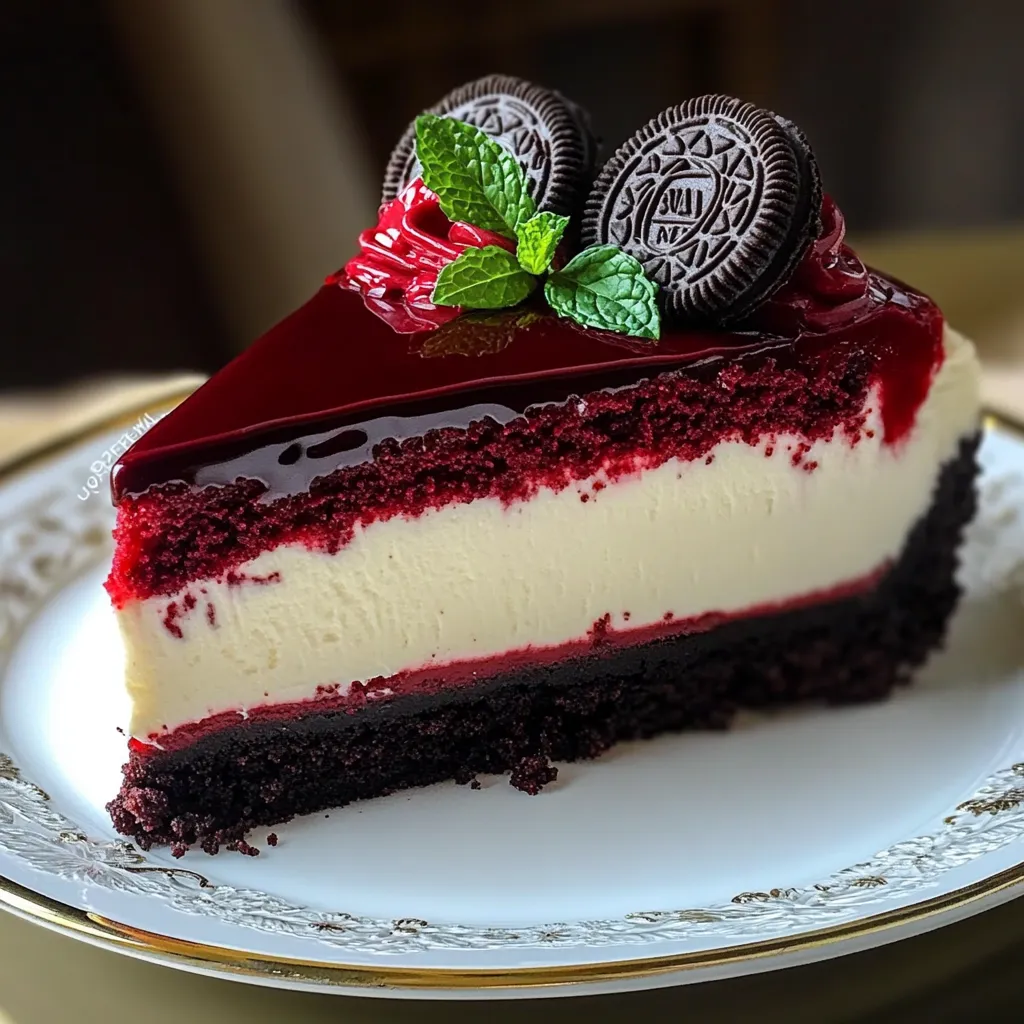
This decadent red velvet oreo cheesecake combines classic flavors into an elegant layered dessert. The moist red velvet base provides the perfect foundation for a rich oreo-speckled cheesecake filling, all topped with smooth chocolate ganache. Every slice delivers an irresistible mix of textures, from tender cake to creamy filling studded with cookie pieces. The dramatic color contrast between deep red cake and cream-flecked cheesecake creates a stunning presentation.
This recipe emerged from countless hours of kitchen testing to create the ideal celebration dessert. The subtle cocoa flavor of red velvet pairs beautifully with classic oreo cheesecake, while maintaining distinct layers that slice cleanly for an impressive presentation.
Essential Ingredients
- All-purpose flour: (1½ cups) provides structure for the cake layer
- Cocoa powder: (2 teaspoons) adds classic red velvet chocolate notes
- Butter: (½ cup) needs to be room temperature for proper creaming
- Sugar: (2 cups total) sweetens both cake and cheesecake layers
- Sour cream: (1½ cups total) adds moisture and tang
- Vegetable oil: (¼ cup) keeps the cake moist
- Vanilla extract: (1 tablespoon plus 2 teaspoons) enhances flavors
- Eggs: (5 plus 1 yolk) provide structure and richness
- Red food coloring: (4 teaspoons) creates signature color
- Buttermilk: (⅔ cup) activates leavening and adds tenderness
- Baking soda: (1 teaspoon) and vinegar: (1 teaspoon) for proper rise
- Oreos: (25 cookies total) for crust and filling
- Cream cheese: (24 ounces) full-fat for best texture
- Cornstarch: (1 tablespoon) prevents cracking
- Dark chocolate: (1 cup chips) and heavy cream: (½ cup) for ganache
Baking Instructions
- Red Velvet Base:
- Heat oven to 350°F. Prepare pans with parchment and spray. Mix dry ingredients. Cream butter and sugar until fluffy. Add wet ingredients to butter mixture. Alternate flour mixture with buttermilk. Add soda-vinegar mixture last. Bake until done.
- Cheesecake Layer:
- Lower oven to 300°F. Make cookie crust. Beat cream cheese until smooth. Add sugar, cornstarch, sour cream and vanilla. Mix in eggs one at a time. Fold in crushed cookies. Pour over cake base. Bake in water bath until set. Cool gradually and chill overnight.
- Final Touches:
- Make ganache with hot cream and chocolate. Spread over chilled cake. Decorate with crumbs and piped frosting. Garnish with cookie pieces.
 Pin
Pin
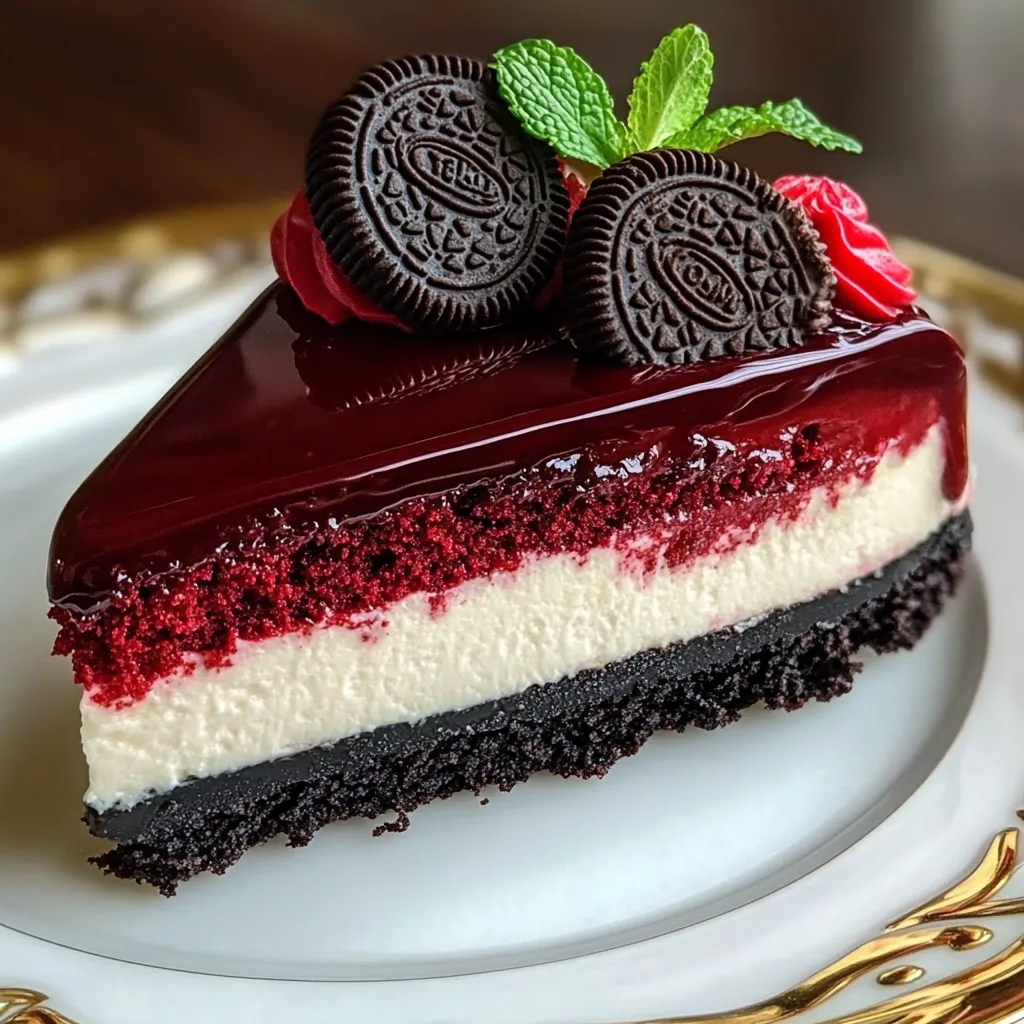
Years of baking experience have shown that patience is crucial with layered desserts. Taking time between steps ensures proper setting and creates clean, defined layers that showcase both visual appeal and distinct textures.
Serving Suggestions
Serve this showstopper dessert with fresh berries for brightness and color. Dark coffee provides an excellent flavor contrast. A scoop of vanilla ice cream adds temperature variation and enhances the creamy elements.
Recipe Adaptations
Customize this base recipe with white chocolate in place of dark chocolate. Add peppermint for holiday flair. Make it gluten-free using alternative cookies and flour. Each variation maintains the signature layered look while offering unique flavor profiles.
Storage Guidelines
Store covered in refrigerator up to 5 days. Freeze individual portions up to 3 months. Thaw overnight in refrigerator. Let chilled slices stand 20 minutes before serving.
This elegant dessert combines beloved flavors into an impressive finale. The dramatic appearance draws attention while the carefully balanced flavors satisfy diverse palates. Though the process requires attention to detail, breaking it into stages makes it approachable for any dedicated baker.
 Pin
Pin
Common Recipe Questions
- → Do I really need the water bath for this cheesecake?
- While the water bath ensures your cheesecake bakes evenly and remains velvety smooth, you can skip it if you'd like. If you go without, bake at 325°F and know that there may be a few cracks on the top — they’ll be hidden with the ganache anyways!
- → What’s the best time to make this cheesecake before serving?
- Make it up to 3 days before and keep it chilled in the fridge, covered. You can also freeze the undecorated cheesecake for up to 2 months. When you're ready to serve, let it thaw overnight in the fridge, then decorate and enjoy!
- → Why do the ingredients have to be at room temperature?
- Bringing the ingredients to room temperature helps them mix smoothly, giving you a silky cheesecake batter. Cold ingredients often cause lumps or a curdled appearance.
- → Will a different pan size work for this recipe?
- A 9-inch springform pan works best, but a 10-inch one is fine too — just reduce the bake time by about 10 minutes. A smaller pan isn’t recommended, as it could overflow.
- → How can I tell when the cheesecake is done baking?
- The cheesecake is ready when the edges look firm and the center still has a slight wobble, similar to gelatin. The middle will firm up as it cools, so don’t overbake or it could crack and dry out.