 Pin
Pin
The aroma filling my home when these buttery Crescent Rolls bake is absolutely incredible. I tweaked this recipe through many family Sunday meals, aiming for that ideal combo of airy, soft texture with rich, buttery taste. These days my family crowds around as they come out hot, barely waiting till they cool down before snatching one up. I'm thrilled to share this beloved family recipe that's now a staple at our holiday table.
Handcrafted Baking Wonders
Forget about those packaged options from the store. The real joy comes from shaping those perfect crescents and watching them puff up beautifully. The grandkids can't wait to help form them, and according to my daughter, they make unbeatable morning sandwiches the next day—though they rarely stick around that long. Nothing brings the family running like the scent of bread baking fresh.
 Pin
Pin
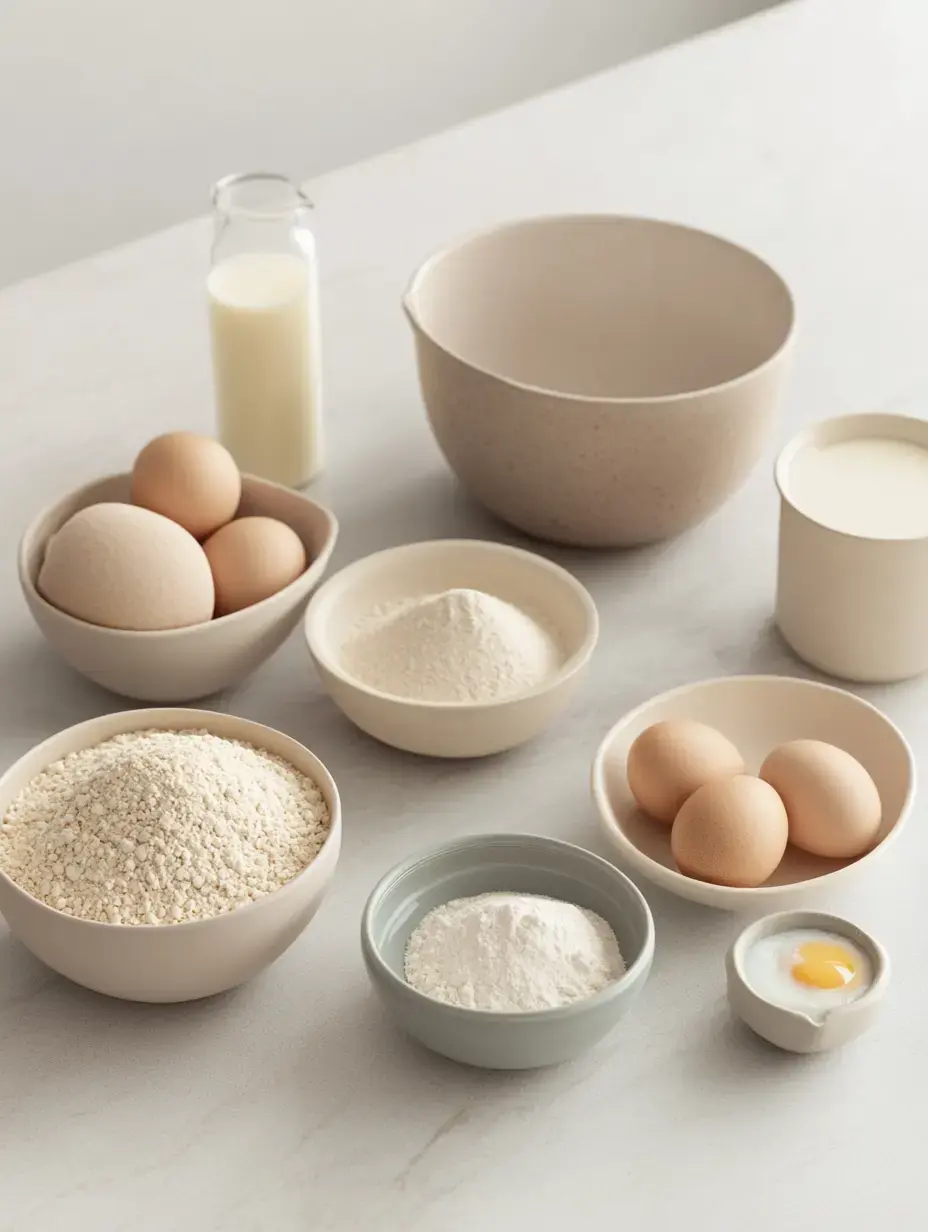
Essential Ingredients List
- Warm Water: Just right to activate the yeast without killing it.
- Quick Rise Yeast: One pack of these tiny powerhouses speeds everything up.
- Sugar: A small amount helps our dough rise wonderfully.
- Butter: Go for quality unsalted, perfectly softened.
- Warm Milk: This makes our rolls incredibly soft.
- Farm Fresh Eggs: Two large ones for wonderful color.
- Salt: Just enough to enhance all flavors.
- Flour: Have some extra nearby for your work surface.
Simple Baking Steps
- Activate Your Yeast
- Combine your warm water with yeast and watch it foam up. It's truly fascinating to see.
- The Butter Mix
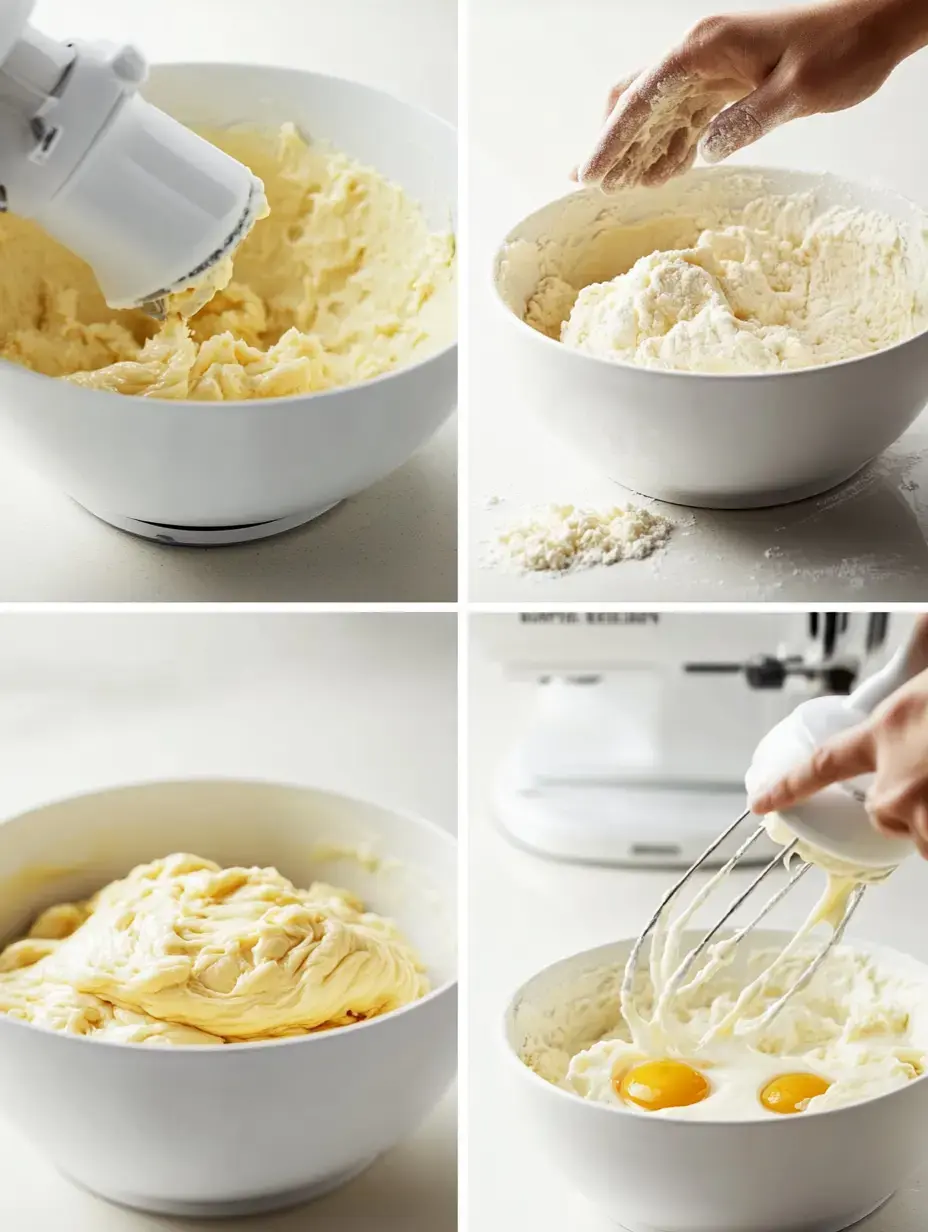
- Beat your butter with sugar until light, then drop in those eggs one by one. Your mixer handles all the hard work.
- Combine Ingredients
- Add the warm milk, salt and foamy yeast mixture. Everything blends together nicely.
- Add Your Flour
- Mix in flour bit by bit until the dough feels just right—a tad sticky but easy to work with. Let your mixer's dough hook do its job.
- Let It Grow
- Put your dough somewhere cozy and warm to rise. Perfect time to grab yourself a drink.
Shaping Your Treats
Now for the best part. After your dough doubles, split it and roll each portion into a circle. Slicing those wedges always gets me thinking about wintertime fun. Roll each from the wide end toward the point, creating those classic crescent shapes. Arrange them on your baking sheet like tiny sleeping moons and let them puff up again until they look plump and ready.
 Pin
Pin
Spectacular Finish
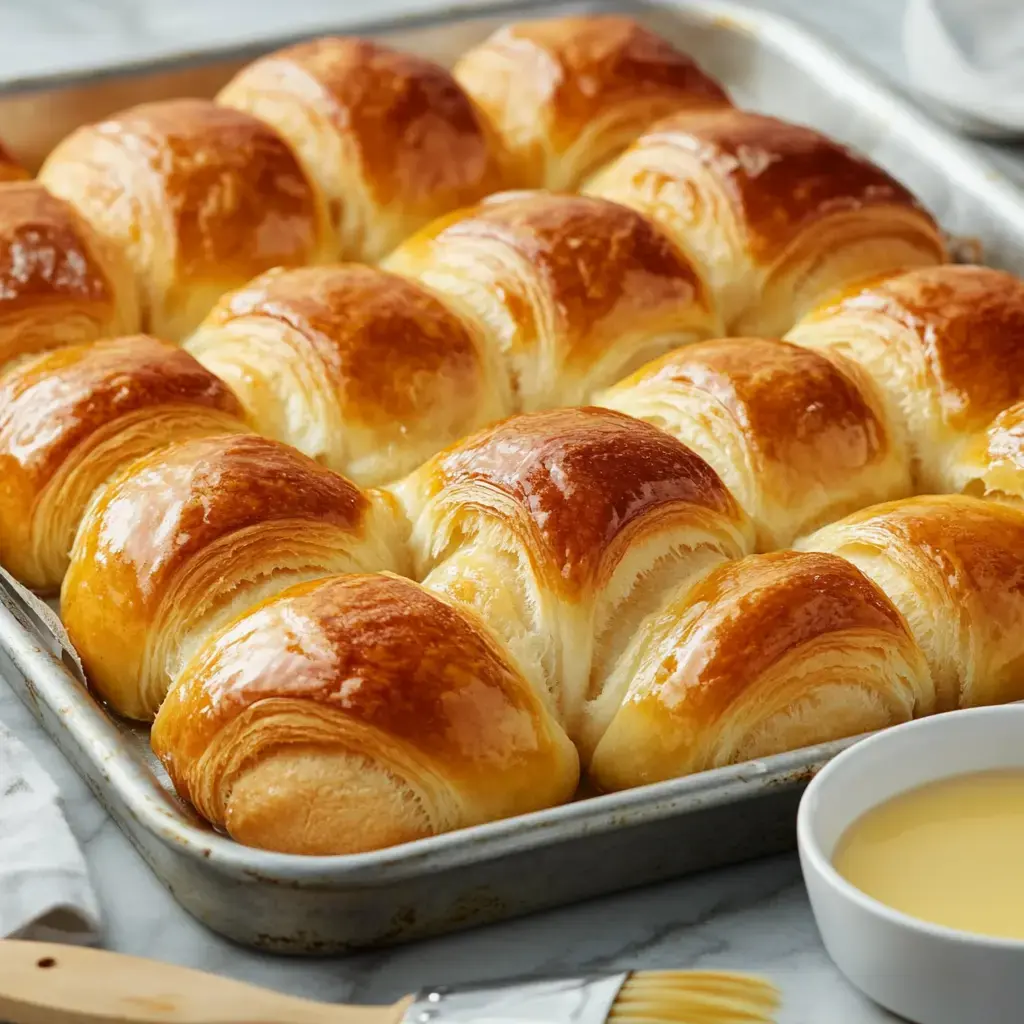
When your oven reaches that ideal temperature, pop these beauties in and watch them transform. Your kitchen will fill with an amazing smell as they turn a beautiful golden color. That last touch of melted butter makes them glisten like gold. There's nothing better than taking that first warm bite right after they've cooled just enough.
Clever Time-Saving Tips
Want fresh bread but running tight on schedule? Make your dough earlier and store it in the fridge. Or even better, form your rolls, freeze them on a tray, then bag them up. Having ready-to-bake frozen rolls has gotten me through countless family dinners. Just remember to be patient when they're thawing and rising.
Keeping Them Tasty
Store your baked goodies in an airtight container if they somehow don't vanish immediately. A quick zap in the microwave or wrapped in foil in the oven brings back that just-baked goodness. Want my top trick? Add a tiny bit more butter after warming them up—it's absolutely divine.
Questions You Might Ask
- Different From Croissants: These are easier to make and fluffier than traditional French ones.
- Yeast Options: Standard active dry works fine too, you'll just need extra rising time.
- Yeast Problems: The right warmth matters—aim for the feel of baby bathwater.
- Super Soft Results: Don't make the dough too dry, a little stickiness creates perfect texture.
 Pin
Pin
Truly Special Moments
These rolls have shown up at countless family dinners, birthday parties, and holiday gatherings in my home. There's something truly magical about passing around warm homemade bread that brings everyone closer. Each time I show someone how to make this recipe, I'm giving more than just cooking instructions—I'm sharing joy, love and family tradition all wrapped up in those buttery, delicious layers.
Closing Thoughts
These fluffy, buttery rolls are the perfect addition for any table. With their golden crust and soft texture, they're simple to make using basic ingredients and can be prepped in advance to save time.
Common Recipe Questions
- → What if my dough isn’t rising?
Make sure your yeast is active and the water is around 110°F. If it’s too hot, it kills the yeast, and if too cool, it won't activate.
- → Can I prepare these in advance?
Yes, refrigerate the dough overnight after the first rise. Shape and let it rise again before baking.
- → How can I tell if they’re ready?
When baked, they’ll have a golden top and an internal temperature of 190-200°F. The bottoms should also have a light brown color.
- → Can they be frozen?
You can absolutely freeze them! Let them cool first, then store in an airtight container for up to three months. Reheat before serving.
- → What if the dough feels sticky?
Add a little bit of flour at a time—just a tablespoon. The dough should be soft but not stick to the sides of the bowl.
