
 Pin
Pin
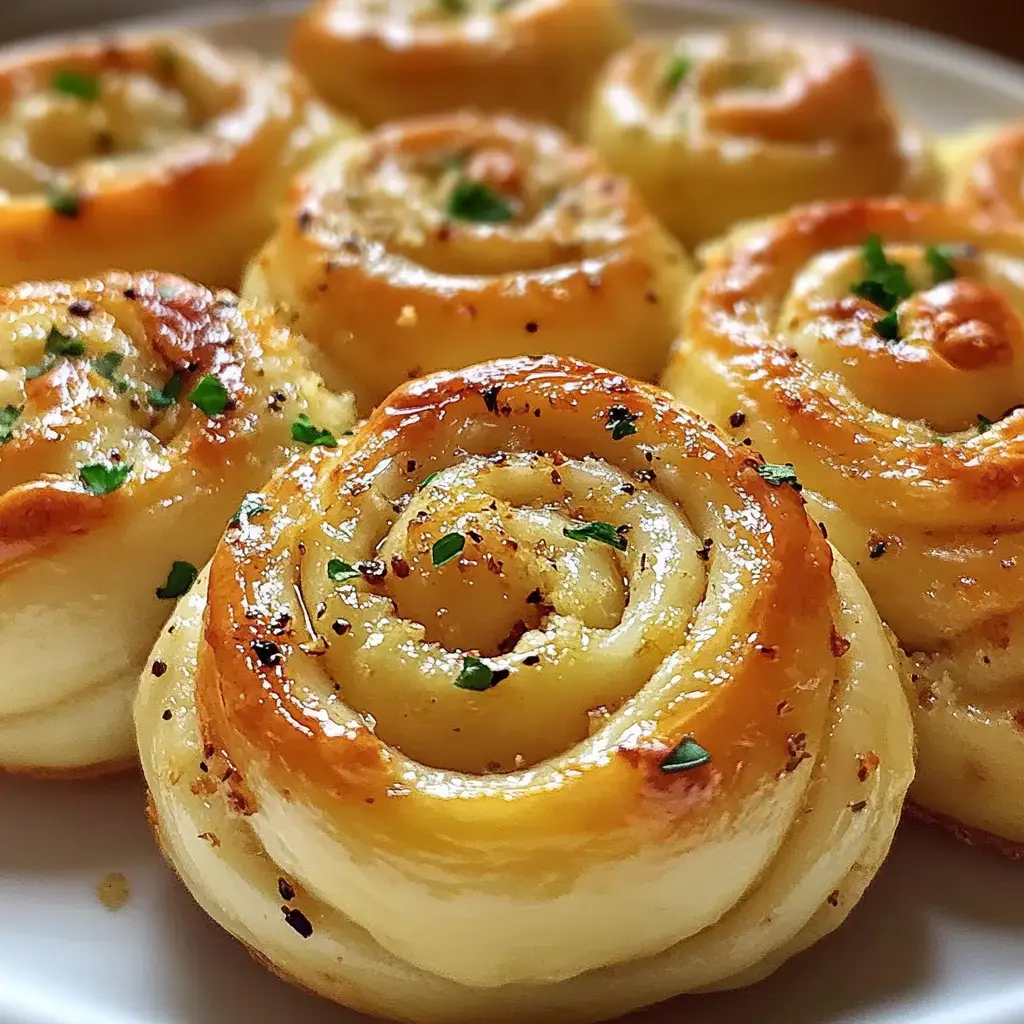
These Garlic Swirl Rolls came about by chance in my kitchen one day. I was longing for something like garlic bread but needed it to be more unique. These soft, puffy rolls loaded with fresh herbs and garlic have since turned into the dish everyone always asks me to make. When that amazing smell fills up the house, folks rush to the table faster than ever.
The Secret Touch That Makes Them Special
I'm always amazed by how flexible these rolls can be. They work great alongside my pasta dishes on Sundays, but they're also perfect for grabbing that last bit of soup from your bowl. The true wonder lies in that twisty path of garlic flavor running through each one. Everyone in my house always argues over who gets the center roll since it's always the softest.
Key Components You'll Need
- Flour: You'll want four cups of all purpose, plus a bit more to dust your workspace.
- Yeast: Go for active dry yeast that's fresh for the fluffiest results.
- Milk: Make sure to warm it slightly above what feels warm to your finger.
- Sugar: Just a small amount feeds the yeast and adds a touch of sweetness.
- Butter: Pick unsalted, high-quality butter for best results.
- Eggs: Take large eggs out early so they reach room temp.
- Salt: This tiny addition pulls all flavors together, so don't leave it out.
Delicious Filling Mixture
- Butter: Use half a cup that's soft enough to spread easily.
- Garlic: Chop six large cloves into tiny bits.
- Fresh Parsley: Adds a lovely fresh touch.
- Salt and Pepper: Just enough to boost the taste.
Final Tasty Touches
- Parmesan: Add some freshly grated on top for extra wow factor.
- Extra Herbs: Tossing some fresh parsley on top before eating looks and tastes great.
 Pin
Pin
Starting Your Yeast Right
First thing you need to do is get your yeast all bubbly. I mix some warm milk with a tiny bit of sugar, then sprinkle yeast on top. Watching it get foamy feels like a bit of kitchen magic happening. If you don't see bubbles after about 10 minutes, you might have old yeast - we've all been there!
Mixing Up Your Dough
After your yeast looks bubbly, throw in the butter, eggs and salt. Next comes the flour. I like to add it bit by bit until everything sticks together nicely. You'll know it's ready when the dough starts coming away from the sides of your bowl. Kneading is my favorite part - it's so relaxing, almost like kitchen therapy.
Whipping Up That Tasty Filling
During the first rise, I work on the filling. I mix soft butter with tiny chopped garlic, herbs and seasonings into this amazing spread. Just the smell will make your stomach growl. Sometimes I go overboard with garlic because honestly, can you ever use too much?
Spreading And Forming
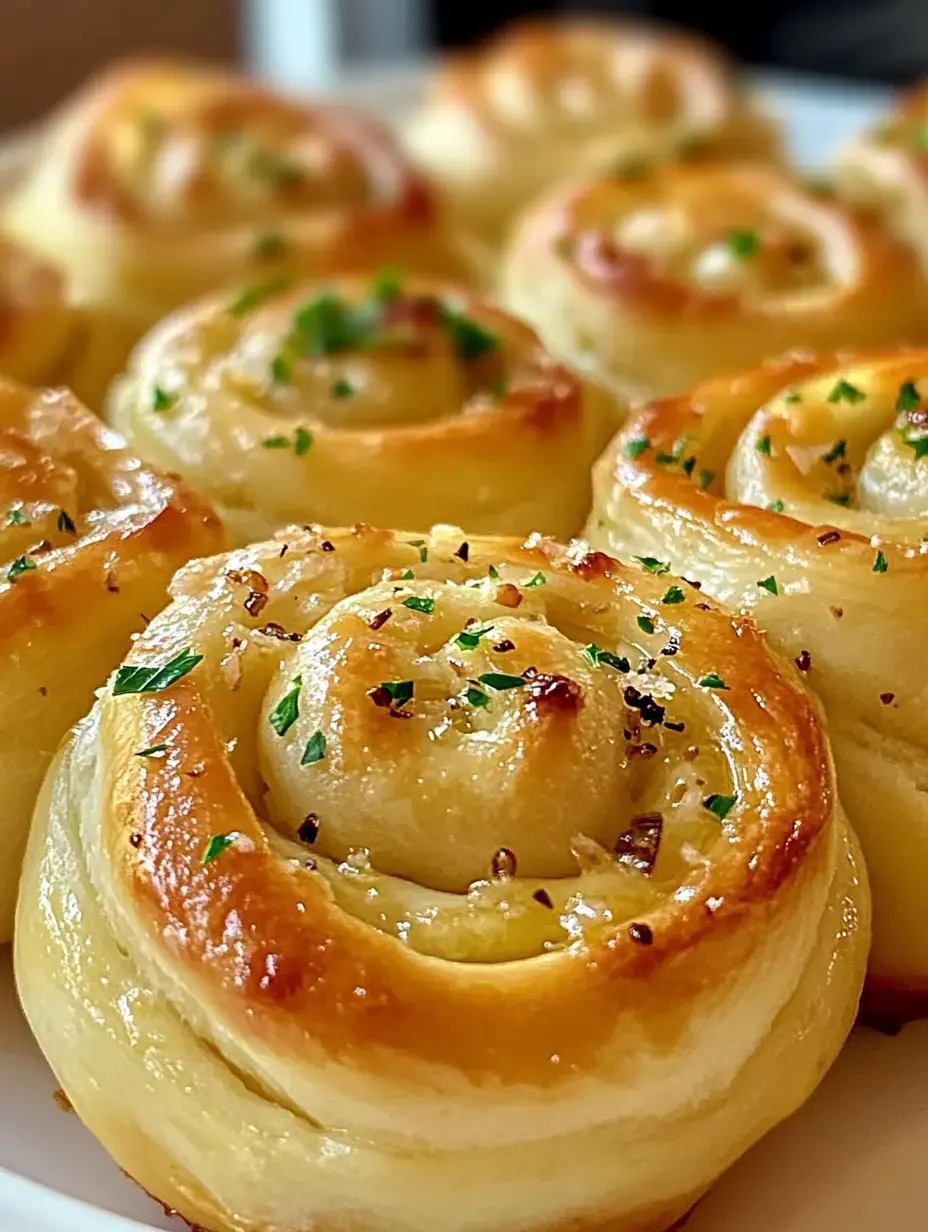
Now comes the fun bit. Flatten that lovely dough into a big rectangle, smear on all that garlicky goodness, then roll it up tightly. I find unflavored dental floss works wonders for cutting the rolls - you get such nice clean cuts without pushing them flat.
Letting Them Puff Up Again
Set those beautiful swirls in your baking dish and let them get nice and puffy again. They should be barely touching each other when they're ready for baking. This waiting period is perfect for prepping your main dish or cleaning up your work area.
 Pin
Pin
Baking Time Wonder
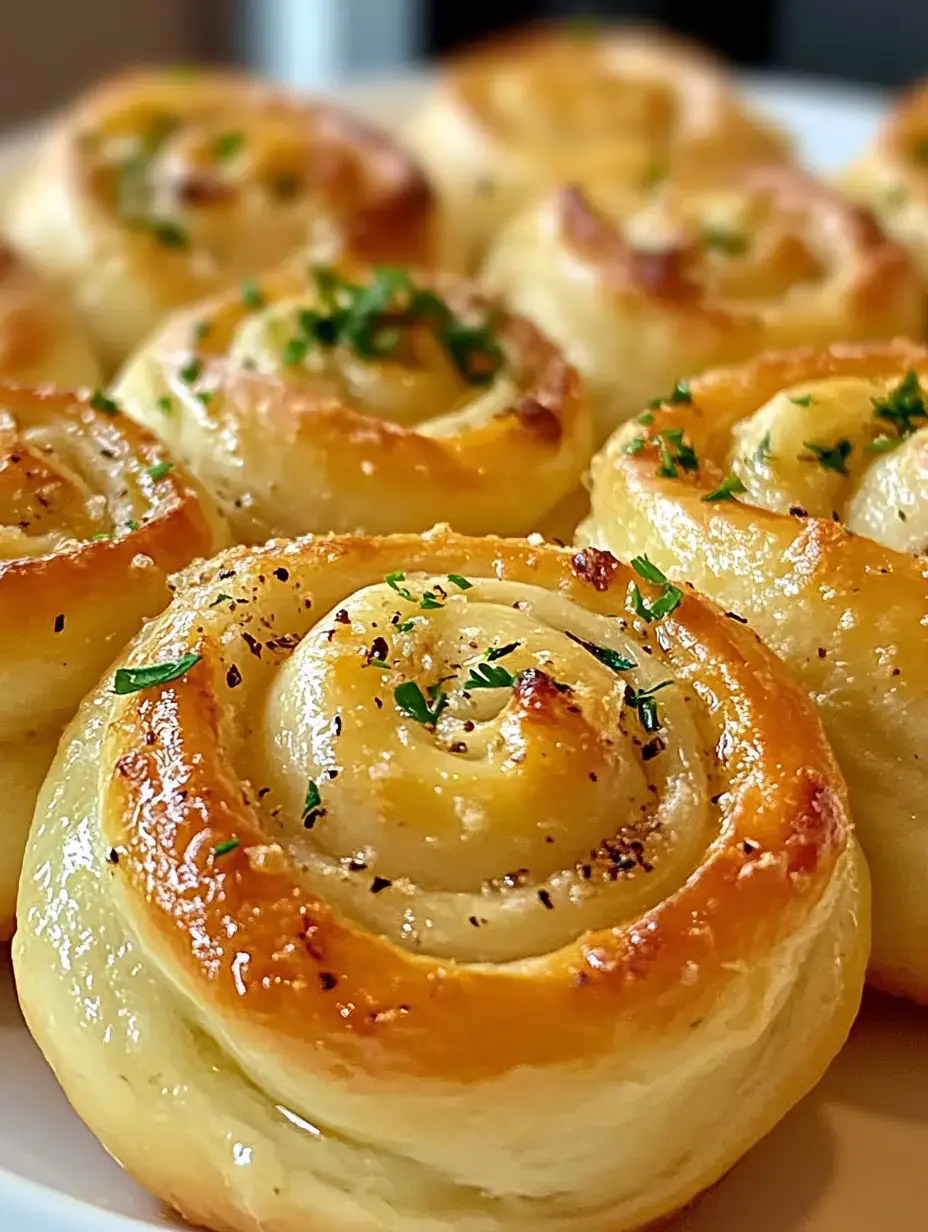
Once they hit the hot oven, something wonderful happens. The smell of garlic and butter will make everyone wander into the kitchen. I bake until they turn a nice golden color, and if you're using parmesan, throw it on during the last few minutes. The cheese gets wonderfully crunchy on top.
Ways To Enjoy Them
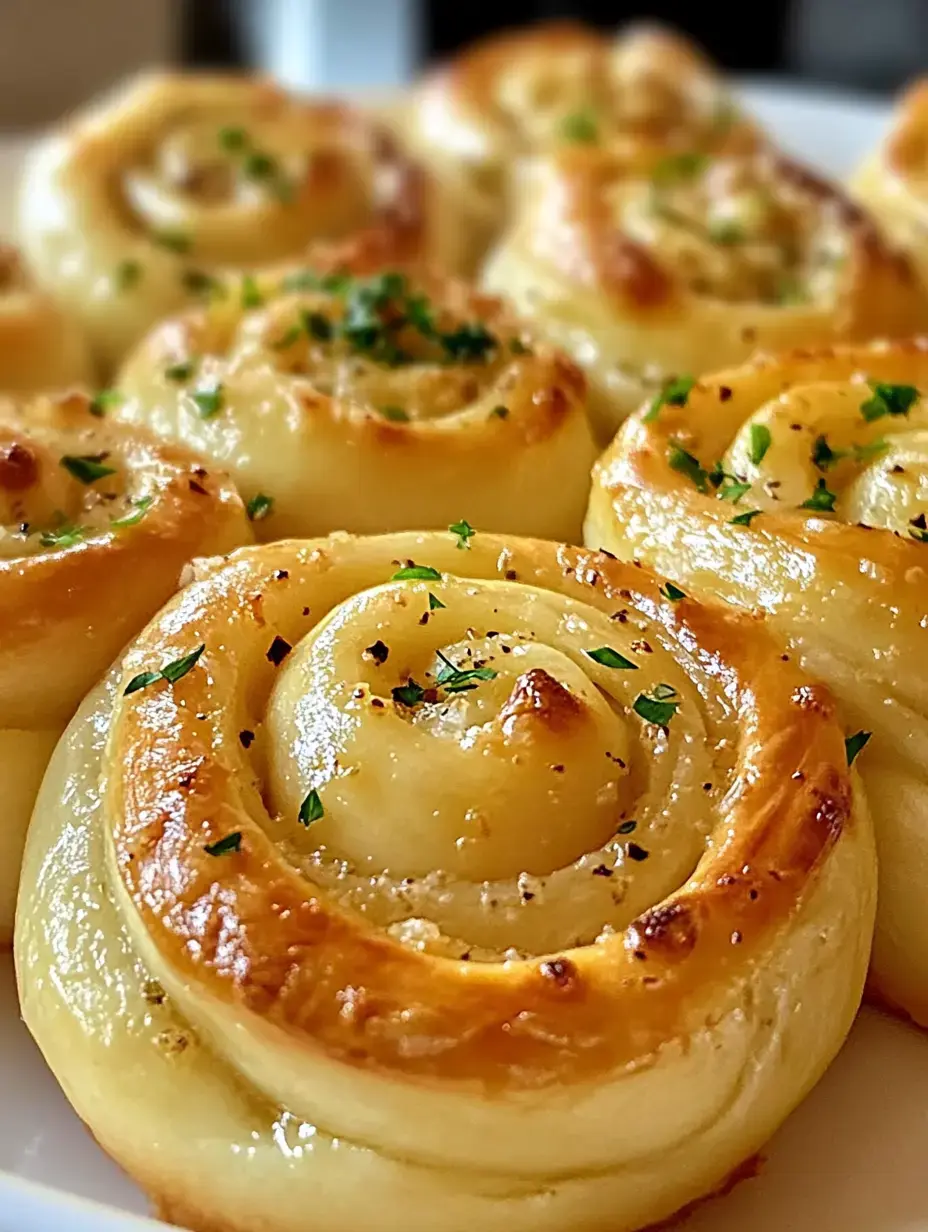
Nothing beats these rolls when they're still warm from the oven. We usually have them with pasta, but they're fantastic with any soup or even by themselves. I always keep some extra garlic butter nearby for anyone who wants more.
Storage Tips
They'll stay nice for a couple days just sitting on your counter, but truthfully, they rarely last that long at my place. If you need to keep them longer, stick them in the fridge. A quick warm-up in the microwave brings back that fresh-baked feeling.
Mistakes I've Made
Check that your yeast isn't expired and don't overheat your milk. I found these things out the hard way. Also try not to put in too much flour - your dough should feel soft and a bit tacky to touch.
Helpful Tricks
Don't rush the kneading step, it really makes your rolls better. Having all your stuff at room temperature matters a lot. And be patient with rising times - the wait is totally worth it.
 Pin
Pin
Tasty Twists To Try
I sometimes mix things up with different cheeses or onions cooked until sweet. Fresh herbs like rosemary or thyme work great too. My kids go crazy when I add a sprinkle of pizza seasoning to the filling.
Questions People Ask
- Quick Yeast: You can definitely use instant yeast, just add it directly to your flour.
- Testing the Rise: Lightly poke the dough with your finger - if the dent stays there, you're good to go.
Solving Common Issues
- Heavy Rolls: This usually means you didn't knead enough or let them rise fully.
- Yeast Problems: Always look at that date on the package and keep your milk warm but not too hot.
Expert Advice
Try using a pizza cutter for easy slicing. Tap the finished rolls and listen for a hollow sound. Remember that every oven cooks differently, so watch them closely the first time around.
Bringing Everyone Together
These Garlic Swirl Rolls have grown beyond just another dish in my kitchen. They've become part of how our family celebrates together. When that smell starts wafting through the house, it means we're all about to gather around the table, and that's really what cooking is all about.
Common Recipe Questions
- → Can I prep these the day before?
Totally! Shape the dough and store in the fridge overnight. Let it warm up to room temp before baking.
- → How do I check if my yeast works?
Stir it into warm milk with a little sugar. If it doesn't foam in about 10 minutes, it's likely dead and needs replacing.
- → Can these be frozen?
Yup, bake or shape them first, then freeze for up to 3 months. Defrost in the fridge before baking or warming up.
- → What if my dough doesn’t rise?
This happens if the yeast is bad, the spot's too cold, or it needed more time. Use warm milk and let it rest somewhere cozy.
- → Can I substitute dried herbs?
Sure thing! Swap in a tablespoon of dried parsley instead of the fresh stuff. It's stronger, so you need less.